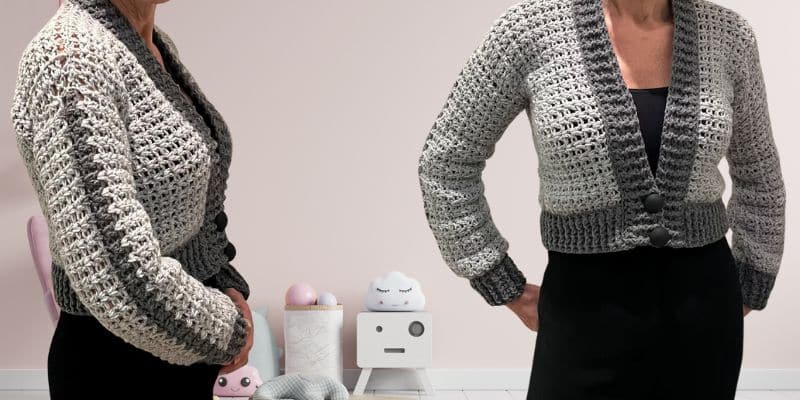
Crochet Pattern Cropped Cardigan – Wear a nice cropped cardigan over top of a dress skirt, high waisted pants, or simply some laid-back jeans.
Simple stitches and a quick pattern help here. One or two weekends, you have created a one-of- a-kind, handcrafted crocheted work!
Excellent for beginners as a project. Of course, the more sophisticated crocheters will like creating this adorable cardi also 🙂
The model in the image has medium for the width but a size small for the length of the cardigan. The sleeves are constructed in scale suitable for their length. She wanted the cardi to be short so it would fit on high waist jeans. She generally wears a size 10–12 US or 38–40 European; her height is 5.9′.(1m77).
The directions call for small, medium, large, X-large. US TERMS are used in the directions. Crocheted side ways make it rather simple to change the size; simply add or subtract rows to get the width required.
A FEW THINGS BEFORE YOU START!
- The cardigan is crocheted sideways ( which has the advantage that you can make the width as wide or as narrow as needed) and is made of 5 separate pieces that will be sewn together at the end: 1 backpanel/ 2 front panels / 2 sleeves.
- I used medium worsted weight acrylic yarn( like e.g. Red Heart Super saver or Hobby Lobby I love this yarn)
- Small = Red/ medium = green / large = blue / XL = purple
- NOTE *** if you want your sweater to be shorter or longer. Just keep adding or subtracting stitches to your basic chain. As long as the chain is dividable by 2.***
- I sew my seams in a matrass stitch, I find this the most “invisible” way .
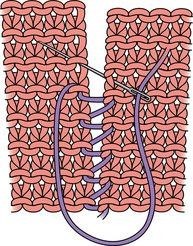
Matrass stitch
Before you do your definite sewing, you might want to first loosely stitch everything with a different color thread together. Just to make sure everything is in the right place. If it is, you remove that thread. Once you have definitely sewed it closed it’s very difficult to undo it!
Materials used:
- Medium worsted weight acrylic ( weight #4) My skeins are( 100 grams each) 241 meters – 263.6 yards
- Approximately needed
- Main color For small : 400 grams /medium 500 grams/ large 600 grams /X-large 600 grams
- Edging/ ribbing color: 100 grams for small & medium / 200 grams for large & X- large
- Hook I / 5,5 mm and H/ 5,0 mm ( for the border on the sleeves and the bottom of the cardigan. NOT the front edging, that’s done with hook I 5,5 mm )
- Needle with a large eye.
- Scissors.
- Measuring tape.
- 2 buttons of 1 inch or a little smaller.
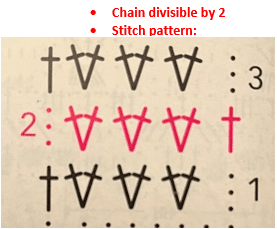
Stitches used:
- Chain stitches
- Slip stitch = SS
- Single Crochet = SC
- Double Crochet = DC
- Sets of 2 DC in 1 stitch or in between the 2 DC of the previous row.
Ribbing pattern: after your rows of SS and of HDC chain 2 and turn.
Row 1: *FPdc into next st, BPdc into next st; repeat from * across to last 2 sts, ending with FPdc in next st, hdc into top of beginning ch-2, turn. Row 2: Ch 2, skip first st, *BPdc in next st, FPdc in next st; repeat from * across to last 2 sts, ending with BPdc in next st, hdc into top of beginning ch-2, turn.
Repeat rows 1–2 for pattern.
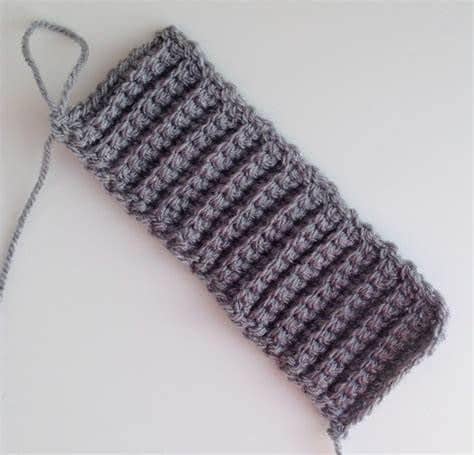
GAUGE: 7 rows is approximately = 10 cm – 4 “ / 11 stitches 10 cm – 4 “
Basic chain should be divisible by 2
Measurements ( approximately) :
- Length of the sweater with trim : 46 cm – 18.1” / 54 cm – 21.3 ” / 58 cm – 22.8” / 60 cm – 23.6”
- Width of the back panel: 46 cm – 18.1” / 52 cm – 20.5” / 58 cm – 23.0”/ 60 cm – 23.6”
- Width of the front panels: 14 cm – 5.5”/ 17 cm – 6.7” / 20 cm – 7.9”/ 23 cm – 9.1”
- Width of the sleeves( unfolded) : 30 cm – 11.8”/ 34 cm – 13.4” cm – / 38 cm – 15.0” / 42 cm – 16.5”
- Length of the sleeves with the trim: 42 cm – 16.5”/ 46 cm – 18.1”/ 50 cm – 19.7” / XL also 50 cm – 19.7”
Let’s start!
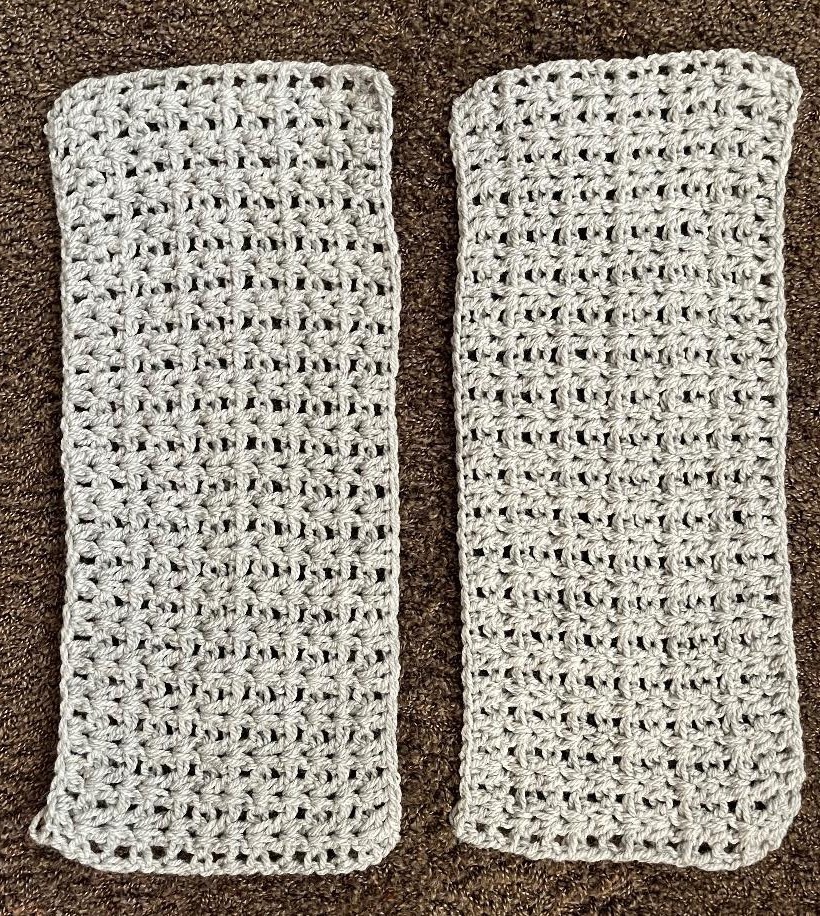
BACK PANEL: Made sideways, so your chain is your length !!!
Chain: 44 / 52 / 56 / 58
ROW 1: first set of 2 DC in the 6th stitch from the hook/ * skip 1 / 2 DC in the next stitch. * Repeat from *-* End this first row with skip 1 and 1 DC in the last stitch.
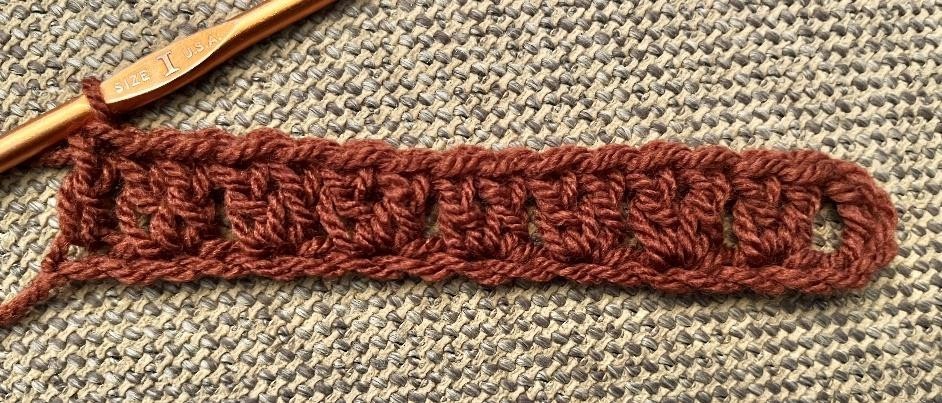
Chain 3 and turn
Row 2: 2 DC in between the first 2 DC of the previous row / *** 2 DC in between the next 2 DC of the previous row *** Repeat this to the end of the row. End the row with 1 DC in the 3rd chain of the chain 6 of row 1.
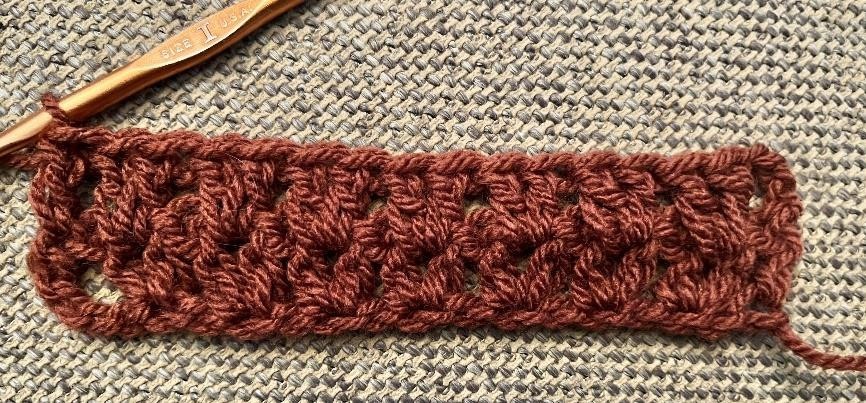
Chain 3 and turn
Row 3: Same as row 2/ end row with 1 DC on top of the chain 3.
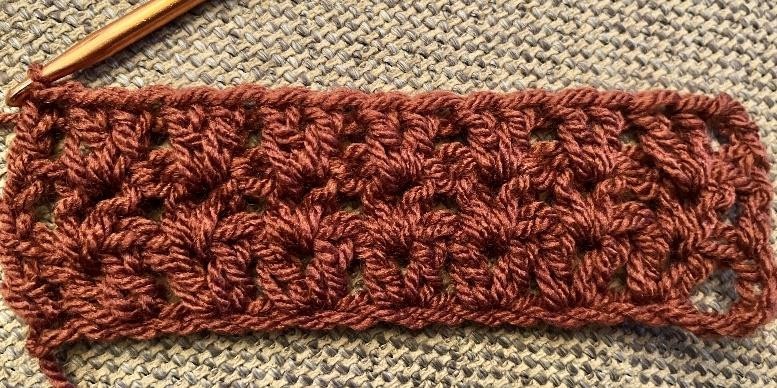
Chain 3 and turn
Repeat row 3 till you have reached your desired width. Approximately :
30 rows / 35 rows / 39 rows / 41 rows If you need your cardigan to be wider, just add rows.
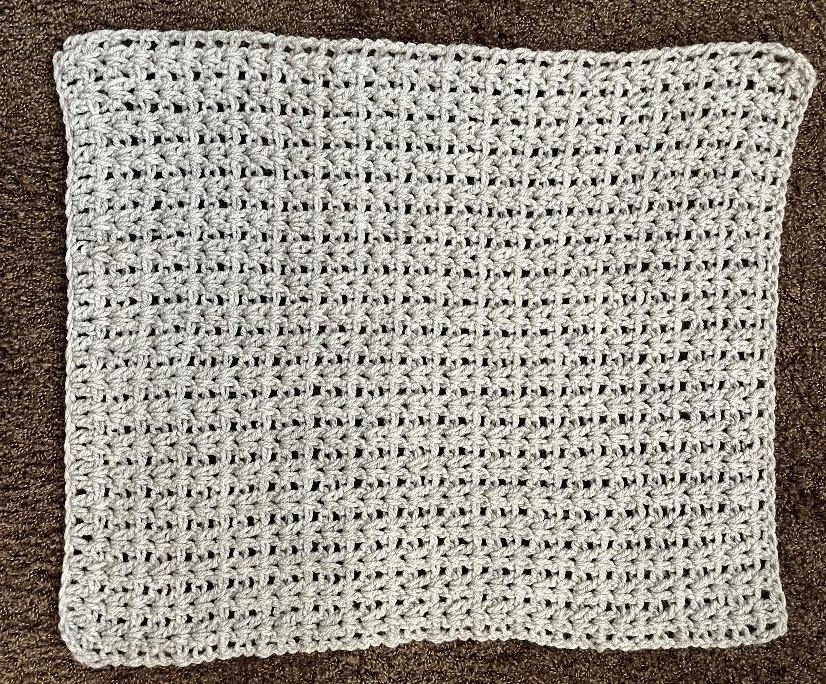
You might want to watch my YouTube to help you make your garment fit just right: Click Here
2 IDENTICAL FRONT PANELS:
Chain: 44 / 52 / 56 / 58
- Crochet in pattern like you did the back panel till you have reached :
- 10 rows / 12 rows / 14 rows / 16 rows
SLEEVES:
Chain: 40 / 44 / 48 / 48
- If you’re making a large or extra large because of your bust size, but your arms aren’t that long, make sure you don’t go for the X- large sleeves, or they will be way too long.
- After approximately:
- 10 rows in the main color, cut yarn and connect with the second color, 2 rows, cut yarn and continue in the main color for 10 more rows again.
- 11 rows in the main color, cut yarn and connect with the second color, 2 rows, cut yarn and continue in the main color for 11 more rows again
- 12 rows in the main color, cut yarn and connect with the second color, 2 rows, cut yarn and continue in the main color for 12 more rows again
- 13 rows in the main color, cut yarn and connect with the second color, 2 rows, cut yarn and continue in the main color for 13 more rows again
- turn your sleeve ¼ and start working on the edge with hook H
- Spread out evenly 28 / 32 / 34 / 38 SS in the row ends.
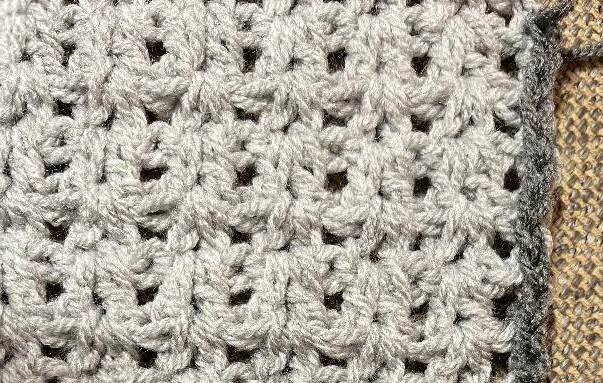
Chain 1, turn and HDC in all SS.
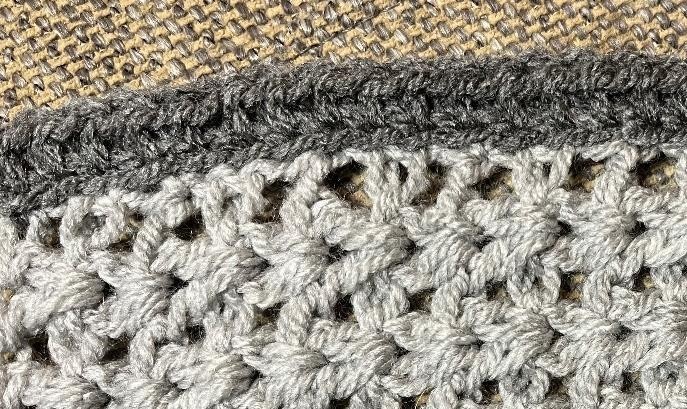
Chain 2 and turn
Then 4 rows ( or more, if you feel the sleeves might be too short )
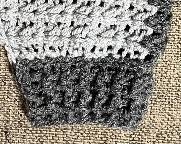
Fold sleeves and sew the seams.
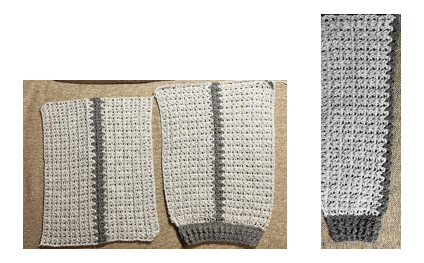
PUTTING YOUR CARDIGAN TOGETHER.
Sew the top – shoulders of the front panels and the back panel together.
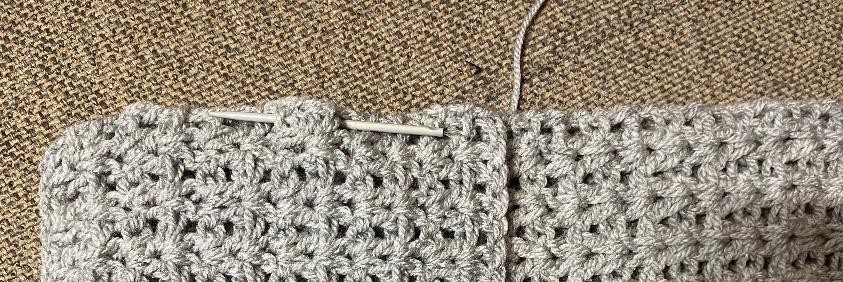
Sew the sides, leaving enough space for the sleeves to be inserted.
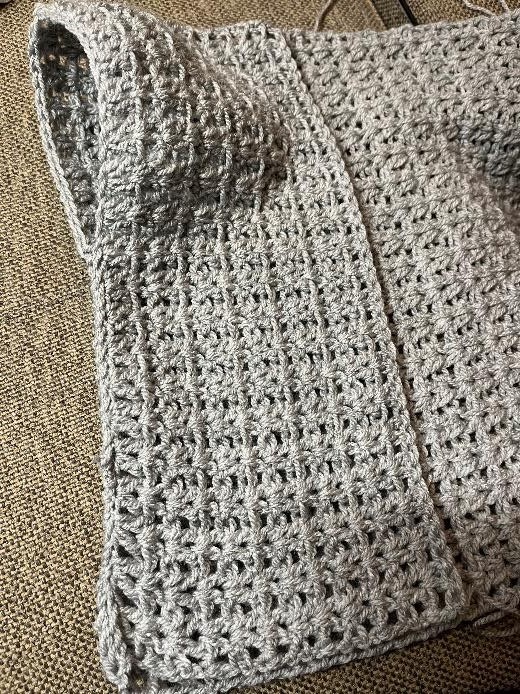
Sew in your sleeves.
With color 2 and hook H connect to the far right of the bottom of the cardigan. Chain 1 and SS in the same stitch. Then SS in the row ends all across to the very left side of the bottom of the cardigan.
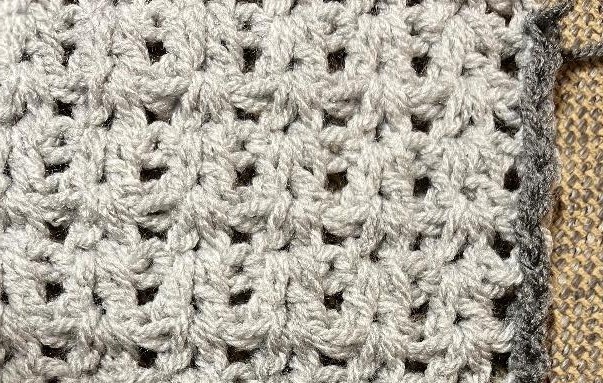
Second row you HDC in all stitches.
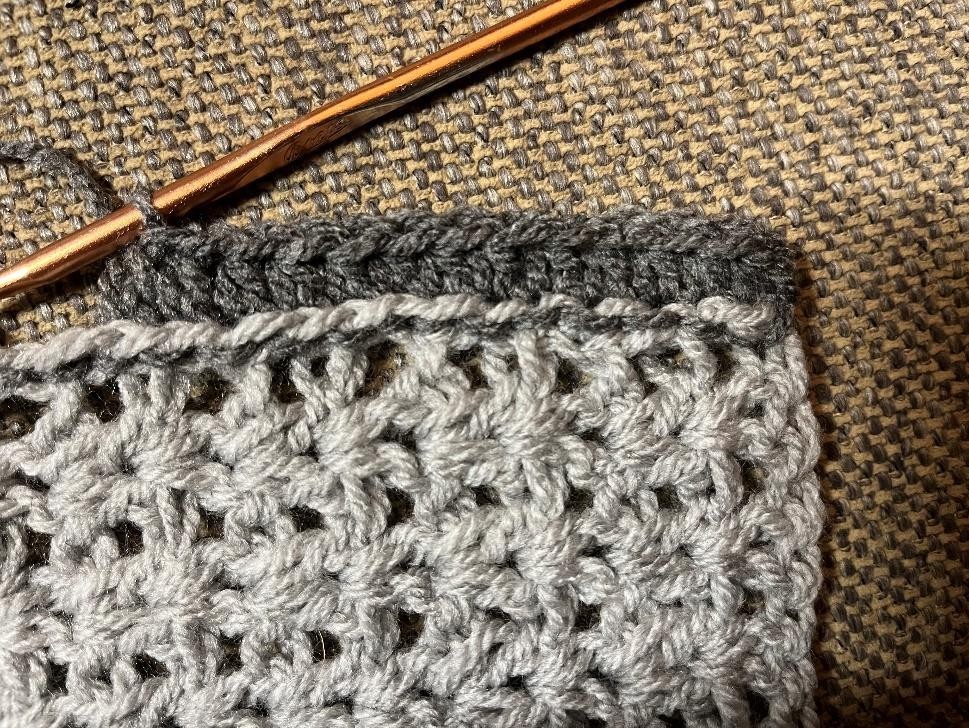
Now continue in the Ribbing stitch for 4 more row.
Cut yarn.
Connect your second color and hook I to the bottom of the right front panel and SS all around to the bottom of the left side front panel. Chain 1 and turn. HDC all the way across to the bottom of the right front panel. Chain 2 and turn.
Continue in the ribbing stitch for 4 more rows.
I sewed my 2 buttons on the left front panel. I didn’t make button holes, because the size buttons that I have fit right through the ribbing of the right side. I like the look of that better than making button holes, but that is of course entirely up to you 🙂
You might want to check out my YouTube tutorials on how to put together a cardigan and how to put in sleeves.