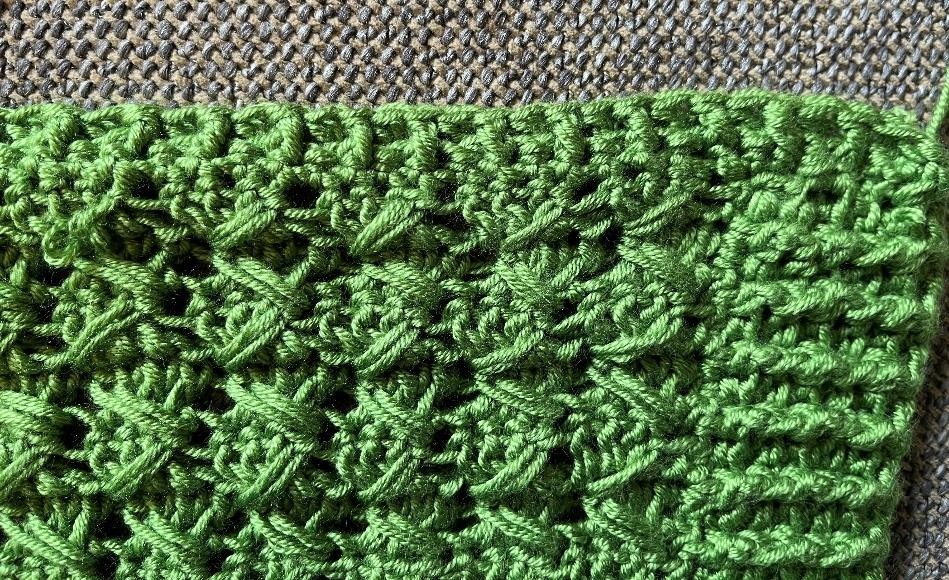
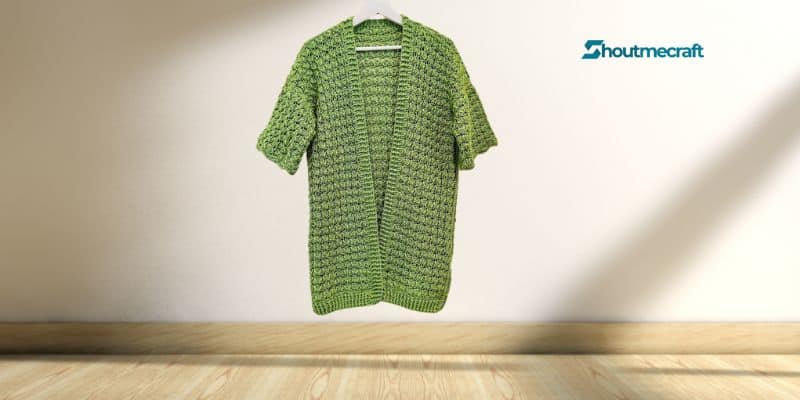
Crochet Pattern Three Seasons Cardigan – Wearable in the spring, on breezy summer evenings, and on chilly autumnal days, this lovely lightweight cardigan. You may easily change the cardigan to the size you need because it is crocheted sideways.
Because it uses only the fundamental SC/HDC and DC stitches, any degree of experience may use this design.
Skill Level : Beginners may easily master this pattern.
MEASUREMENTS:
Mattress stitch
- If you want your sweater to be longer or shorter, just add or subtract . Your chain needs to be dividable by 4+2
- GAUGE in the special stitch: 9 rows = 10 cm / 4”
- 12 stitches = 10 cm / 4”
- Length of the cardigan : 58 cm – 22.8 ”/ 70 cm – 27.6” same for large / 75 cm – 29.5 ”
- Width of the backpanel is approximately: 50 cm – 19.7 ”/ 54 cm – 21.3” / 66 cm – 26.0 ” / 68 cm – 26.8”
- Width of the front panels without the border ribbing is approximately: 20 cm – 7.9” / 22 cm – 8.7” / 27 cm -10.6” / 28 cm – 11.02”
- Width of the sleeves before folding in half I made the sleeves a little wider than fitted sleeves. If you want them to be more fitted, then crochet a few rows less 😉 37 cm – 14.6” / 42 cm – 16.5”/ 46 cm – 18.1”/ 47 cm – 18.5”
MATERIALS USED:
- Small: 11 skeins of 50 grams
- medium: 13 skeins of 50 grams
- Large: 16 skeins of 50 grams
- X-large: 20 skeins of 50 grams
- G/ 4mm
- Needle with a large eye.
- Scissors
- Measuring tape
Stitches used:
- Half double crochet: HDC
- Double Crochet: DC
- Chain stitches
- Single crochet : SC
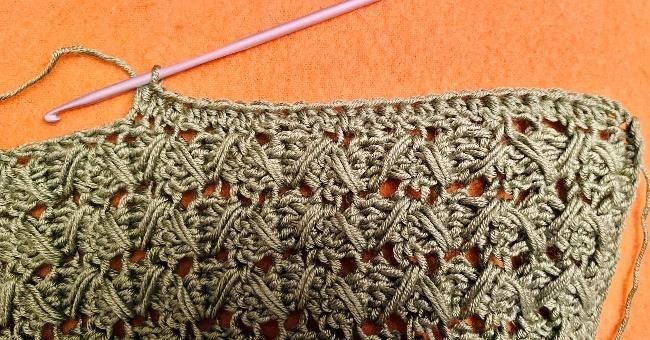
- Crossover 3 DC :*** YO and stick your hook back in the space behind you, next to the 3 DC/ YO pull through and pull up (3 loop on your hook) / YO and pull through the 3 loop on your hook/ skip 1 stitch / 1 DC in the next 3 stitches/ ***
- Link to the special stitch: Video Tutorial
- Crossover 3 DC :*** YO and stick your hook back in the space behind you, next to the 3 DC/ YO pull through and pull up (3 loop on your hook) / YO and pull through the 3 loop on your hook/ skip 1 stitch / 1 DC in the next 3 stitches/ ***
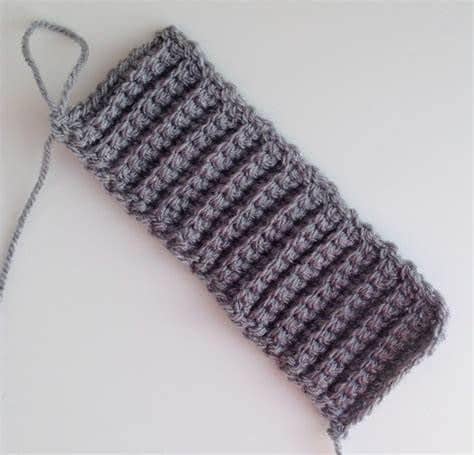
- Ribbing stitch:
- Ribbing: 1 FPdc/ 1 BPdc and this alternating. Ribbing pattern( for the edging of the bottom of the the panels, after your row of HDC chain 2 and turn
- Row 1: *FPdc into next st, BPdc into next st; repeat from * across to last 2 sts, ending with FPdc in next st, hdc into top of beginning. After the text there are some pictures of how to do these stitches!
Instructions Back panel:
Chain: 112 / 122 / 132 / 138
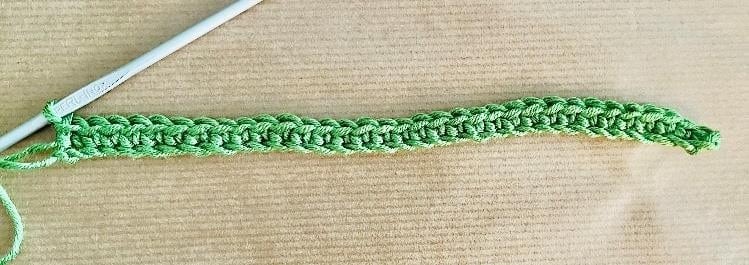
Row 1: in the 2nd chain stitch from the hook 1 SC / the rest of the chain in SC.
Chain 2 and TURN
Row 2: Skip the first stitch and 1 DC in the next 3 stitches /*** YO stick your hook in the skipped stitch behind the 3 DC ( not the gap, the the SC stitch!) YO and pull up (3 loop on your hook) YO and pull through all 3 loops / Skip 1 stitch / 1 DC in the next 3 stitches*** Repeat from *** – *** End your row with 1 HDC.
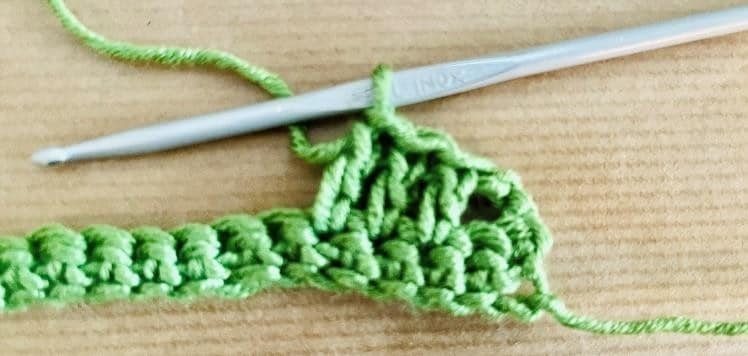
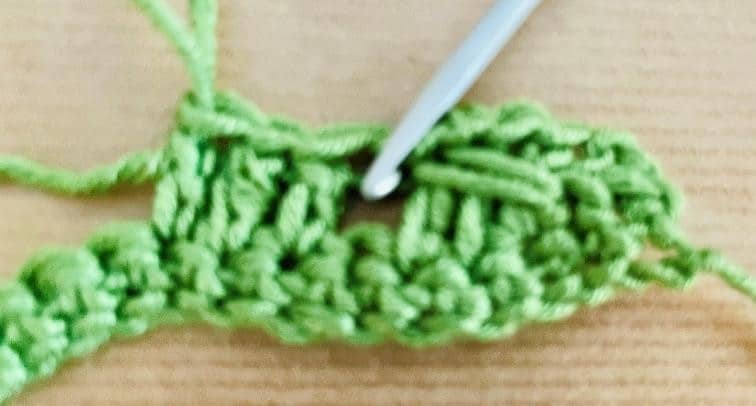
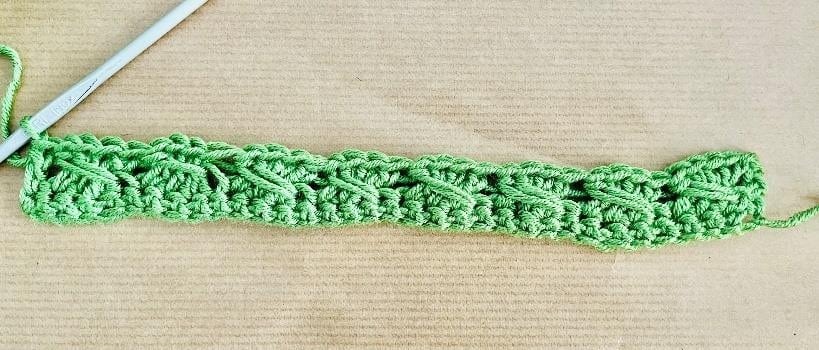
Chain 2 and TURN
Row 3: 1 DC on top of the 3 DC of the previous row/ YO , stick your hook under the HDC of the previous row( in the SC of row 1) YO pull through and up / YO and pull through the 3 loops on your hook/*** 1 DC on top of the 3 DC of the previous row/ YO and stick your hook in the space between the set of 3 DC of the previous row > so NOT in the space of the same row! *** Repeat from *** – *** End row with a HDC in the last stitch.
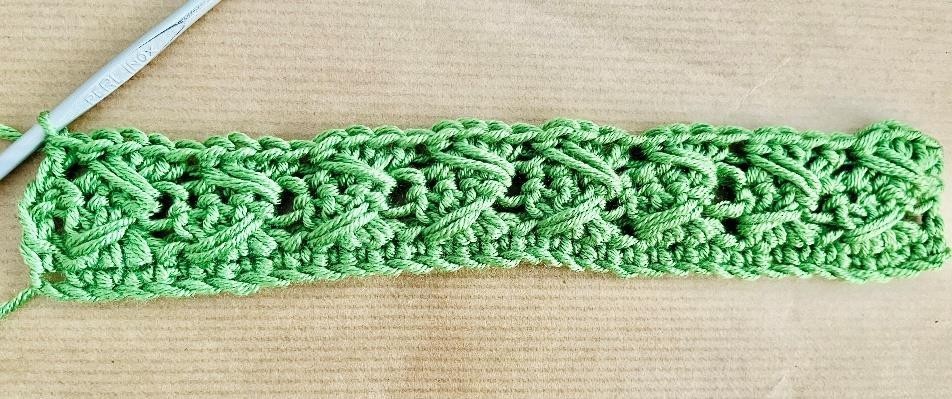
Chain 2 and TURN
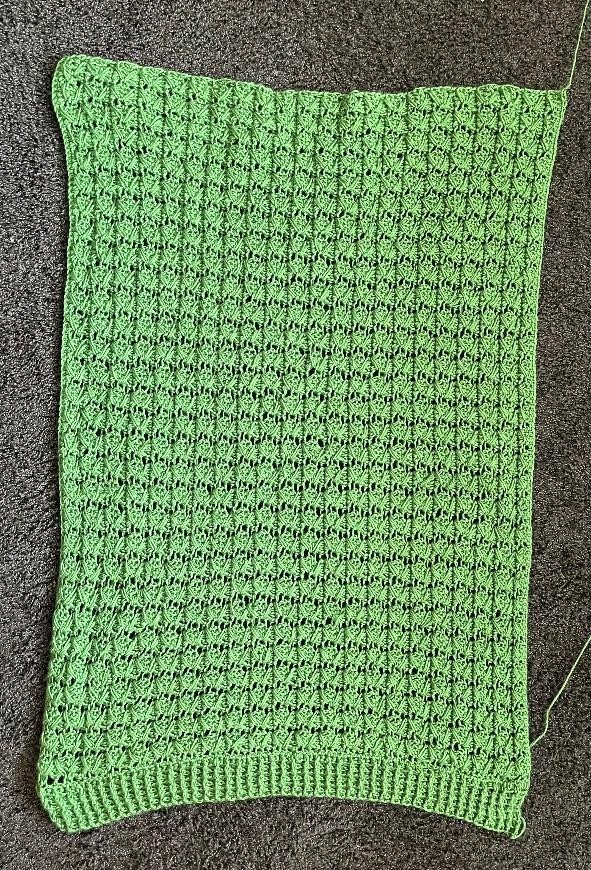
Rows 4 and further: repeat row 2 and 3 After approximately 40 rows / 43 rows / 54 rows / 59 rows Crochet one more row of SC then cut your thread.
Turn your work ¼ and connect your yarn to the bottom of the back panel. Crochet 1 row of HDC ( 2 stitches in every row end)
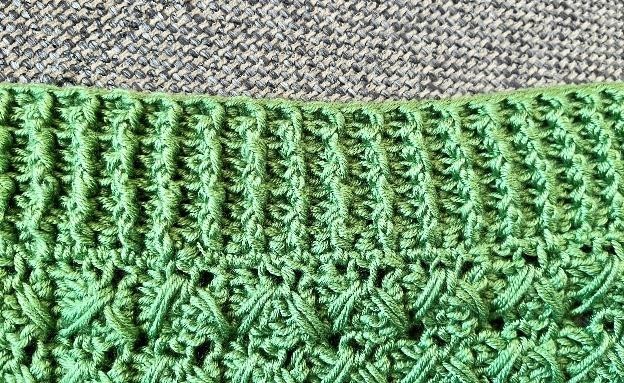
After your HDC row, continue in the ribbing pattern like explained at the beginning of the pattern with the special stitches.
After aproximately 8 rows cut your thread. Make sure your “V”s of the special pattern are facing the same way, mine all face upwards.
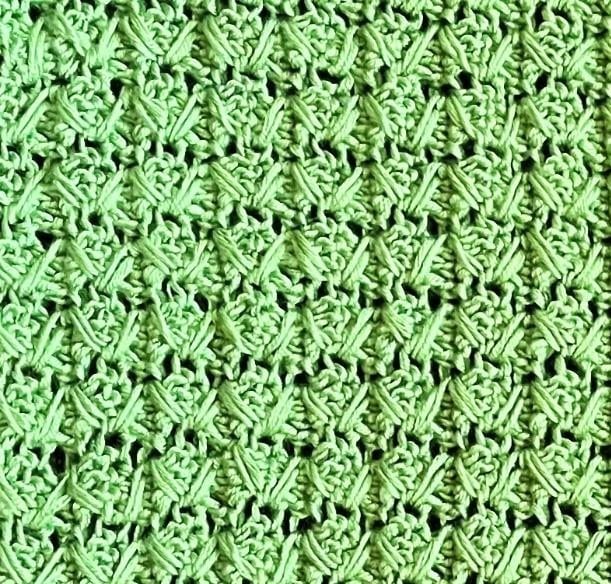
FRONT PANELS
Chain: 112 / 122 / 132 / 138
Crochet like you did the back panel
After:
16 rows / 18 rows / 21 rows / 22 rows Cut your thread, turn your work ¼ , Crochet HDC in the end rows like you did your back panel. After your HDC row , continue in the ribbing pattern for the same amount of rows (8) you did your backpanel.
Make an identical piece. Two front panels
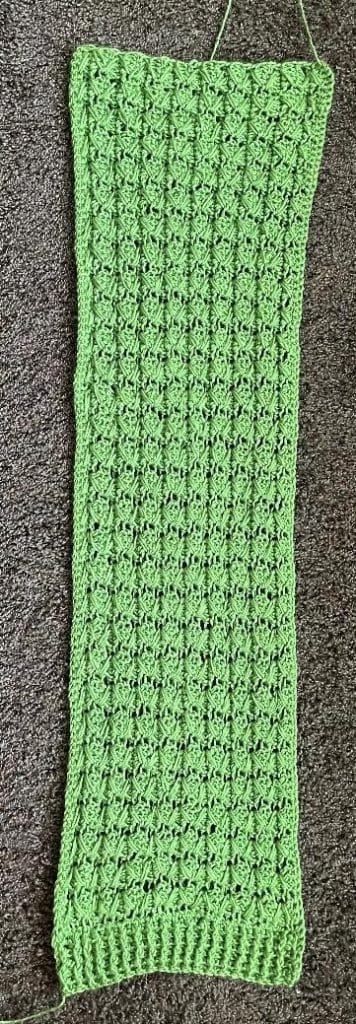
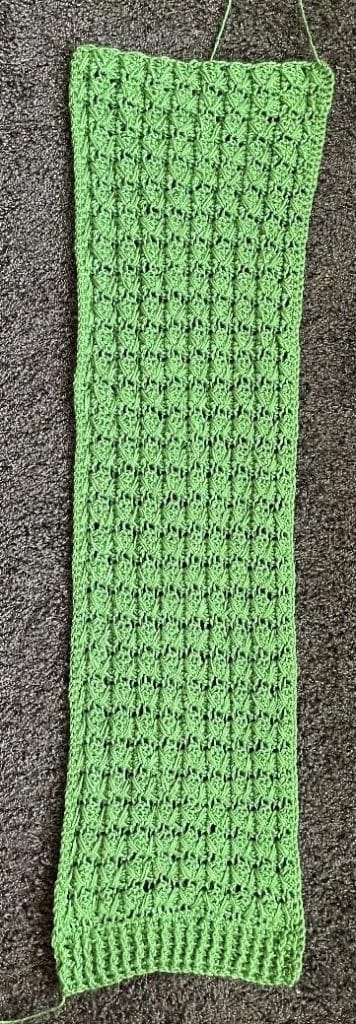
SLEEVES:
Chain: 26 /29 / 34 / 38
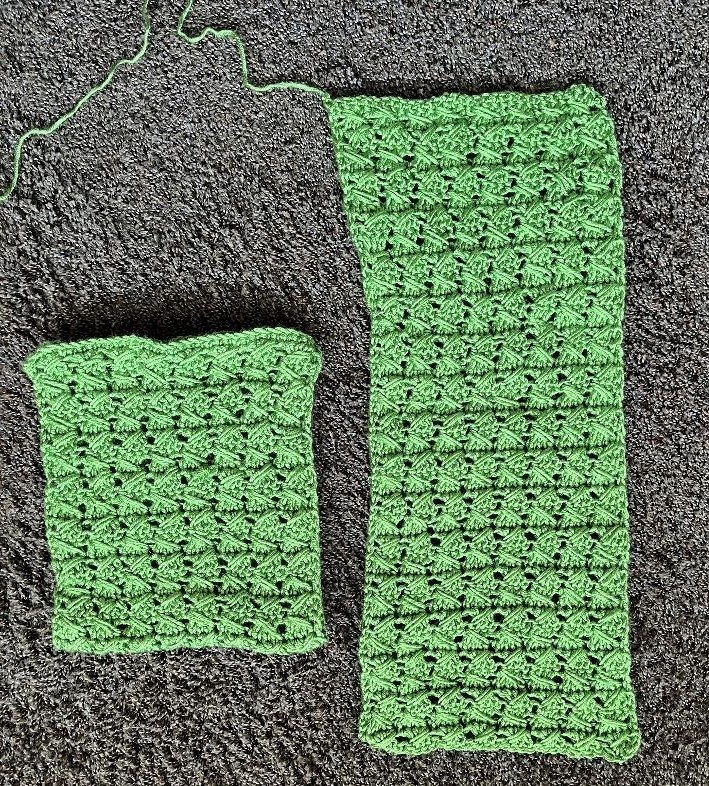
- Crochet in the same pattern sequence as you did the panels.
- After 28 rows / 32 rows / 34 rows / 35 rows End with last row in SC
- Fold longways and sew seam.
- Make an identical sleeve 😉
- If you want your sleevest to be longer, make sure you have a chain of a multiple of 4 +2
Putting your sweater together:
Sew the top ( shoulders)
Sew the sides, leaving enough room to insert the sleeves.
- Sew the sleeves in the inserts.
- If you have a difficult time with sewing in sleeves, Pin the top and the armpit first with plastic safety pins. Then either pin the whole sleeve, or sew the sleeve in with another color thread. Once it’s in the way you want it, then sew the sleeve in permanently.
- Bottom of the sleeves:
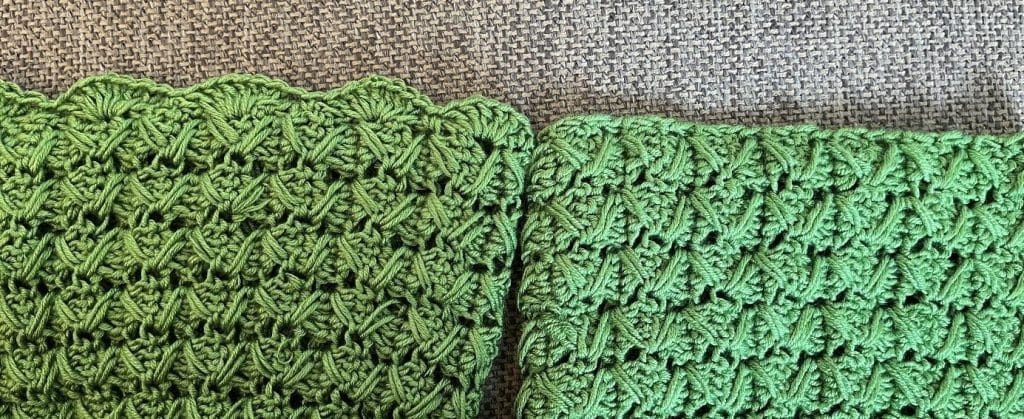
- Connect your yarn to the bottom at the seam and under the armpit. Chain and 5 DC in the same spot. ***Skip about an inch and SC in the next space/ skip about an inch and 7 DC in the same spot*** Go around the whole bottom till you get around to where you crocheted 5 DC. 2 More DC ( so you have 7 there as well. SS SS in the top of the last DC and cut your thread.
- Ribbing around the front panels:
- Connect your thread tot he right or left side of your front panel.
- HDC in all stitches from the front, around the neck and down the other front.
- When you get to the bottom of the other side , chain 2 and continue in the ribbing pattern. Continue this for about 4 more rows.
