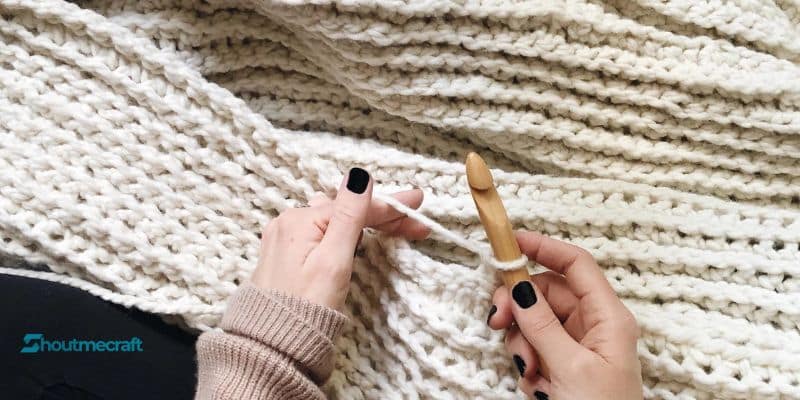
BASICS TO GET YOU STARTED.
Crocheting offers a never-ending learning opportunity. This article includes only the fundamentals to get you started.
Yarn
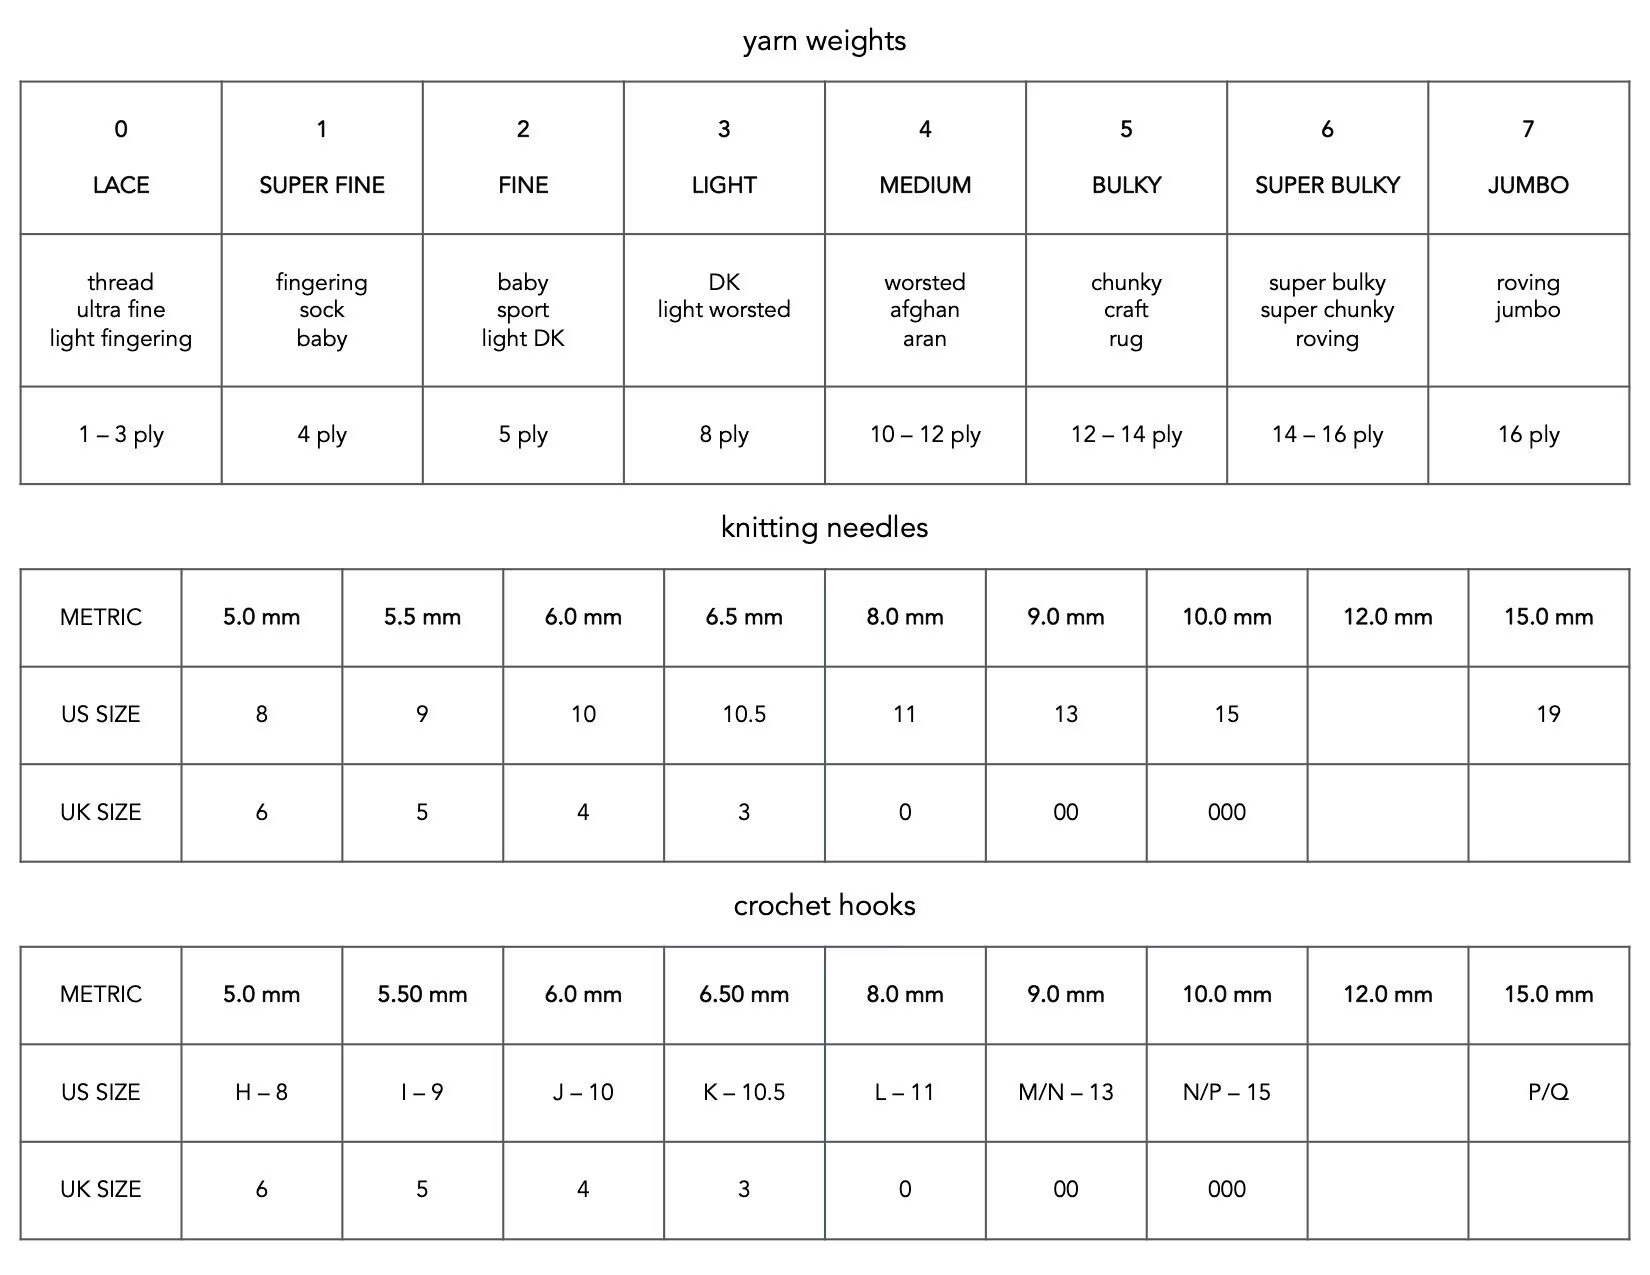
Yarn comes in a wide range of weights, materials, and textures. As you experiment with and become comfortable with various types of yarns, you will begin to favor some over others. When selecting yarn, carefully review your design and select a yarn with the recommended yarn weight.
Splits occur. Splits (or knots) are a regular occurrence while dealing with yarn. When this happens, you can either ignore the split and continue crocheting, or cut the yarn and reconnect it using your favorite method.
Hooks
Crochet hooks exist in a wide range of materials and sizes. When determining the appropriate size, look for the width in millimeters (mm). Crochet designs will provide the size required to accomplish your craft.
Care
It is advised that you hand wash your final items and lay them flat to dry. Piling and shedding are frequent, and they often decrease over time.
SLIP KNOT
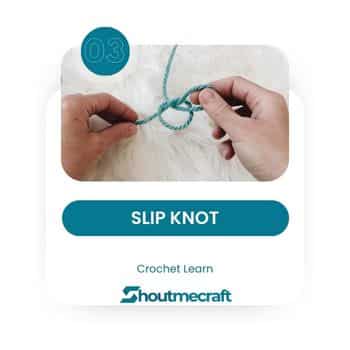
Most crochet projects start with a chain. Before chaining, tie a slip knot. Cross the end of your yarn across to form a huge loop.
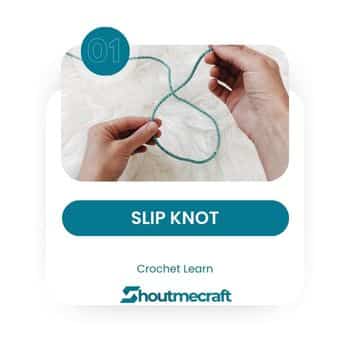
Reach through the loop and grab the end of the yarn.
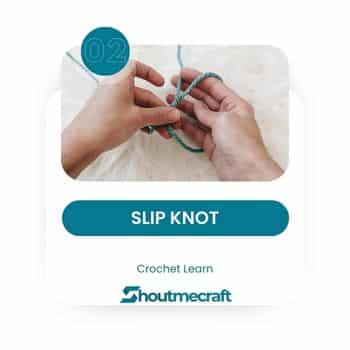
Pull the end through the main loop, creating a smaller loop. You will attach this loop to your hook.
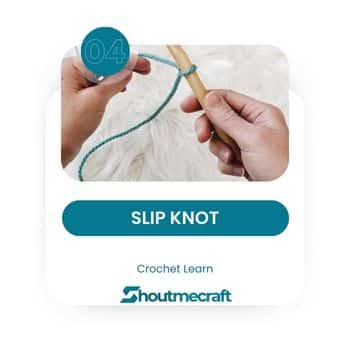
Attach the loop you pushed through to your hook and adjust for a somewhat tighter fit but not too tight. Now you’re ready to chain.
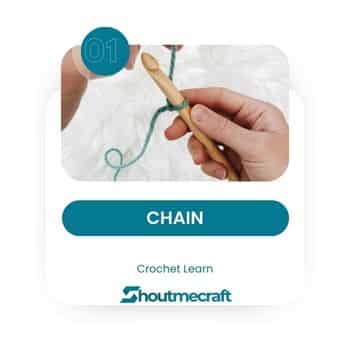
CHAIN
Crochet designs will specify how many times you need to chain for your item. To start your chain, loop the yarn behind the hook and then towards the front.
Wrap the yarn around the front of the hook. This is called yarn over.
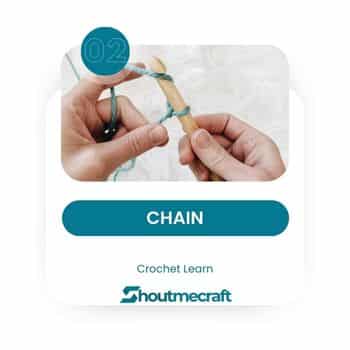
Start pushing the yarn through the loop on the hook.
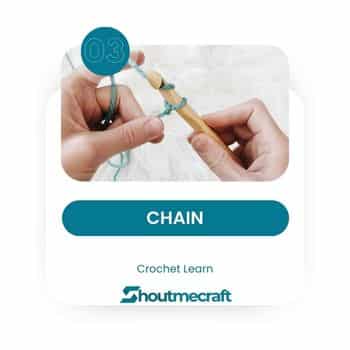
Pull the yarn through the loop on the hook. This completes a single chain. Continue to yarn over and draw through the loop on the hook the number of times specified in your pattern. Take cautious not to chain too tightly.

SINGLE CROCHETS
You should now have a chain and be prepared to proceed with your foundation. When working in rows, many crochet designs begin with a row of single crochet and may read like this: Single crochet into the second chain from the hook, then continue sc for row 1.
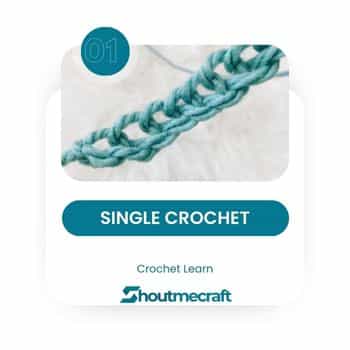
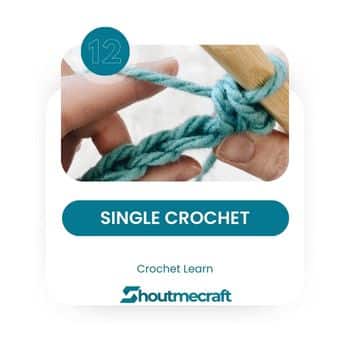
Locate the second chain from the hook. It is not the one on the hook, but the one just next to it. Insert the hook into the chain.
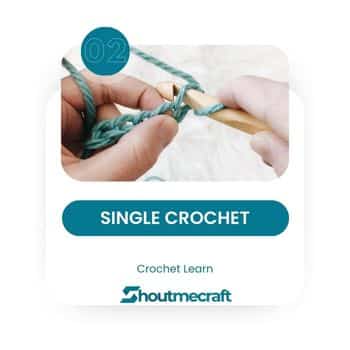
Yarn over, just as you did while constructing the chain.
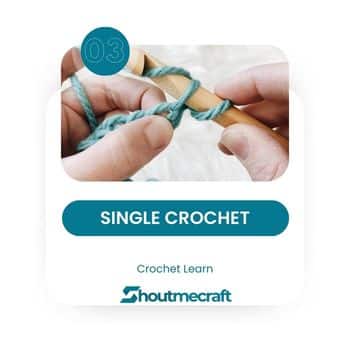
Pull through the first loop on the hook.
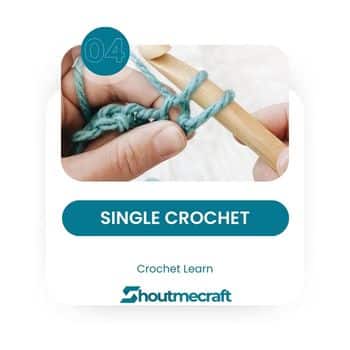
Yarn is finished.
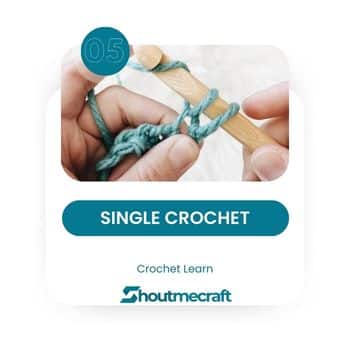
Pull through both loops on the hook. This completes a single crochet. Repeat for each chain to the end, moving from right to left to finish row one.
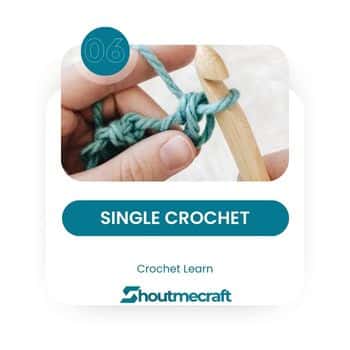
You’ll now need a rotating chain. Patterns will specify how many times to chain before turning your job. For example, ch 1 and turn at the start of each row throughout the project. Yarn over, pull through the chain, and turn your work.
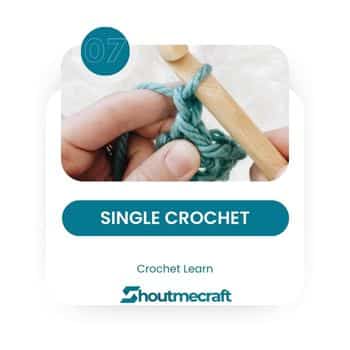
You should now have completed the foundation and row one. Look at the top of your row of stitches and you should see ‘V’s. Each ‘V’ is made up of one stitch with two loops: one in the rear and one in the front.
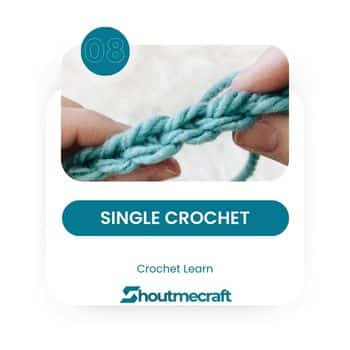
As you progress through your project, your pattern will indicate which stitch to use next. you continue with a basic single crochet, put the hook into the stitch, making sure you see the ‘V’ on top. Yarning is over.
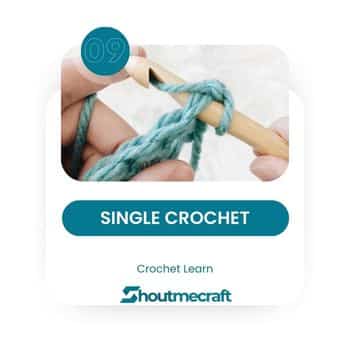
Pull through the first loop on the hook.
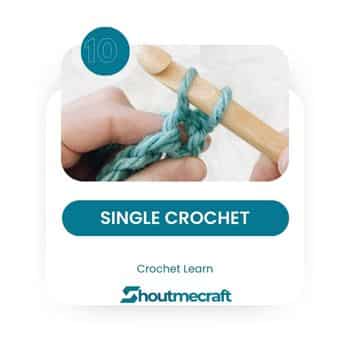
Yarn is done. Pull through both loops on the hook.
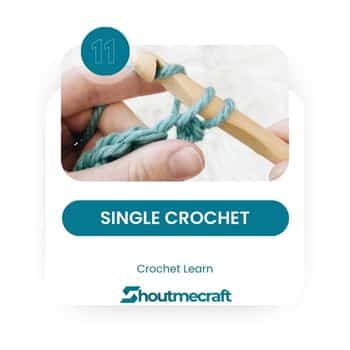
Continue to single crochet into each stitch, working from right to left to the end. This concludes your second row. Remember your turning chain. Chain and turn your work to start the third row. To finish, snip your yarn and pull through.
ROUNDS
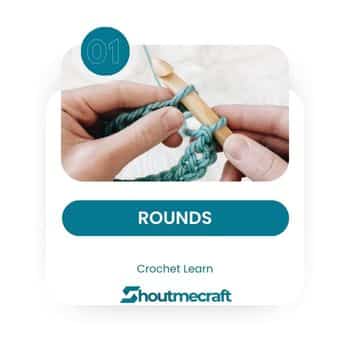
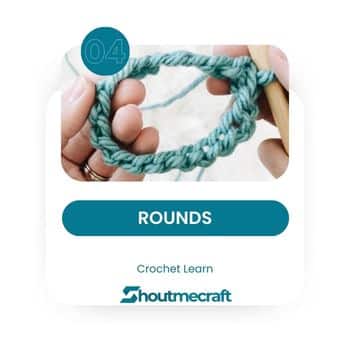
When working on a project in rounds rather than rows, create a chain and bring it around. Be cautious not to twist. Insert the hook into the chain at the end.
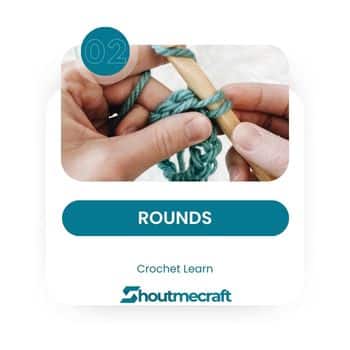
Yarn over and pull through both loops on the hook.
This is a slip stitch. Slip stitch is commonly used to link rounds.
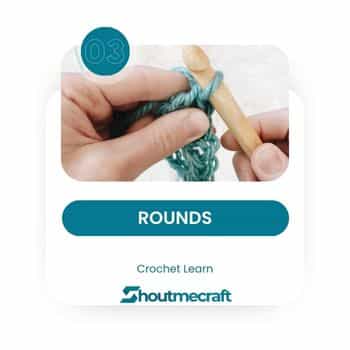
Your circle is now complete, and you are ready to continue with your design.
Click On The Link Below To Learn More
- How To: Tie a Slip Knot
- How To: Chain
- How To: Single Crochet
- How To: Turning Chains
- How To: Join to Work in the Round
- How To: Slip Knot, Chain, Single Crochet (Left Handed)
- How To: Slip Stitch
- How To: Yarn Over Slip Stitch
- How To: Single Crochet Back Loop Only
- How To: Single Crochet Front Loop Only
- How To: Half Double Crochet Back Loop Only
- How To: Half Double Crochet Two Stitches Together (hdc2tog)
- How To: Bobble Stitch
- How To: Single Crochet Two Stitches Together (sc2tog)
- How To: Single Crochet Increase (inc)
- How To: Add a New Ball of Yarn
- How To: Fasten Off + Weave In Ends
- How To: Seam using Mattress Stitch (crochet)
- How To: Block a Sweater
