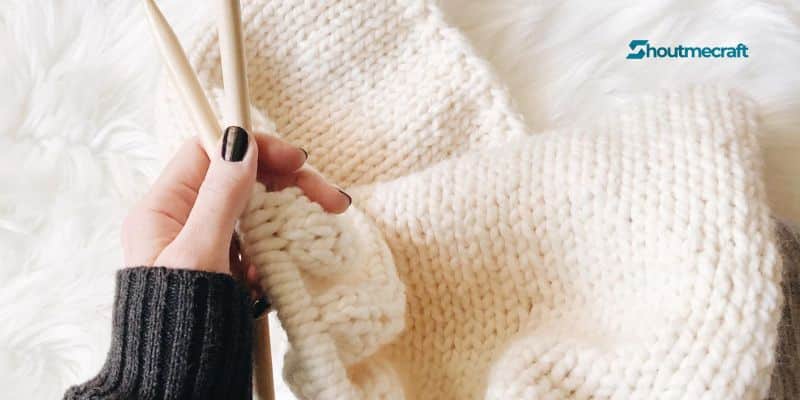
BASICS TO GET YOU STARTED.
Knitting is a never-ending learning opportunity. This article includes only the fundamentals to get you started.
Yarn
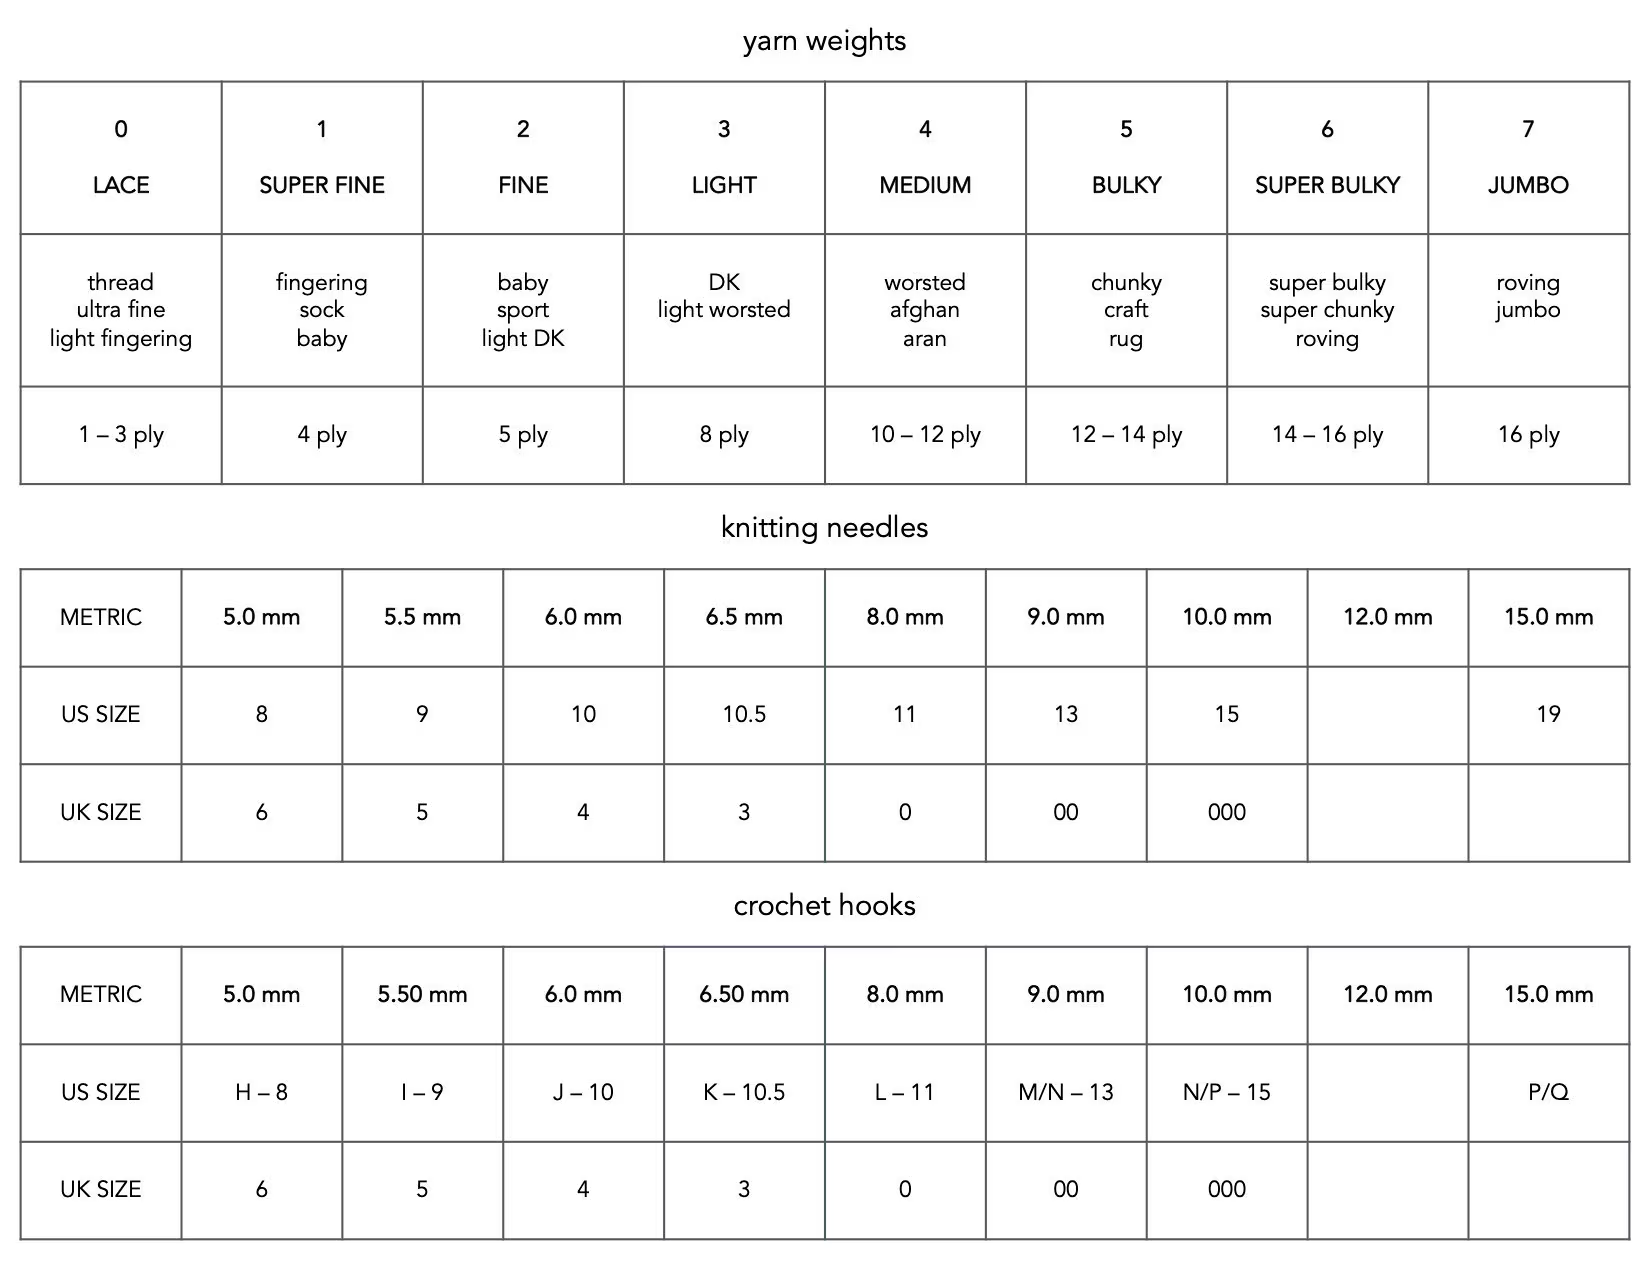
Yarn comes in a wide range of weights, materials, and textures. As you experiment with and become comfortable with various types of yarns, you will begin to favor some over others. When selecting yarn, carefully review your design and select a yarn with the recommended yarn weight.
Splits occur. Splits (or knots) are a regular occurrence while dealing with yarn. When this happens, you can either ignore the split and continue knitting, or cut the yarn and reconnect it using your favorite method.
Needles
Knitting needles exist in a wide range of materials and sizes. Straight needles are commonly used for flat knitting, whereas circular needles are commonly used for round knitting (though they can also be used for flat knitting). When determining the appropriate size, look for the width in millimeters (mm) and the length in inches (in) or centimeters. Knitting designs will provide the size required to accomplish your project.
Care
It is advised that you hand wash your final knits and lay them flat to dry. Piling and shedding are frequent, and they often decrease over time.
CAST ON.
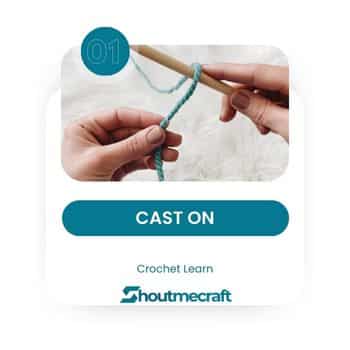
Pull the end/tail of the yarn over the needle toward you, making sure you have enough length to cast on. The more stitches you cast on, the longer your project will be.
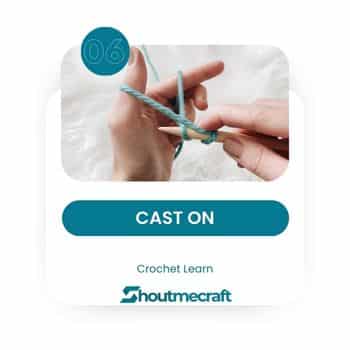
Using your thumb and index finger, pull back the yarn to form a triangle shape.

Use a needle to gather the yarn around your thumb. The needle moves beneath and up.

Pull the needle upwards and towards the yarn on your index finger.

Use the needle to gather the yarn around your index finger. The needle travels up and around.

Pull the needle and yarn towards you, then upwards.
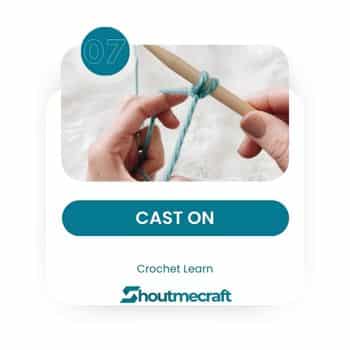
Pull the needle up, producing a stitch.This photograph depicts a cast on two stitches.
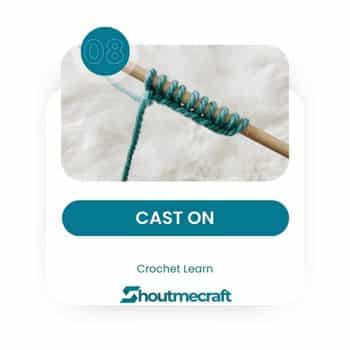
Repeat until you’ve reached the amount of stitches specified in your pattern. This photograph depicts a cast on ten.
KNIT
Hold the needle with stitches in your left hand and the other needle (known as the working needle) in your right hand.

With your yarn facing away from you, place the working needle behind the left hand needle, beneath and into the stitch.
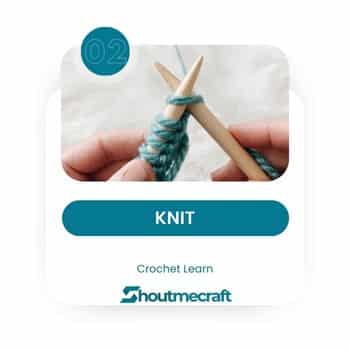
Wrap the yarn over the back of the working needle, facing you.
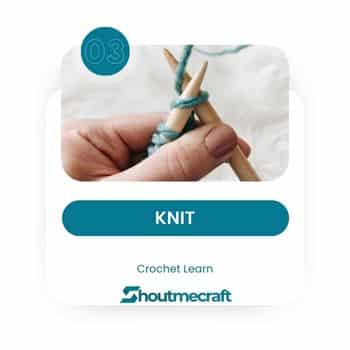
Carefully press the working needle down and through the stitch, making sure your yarn remains wrapped around the working needle.
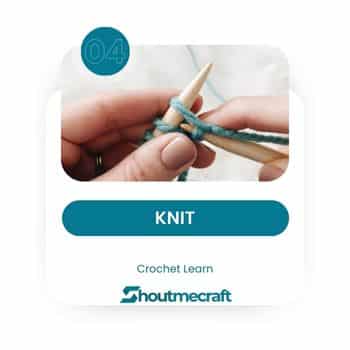
Bring the working needle toward you, in front of the left hand needle.
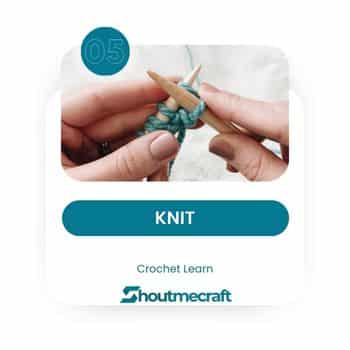
Pull the working needle upward and away from the left hand needle.
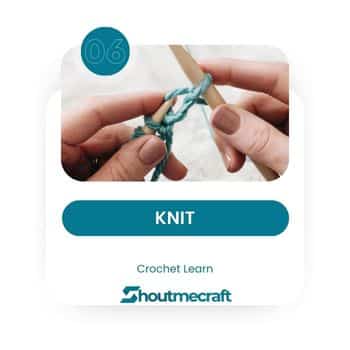
Continue to draw the working needle up until the old stitch pops off and the new stitch is securely attached to the working needle.
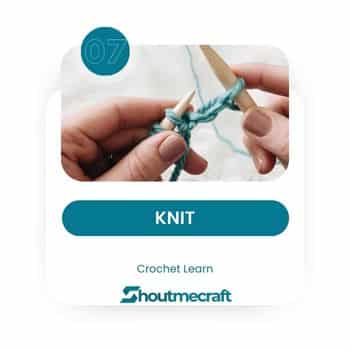
Continue until you have all of your new stitches on the working needle. This completes one row, and the left-hand needle becomes your working needle.
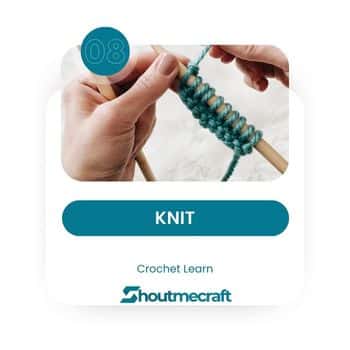
PURL
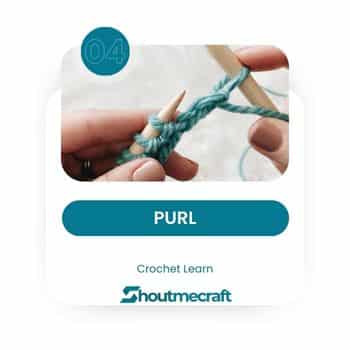
Purling is essentially the reverse of knitting. When knitting, think BACK. When purling, think: FRONT. With your yarn facing you, place the working needle in front of the left-hand needle beneath the stitch.
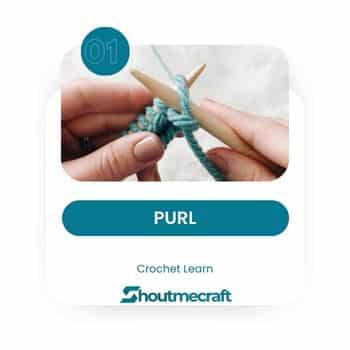
Wrap yarn around the back of the working needle, towards you.
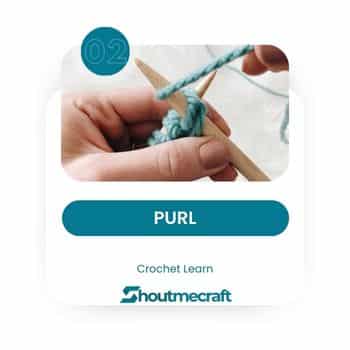
Carefully press the working needle down and away from you, ensuring that the yarn remains wrapped around the needle.
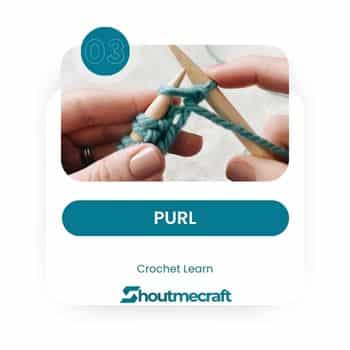
Continue to draw the working needle up until the old stitch pops off and the new stitch is securely attached to the working needle. When working in rows, if you continue to knit one row and then purl the next, you are using stockinette stitch.
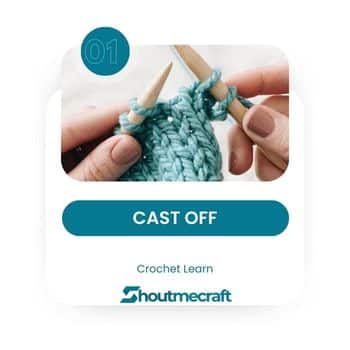
CAST OFF
Knit two stitches. To cast off one stitch, you need to have two stitches on your needle.
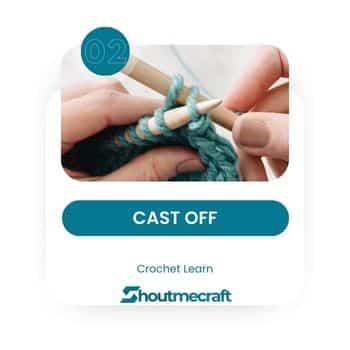
Insert the left hand needle into the stitch on the right.
Pull the stitch up, over the other stitch, and off the needle.

Knit another stitch (so you have two on your needle), then repeat steps 2–3. Continue to remove/cast off stitches. When you reach the last stitch, cut the yarn and pull the end through the loop/stitch on the needle.

Click On The Link Below To Learn More
- How To: Longtail Cast On
- How To: Knit Stitch
- How To: Purl Stitch
- How To: Cast Off
- How To: Stockinette Stitch
- How To: Rib Stitch (1×1 + 2×2)
- How To: Rib Stitch with Odd Number of Stitches
- How To: Garter Stitch
- How To: Knit Flat with Circular Needles
- How To: Join to Knit in the Round
- How To: Knit in the Round
- How To: Knit Two Stitches Together (k2tog)
- How To: Purl Two Stitches Together (p2tog)
- How To: Slip Slip Knit (ssk)
- How To: Slip Stitch (sl)
- How To: Pick Up Stitches
- How To: Return to Stitches Left on Needle
- How To: Neckline Shaping
- How To: Change Colors
- How To: Cast Off (Using Stretchy Bind Off Method)
- How To: Add a New Ball of Yarn
- How To: Seam using Mattress Stitch
- How To: Weave in Ends
- How To: Add a Zipper
- How To: Block a Sweater
