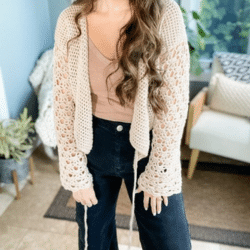
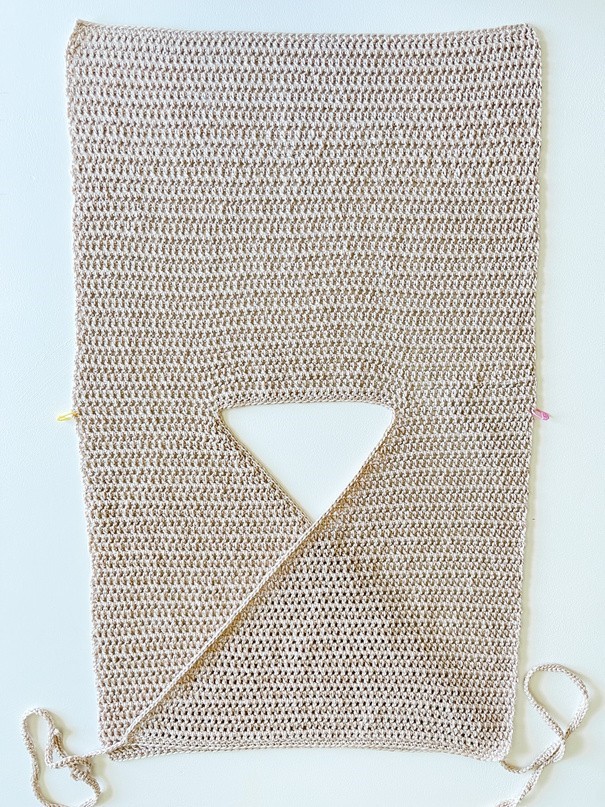
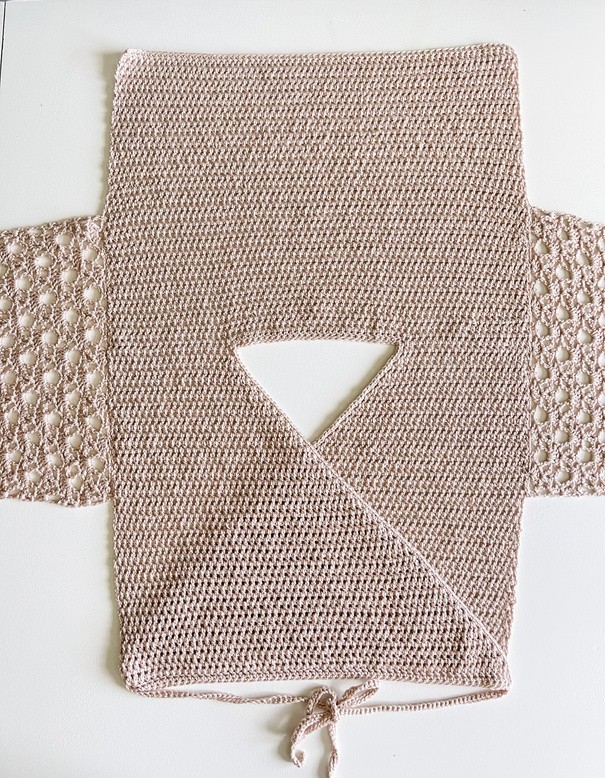
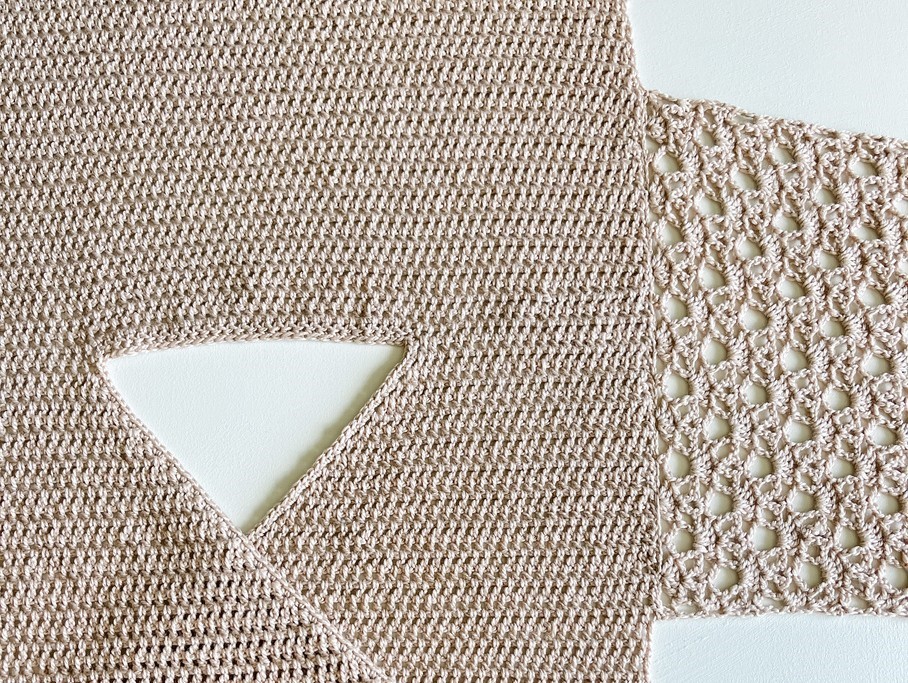
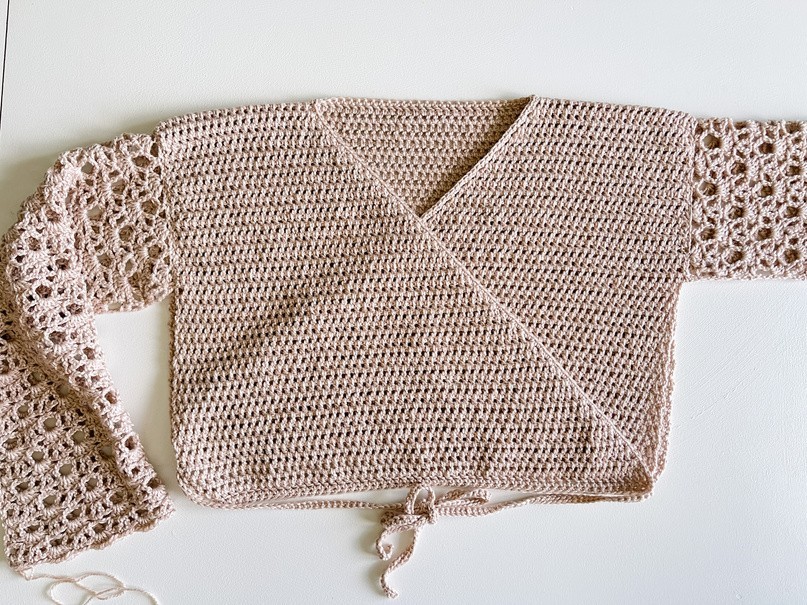
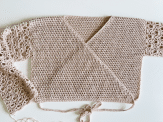
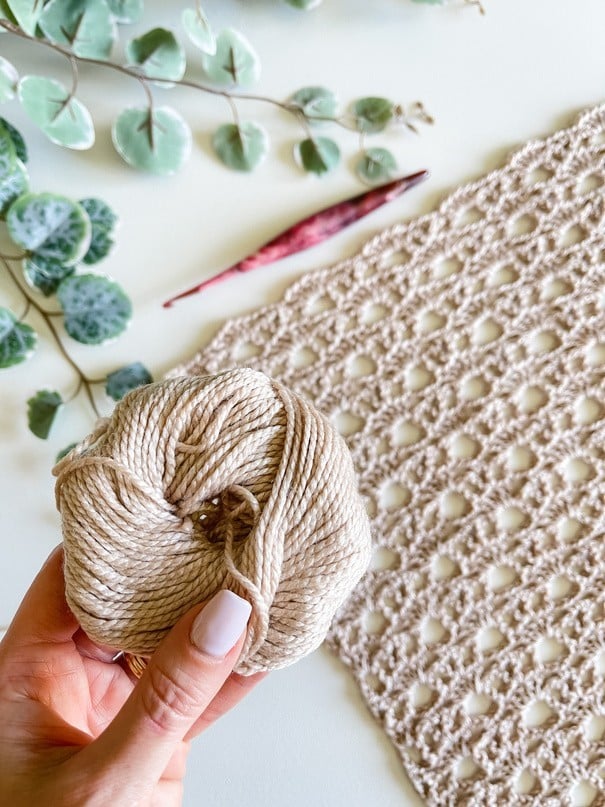
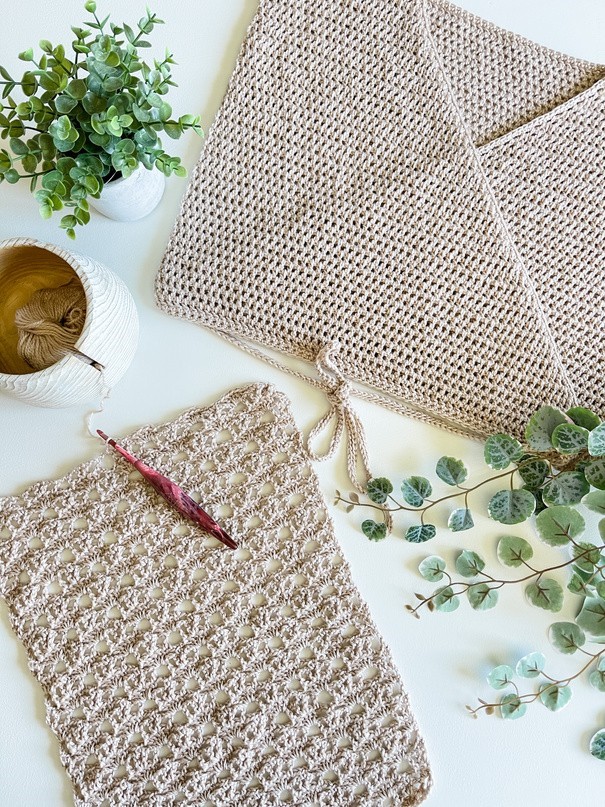
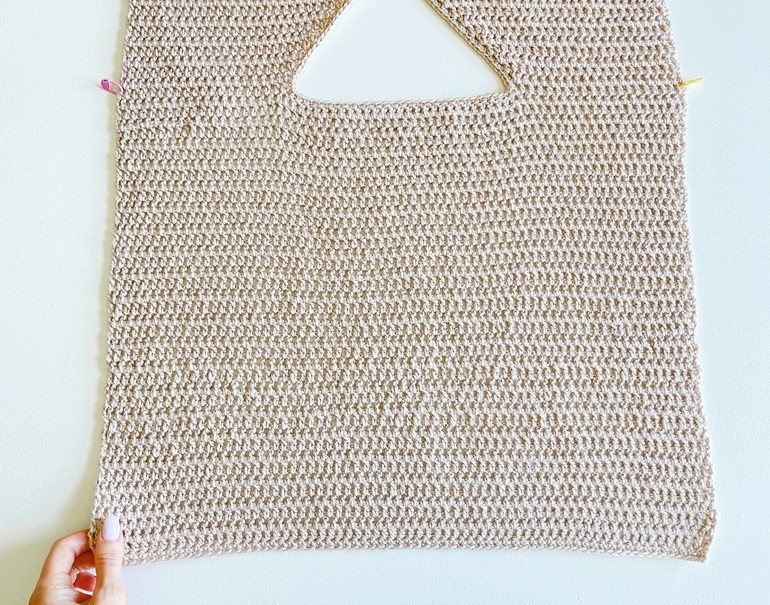
The Sea Shells Wrap Cardigan is a feminine and unique crossover sweater design. The back and front panels are crocheted in one piece in a simple double crochet pattern.
The lacy sleeves are worked separately and seamed to the body. Working the sleeves separately allows the width and length to be easily customized.
The pattern includes a step-by-step tutorial
YARN
Galileo Sport Weight Yarn #2 50% Merino Wool, 50% Viscose from Bamboo (131yds/50g) – Shown in Apollo
Yarn Subs:
- Heatherly Sport
- Brava Sport
- CotLin
HOOK
- US 6/G (4mm)
- US 7/G+ (4.5mm) or size needed to obtain gauge
MATERIALS
- Tapestry Needle
- Stitch Markers
- Scissors
- Measuring Tape
- Blocking Pins
- Blocking Mats 24″x24″
- Woolwash
- Steamer
GAUGE
14.25 sts and 10.75 row sequal to 4″ in dc pattern blocked with 4.5mm hook 16.25 sts and 8.75 row sequal to 4″ in lace pattern blocked with 4.5mm hook
SIZING
XS (S, M, L, XL, 2X, 3X, 4X, 5X)
VIDEO
ABBREVIATIONS
- Ch – Chain
- Dc – Double Crochet Dcs – Double Crochet Space
- Pm – Place Marker Rep – Repeat
- RS – Right Side Sc – Single Crochet
- Sk – Skip
- Sl St – Slip Stitch Sp(s) – Space(s)
- St(s) – Stitch(es)
- WS – Wrong Side
- ( ) – Work step in parentheses in indicated stitch
- [ ] – Work step in brackets number of times indicated
SIZING CHART / YARN REQUIREMENTS
| SIZE | XS | S | M | L | XL | 2X | 3X | 4X | 5X |
| To Fit Bust (IN) | 28-30 | 32-34 | 36-38 | 40-42 | 44-46 | 48-50 | 52-54 | 56-58 | 60-62 |
| Finished Bust (IN) | 30 | 34 | 38 | 42 | 46 | 50 | 54 | 58 | 62 |
| Balls | 7 | 8 | 8 | 9 | 10 | 11 | 12 | 13 | 14 |
| Yards | 830 | 940 | 1048 | 1160 | 1270 | 1380 | 1500 | 1600 | 1720 |
CONSTRUCTION
The Cardigan body is worked in one piece flat, starting at the back and finishing with the front panels.
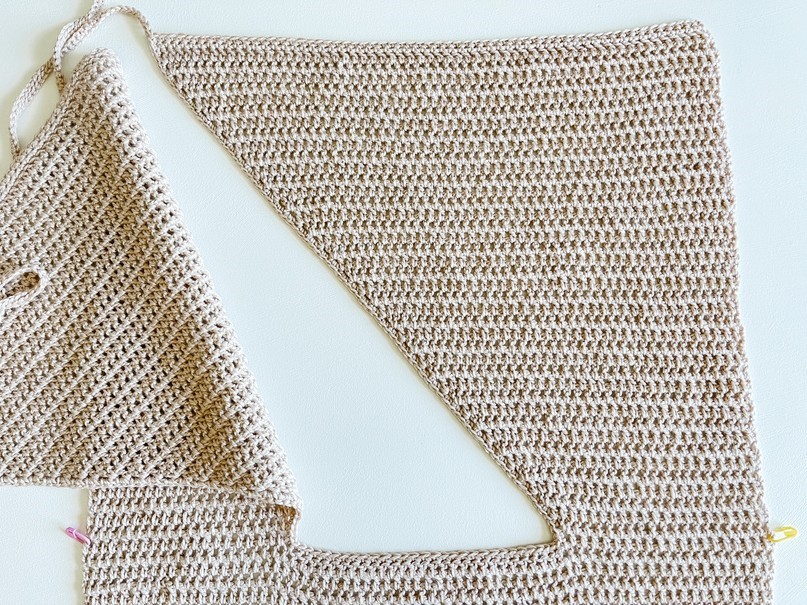
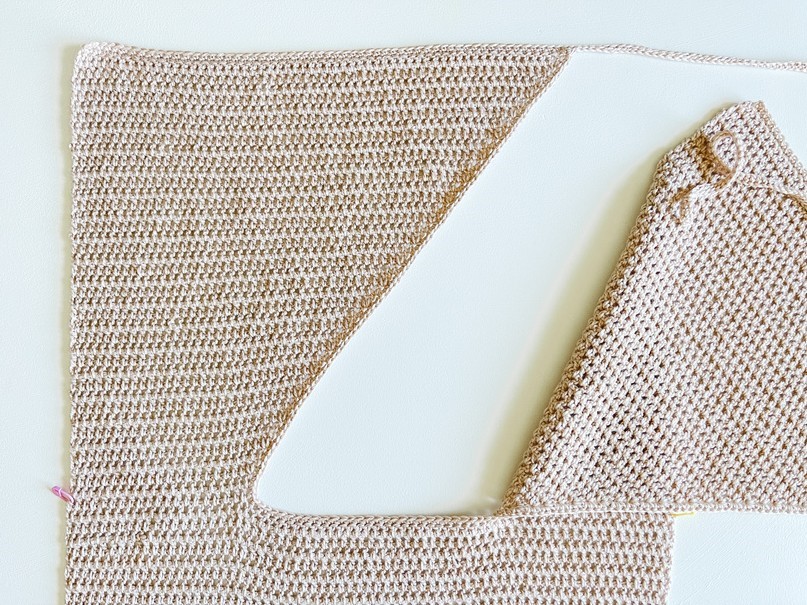
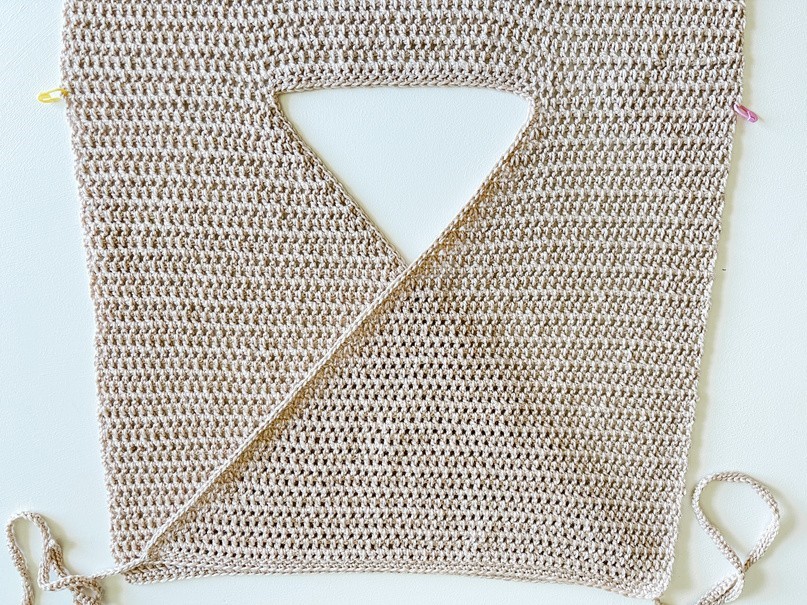
The front panels are increased to create the triangular crossover. Ties are added to secure the panels at the back. The sleeves are worked separately and seamed to the body.
The pattern is written for the smallest size with larger sizes in parentheses ( ). If there is only 1 number, it applies to all sizes.
Step by step video tutorial is provided on our YouTube channel for size medium. https://youtu.be/zoMnIn5vJRE
SPECIAL STITCHES
Double Crochet Space (dcs): Work a double crochet as normal but instead of going through both loops of the stitch, crochet the dc in the space between the sts.
MEASURING INSTRUCTIONS – CUSTOMIZING TIPS
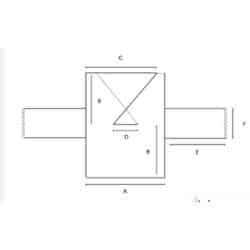
The cardigan can easily be modified for a customized fit. The following page includes a schematic. Before beginning the cardigan, measure your arm width/length and bust. The medium size is modelled on a 5’6″ model with a 36″ Bust. This provides 2″ of positive bust ease. Choose the size based on desired ease. For a fitted bodice, choose the exact bust measurement or negative ease of 2″.
The sleeve length is 18″. Measure from the underarm to the start of fingers and subtract 2 for the correct length. The model’s arm to fingers measures 20″.
Any sleeve size can be added to the body. Check the schematic measurements for the desired fit. The sleeve stitch pattern can only be altered in multiples of 8.


Pattern & Tutorial : The Sea Shells Wrap Cardigan
SCHEMATIC
A: 15 (17, 19, 21, 23, 25, 27, 29, 31)”
B: 13 (14, 15, 16, 16.5, 17, 18, 19, 19.5)”
C: 13.25 (15, 16.75, 18.25, 20, 21.25, 23, 24.75, 26)”
D: 8″
E: 18″
F: 10 (12, 14, 16, 16, 18, 20, 22, 22)”
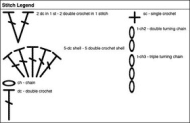
STITCH CHART
Chain a multiple of 8 plus 2

PATTERN
XS (S, M, L, XL, 2X, 3X, 4X, 5X)
Notes: The body is worked in one piece from the bottom up, starting at the back. A helpful tip is to place a stitch marker on the RS of your work.
Back Band
Row 1 (RS): With the larger hook, ch 55 (61, 69, 75, 83, 89, 97, 105, 111), work 1 sc in the back hump of the 2nd ch from hook and in each ch across, turn—54 (60, 68, 74, 82,88, 96, 104, 110) sts.
Row 2 (WS): Ch 1 (not included as a st here and throughout), work 1 sc in each st across, turn—54 (60, 68, 74, 82, 88, 96,104, 110) sts.
Body
Row 1 (RS): Ch 2 (not included as a st here and throughout), work 1 dc in each st across, turn—54 (60, 68, 74, 82, 88, 96,104, 110) sts.
Row 2: Ch 2, dcs in each sp across, adding the last dcs between the last st and ch 2 sp, turn—54 (60, 68, 74, 82, 88, 96, 104, 110)sts.
Rows 3-34 (38, 40, 42, 44, 46, 48, 50, 52):
Rep Row 2, ending on the WS of work. Leave working loop.
Mark Neck Opening
Neck opening is 28 sts for all sizes. Left and Right side count over 13 (16, 20, 23, 27, 30, 34, 38, 41) sts, pm in the next st. The neck opening should measure approximately 7.75-8″.
Right Front Panel
Continue from the working loop.
Centre Row: Ch 2, dcs in each sp across to
maker, turn—13 (16, 20, 23, 27, 30, 34, 38,
41) sts. Pm in ch 2 to mark the centre shoulder.
Row 1 (WS): Ch 2, 2 dcs in the first sp, dcs in each sp across, turn—14 (17, 21, 24, 28,31, 35, 39, 42) sts.
Row 2 (RS): Ch 2, dcs in each sp across to the last sp, 2 dcs in the last sp, turn—15 (18, 22, 25, 29, 32, 36, 40, 43) sts.
Rows 3-34 (38, 40, 42, 44, 46, 48, 50, 52):
Rep Row 1 and 2 ending with 47 (54, 60, 65,71, 76, 82, 88, 93) sts.
Band
Row 1 (WS): Ch 1, work 1 sc in each st across, turn—47 (54, 60, 65, 71, 76, 82, 88,93) sts.
Row 2 (RS): Ch 1, work 1 sc in each st across—47 (54, 60, 65, 71, 76, 82, 88, 93)sts. Leave the working loop for tie and edging.
Left Front Panel
Leave neck opening unworked, join yarn in the first sp to the left of the marker.
Centre Row: Ch 2, dcs in each sp across, turn—13 (16, 20, 23, 27, 30, 34, 38, 41) sts. Pm in the last st to mark the centre shoulder.
Row 1 (WS): Ch 2, dcs in each sp across to the last sp, 2 dcs in the last sp, turn—14 (17, 21, 24, 28, 31, 35, 39, 42) sts.
Row 2 (RS): Ch 2, 2 dcs in the first sp, dcs in each sp across, turn—15 (18, 22, 25, 29, 32, 36,40, 43) sts.
Rows 3-34 (38, 40, 42, 44, 46, 48, 50, 52):
Rep Row 1 and 2 ending with 47 (54, 60, 65, 71,76, 82, 88, 93) sts.
Band
Row 1 (WS): Ch 1, work 1 sc in each st across—47 (54, 60, 65, 71, 76, 82, 88, 93) sts. Fasten off and weave in tails. The last row is to be completed with edging.
Edging/Ties
Join back into the working loop from the right front panel band with the larger hook.
Right Tie
Ch 91 (96, 101, 106, 111, 116, 121, 126, 131),work 1 sc in the back hump of the 2nd ch from hook and in each ch across.
Edging – Change to the smaller hook
Work up the right front panel, 1 sc in each sc row, 2 sc per dc row across, work 1 sc in the corner of the neck, 1 sc per st across neck (28 sts), 1 sc at the neck corner, work down the left panel, 2 sc per dc st, 1 sc in the last sc row.
Left Tie – Change to the larger hook
Ch 91 (96, 101, 106, 111, 116, 121, 126, 131), work 1 sc in the back hump of the 2nd ch from hook and in each ch across, work 1 sc in each st across the front panel completing the final row of the band. Fasten off and weave in tails.
Sleeves – Make 2
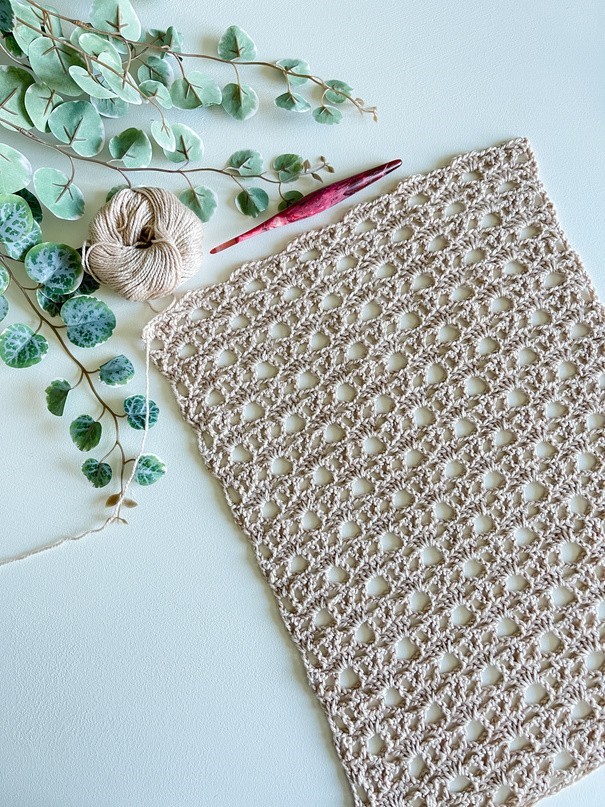
Refer to the stitch chart
Sleeve length is 18″ for a shorter or longer sleeve; add more or fewer rows. End on row 2 or row 4.
The stitch pattern is worked in multiples of 8 plus 2.
Setup row (RS): Ch 42 (50, 58, 65, 65, 73,81, 89, 89), 1 sc in the 2nd ch from hook, *ch 2, sk next 3 chs, 5 dc in the next ch (shell made), ch 2, sk next 3 chs, 1 sc in the next ch; rep from * across, turn—5 (6, 7, 8, 8, 9,10, 11, 11) shells.
Row 1 (WS): Ch 4 (counts as 1 dc, ch 1), sk first sc, * 1 dc in the next dc, ch 2, sk dc, (1dc, ch 2, 1 dc) in next dc, ch 2, sk dc, 1 dc in next dc, ch 1, sk sc; rep from * across, 1 dc in last sc, turn.
Row 2: Ch 3 (counts as 1 dc), 2 dc in the first ch-1 sp, * ch 2, sk next ch-2 sp, 1 sc in the next ch-2 sp, ch 2, sk next ch-2 sp, 5 dc in the next ch-1 sp; rep from * across, ending with 2 dc in the last ch-1 sp, 1 dc in the top of the turning ch, turn.
Row 3: Ch 4 (counts as 1 dc, ch 1), 1 dc in the first dc, ch 2, sk next dc, 1 dc in next dc, ch 1, sk next sc, * 1 dc in the first dc of shell, ch 2**, sk next dc, (1 dc, ch 2, 1 dc) in the next dc, ch 2, sk the next dc, 1 dc in the last dc of the shell, ch 1, sk next sc; rep from across, ending the last rep at **, (1 dc, ch 1, 1 dc) in the top of the turning ch, turn.
Row 4: Ch 1 (counts as 1 sc), 1 sc in the next ch-1 sp, ch 2, sk next ch-2 sp, 5 dc in the next ch-1 sp, *ch 2, sk next ch-2 sp, 1 sc in the next ch-2 sp, ch 2, sk the next ch-2 sp, 5 dc in the next ch-1 sp; rep from * across to the last 2 sps, ch 2, sk next ch-2 sp, 1 sc in the last ch-1 sp, 1 sc in the turning ch, turn.
Rows 5-38: Rep Rows 1-4, ending on Row2. Fasten off with a long tail for seaming the sides and sleeves.
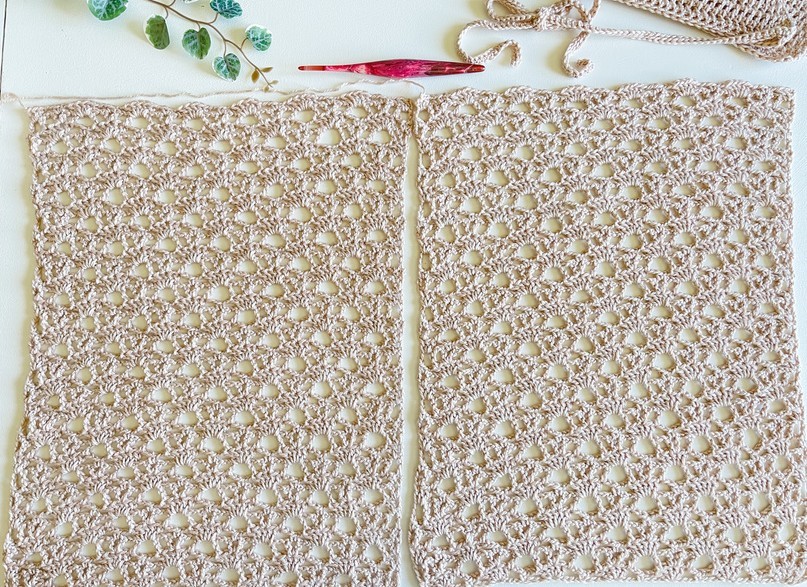
Blocking
Steam – Option #1
Steam block sleeves and body to schematic measurements.
Wet Block – Option #2
Wet the entire garment in lukewarm water with a small amount of dish soap or woolwash. Allow soaking for around 30 min. Squeeze out as much water as possible.
Wrap the garment in a towel to press out the excess water. Lay the garment out on blocking mats and pin it to the schematic measurements. Allow the garment to dry thoroughly.

Seaming
Sleeves to the Body
Repeat for the left and right sleeves.
Mark the sleeve width on the body. Sleeve width for each size is 10 (12, 14, 16, 16, 18,20, 22, 22)”.
From the shoulder marker, left and right measure over 5 (6, 7, 8, 8, 9, 10, 11, 11)”, pm.
With RS facing, seam the sleeves to the body with a whip stitch.
Use the markers as a guide so that the sleeves are seamed to the correct width.
Make sure the sleeve is stretched when seaming. Weave in ends
Sides and Sleeves
Repeat for the Left and Right Sides.
Fold the RS facing, lining up the sides and sleeves (ensure the lace pattern is lined up correctly).
With yarn needle and yarn, whip stitch sleeve and side together.
Weave in ends.
How to Wear
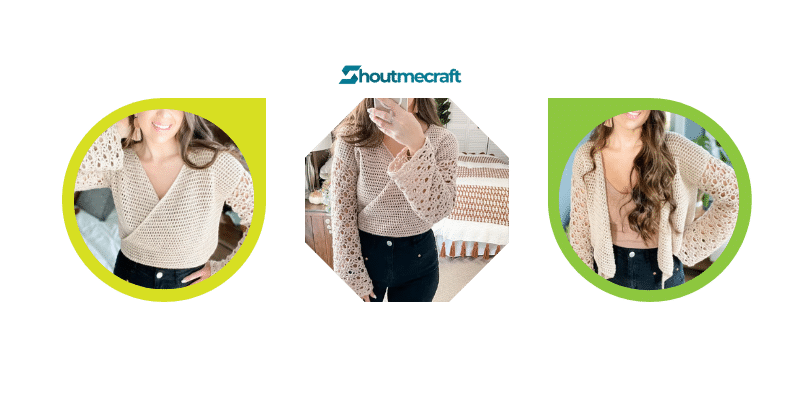
Cross over the front panels and tie strings to the back of the sweater.
You may also wear the cardigan open for a casual and flowy look.
