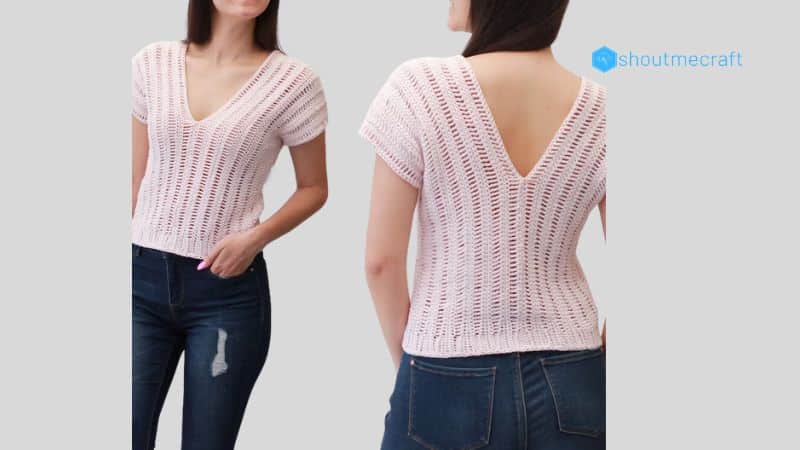
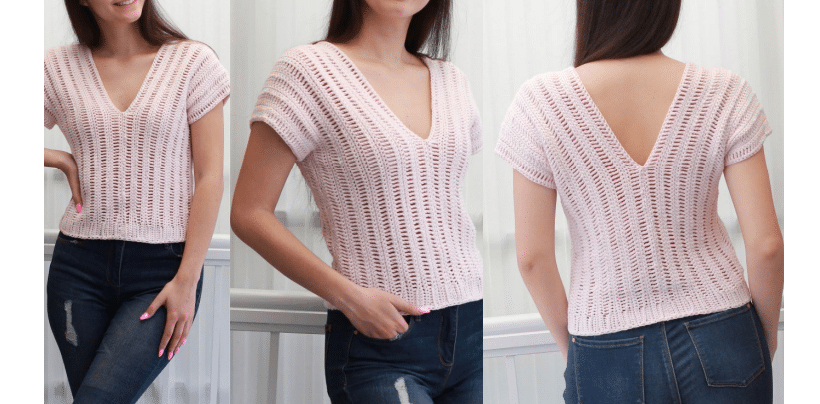
The design for this easy& beginner trendy top is different from everything you’ve seen so far! You’ll love this so easy way to crochet this beautiful top, with an amazing texture. Wear it at the beach or in the city, in the morning or in the evening
Materials needed
- Sport yarn: 700[ 760, 830, 890, 990, 1070] yds.
- Recommended yarn: Premier Yarns Cotton Fair, Lorena-Ice Yarns.
G6-4mm crochet hook / Tapestry needle - Gauge: 16SC = 4” / 10 cm – check your gauge and adjust if necessary, to ensure a better fit
- Ch=chain / St(s) =stitch(es) / R=row
- HDC=Half Double Crochet / BLHDC=Back Loop half double crochet
- SC= single crochet / DC= double crochet / TC= triple crochet

Info:
- *For size XS, work pattern as written. Counts in brackets ([]) are for size S, M, L, XL, XXL
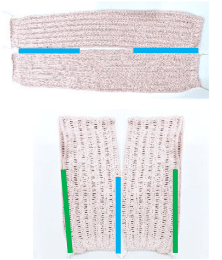
- ** This lace top is crochet in two identical, long rectangles. Each rectangle is worked from arm to
- center (see the picture on the next page) and fastened off. The two rectangles are seamed together.
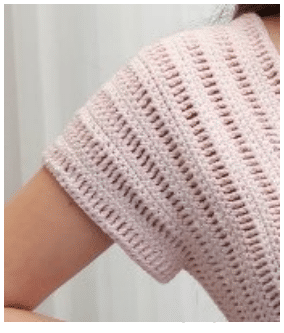
- ***The sleeves are worked in the round.
- ****The Chain at the beginning of the row does not count as a stitch.
- *****For a longer or shorter top, add / subtract stitches to/from the initial chain.
Measure your bust to choose the size
- Sizes: XS [S, M, L, XL, XXL]
- Bust: 31″ [ 34″, 37″, 40″, 43″, 47″] – 78 [86, 94, 101, 110, 120]cm
- Finished product dimensions (measurements may vary by gauge and yarn used)
- Length: 19″[19″, 20″, 21″, 22″, 23″] -48[48, 50, 53, 55, 58]cm
- Width: 16.5″ [18″, 19.5″, 21″, 23″, 25″] -42[ 45, 50, 54, 58, 64]cm
So let’s get started!
Rectangle (make two)
Foundation chain: Chain loosely – 171[171, 179, 187, 195, 203] stitches.
- R1: Starting with 2nd st from hook: SC in each st. 170[170, 178, 186, 194, 202].Ch2.Turn
- R2 (RS): 7[ 7, 8, 9, 10, 11]BLHDC, 3DC, continue with TC until 10[10, 11, 12, 13, 14] stitches remains on row , 3DC, finish the row by 7[ 7, 8, 9, 10, 11]BLHDC. Ch1. Turn.
- R3 (WS): SC in 3rd loop of HDC, for a total of 7[ 7, 8, 9, 10, 11]SC,, 3rd loop of HDC
Continue by working in between the posts (not through the stitch)
- SC in the open space after each DC,
- SC in the open space after each TC,
- SC in the open space after each DC – make sure you make the last SC in the open space after the last DC,end the row by SC in 3rd loop of HDC for a total of 7[ 7, 8, 9, 10, 11]SC. Ch1. Turn.
- You have the same number of sts: 170[170, 178, 186, 194, 202].

- R4 (RS): SC in each stitch. 170[170, 178, 186, 194, 202]. Ch1. Turn
- R5 (WS): SC in each stitch. 170[170, 178, 186, 194, 202]. Ch2. Turn
Repeat R2-R5, until you obtain 8.5″[9″,9.75″, 10.5″, 11.5″,12.5″]-is half the width of the top.
- * For a nice finish, at the last repetition work only the rows 2-4, so the last row will be row 4,instead of row5.
- ** If you prefer a wider blouse, repeat R2-R5 until you get the desired width.Tie off leaving a 25″ tail for seaming. Bind off.
Make the second rectangle identical to the first rectangle.
Assembly
After both rectangles are made, them are seamed together, at the center & sides.
The center assembly (the blue lines)
- line them up and sew at the center, using the mattress stitch, or your preferred seaming method: front seam and back seam–to create the plunging v-neck
The side assembly (the green lines)
- bend the rectangles and overlap them,
- sew up on each side from the bottom of both the front and back panels up leaving approximately 4 [4.5, 5, 6, 7, 8]” open for the arm holes.

Sleeves (work twice)
Worked in round, but Turn at the end of Row and make the next Row on the opposite side:
- R1( WS): With the wrong side facing you, join yarn with a slip st in bottom of one sleeve opening, Ch1 and crochet SC in each stitch up to shoulder and down along the armhole. Join with SlSt in Ch1. Ch3. Turn.
- R2( RS): TC in each SC. Ch1. Turn.
- R3 ( WS): SC in the open space after each TC, then working in between the posts. Join with SlSt in Ch1. Cut the yarn. Bind off.
Add a single crochet border around the bottom:
- With the wrong side facing you, join yarn with a slip st in the bottom edge, sideways.
- Ch1 and crochet SC in each stitch around the edge.
- Join with SlSt in Ch1.
- Cut the yarn. Bind off.

Congratulations !
