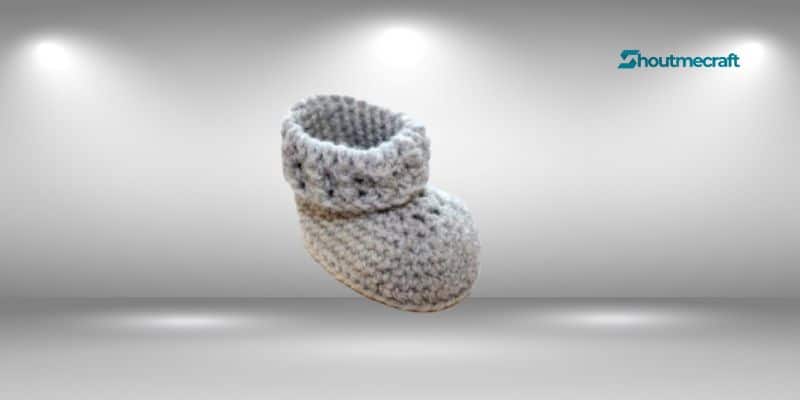
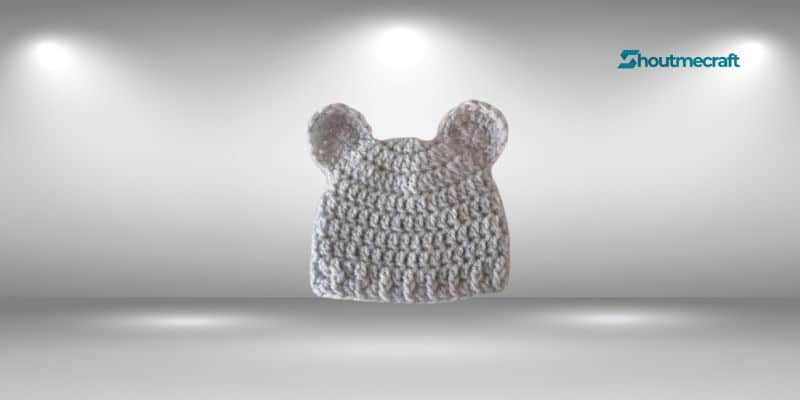
Crochet Pattern Teddy Hat and Booties – So cute! You’ll want to make several pairs in every color. Favored by aunties, grandmas, godmothers and even great-grandmothers😊
Materials/Tools
Booties – 3.5 mm hook (new born size) or 4 mm hook (size 0-6 month) Hat – 4.5mm
The booties and hat pictured were made using DK acrylic Darning needle
Scissors
Important Pattern Info- Booties
Always begin your rounds in the same stitch as your chain
Rounds 2-5 end your round in the same stitch as your chain. This will result in you adding an extra stitch to each round
Pattern written using USA crochet terms.
The pattern starts with the sole first working upwards.
Sizing Booties (measured heel to toe of bootie)
New born 3.5 inches 0-6 Months 4 inches
Abbreviations Both Pattern
- CH Chain
- SC Single Crochet
- HDC Half Double Crochet
- DC Double Crochet
- ST Stitch
- FPDC Front Post Double Crochet
- BPDC Back Post Double Crochet
THE BOOTIES

R1 => CH10, SC in 2nd chain from hook, SC in next 7 chains, 5 SC in the last chain.
Turning your work you are now going to crochet along the opposite side of the foundation chain.
SC in the next 8 chains, SL ST to join. (21)
R2 => CH2. HDC in same ST as CH2, 2HDC in next ST, HDC in next 6 ST, 2HDC in next 2 ST, HDC in next 2 ST, 2HDC in next 2 ST, HDC in next 6 ST, 2HDC in next ST, HDC in last space, SL ST to join (28)
R3 => CH1. SC in same ST as CH1 and the next 9 STs, 2SC in next 2 ST, 2 HDC in next 5 ST, 2 SC in next 2 ST, SC in next 10, SL ST to join (38)
R4 => CH1. Working in back loops only. SC in same ST as CH1. SC around in back loops only. Place final SC in same ST as CH1. SL ST to join. (39)
R5 => Working in both loops CH1. SC in same ST as CH1. Place final SC in same ST as CH1. SL ST to join. (40)
R6-7 => WORKING IN BOTH LOOPS. CH1, SC in same ST as CH1. SC around, place your final SC in the final ST of the last round (your stitch count should not increase. SL ST to join, (40)
R8 => CH1. SC in same ST as CH1, SC in next 11 ST, [SC DECREASE, SC in next 2 ST] COMPLETE X4, SC IN THE LAST 12 ST, SL ST to join. (36)
R9 => CH1. SC in same ST as CH1. SC in next 13 ST, [SC DECREASE, SC,] COMPLETE X3 , SC IN LAST 13 ST, SL ST to join. (33)
R10 => CH1, SC in same ST as CH1. SC in next 9 STs, 6 SC DECREASES, SC 11, SL ST to join. (27)
R11 CH1. SC in same ST as CH1. SC in next 9 STs, 3 SC DECREASES, SC 11, SL ST to join. (24)
R12 CH1. SC in same ST as CH1. SC in next 9 STs, 2 SC DECREASE, SC 10, SL ST to join (22).
R13-18 CH1, SC in same ST as CH1. SC in next 21 ST (22)
R19 CH2, DC in same ST as CH2. DC in next 21 ST (22)
R20 CH2, FPDC into first DC of previous round. BPDC into the next DC from previous round. Repeat in this way until the end of the round. SS to join. (22)
R21 repeat R20 making sure your FPDC and BPDC have the same placement as the previous round to ensure that the ribbing detail matches and looks like one continuous texture. (22)
R22 CH1, SC into same ST as CH1. SC into each ST around. (22)
Fasten off and weave in your ends.
The Hat

Size Newborn
R1 MR, CH3, DC 11 into the MR, SS into top of first DC (11)
R2 CH3, DC twice in the same ST as CH3 and in each ST around. SS into top of first DC (22)
R3 CH3, DC in the same ST as CH3, DC twice into the next ST. Repeat to end of round. SS into top of first DC (33)
R4-R6 CH3, DC in the same ST as CH3, DC in each ST around. SS into top of CH3. (33)
R7-R8 Using the same colour as inner ears (pictured as white) attach yarn and CH3, DC in the same ST as CH3, *FPDC, DC* repeat * around until end. SS to join. (33)
Fasten off and weave in ends
Size 0-6 Months
Using 2 strands of yarn in your choice of colour
R1 MR, CH3, DC 11 into the MR, SS into top of first DC (11)
R2 CH3, DC twice in the same ST as CH3 and in each ST around. SS into top of first DC (22)
R3 CH3, DC in the same ST as CH3, DC twice into the next ST. Repeat to end of round. SS into top of first DC (33)
R4 CH3, DC in the same ST as CH3, DC in the next 9 ST. DC2 in the next ST. *DC in next 10 ST, DC2 in the next ST* repeat to the end of the round (36)
R5-7 CH3, DC in the same ST as CH3, DC in each ST around. SS into top of CH3. (36)
R8-9 Using the same colour as inner ears (pictured as white) attach yarn and CH3, DC in the same ST as CH3, *FPDC, DC* repeat * around until end. SS to join. (36)
Fasten off and weave in ends
Ears
Make 2.
R1 MR. CH2 and 10 DC into the magic circle, SS to join (10)
R2 CH2, 2DC into same ST as CH. 2 DC in next 7 STs. SS into next DC. This should form a flat section. It’s this flat section that is the edge used to attach the ear to the hat
Fasten off and weave in ends. Sew the ears to the top of the hat. Choose your placement
whilst the hat is lay flat with the seam to the rear.