Patten includes all necessary information for bag making process including bottom reinforcement and lining. It is very detailed and has a lot of photos.
CROCHET MEASUREMENTS
SIZE A:
- Width: 16 in (40 cm)
- Depth: 5 in (12 cm)
- Height: 10,5 in (27 cm)
- Handle Length: 16.5 in (42 cm)
SIZE B:
- Width: 17 in (43 cm)
- Depth: 5 in (12 cm)
- Height: 11-5 in (29 cm)
- Handle Length: 16.5 in (42 cm)
MATERIALS
- Crochet hook: 4 mm (US G)
- USED Yarn:
- Name: Cable4
- Colour: Beige
- Type: DK / 8 ply for Needles 4-4.5mm (US 6-7)
- Composition: 100% Cotton
Quantity:
- Size A: 5 balls each 100 g. (3.53 Oz) with the length of 205mt (224 yds).
- Size B: 6 balls each 100 g. (3.53 Oz) with the length of 205mt (224 yds).
- You can use the yarn of other producers with the same
characteristics.
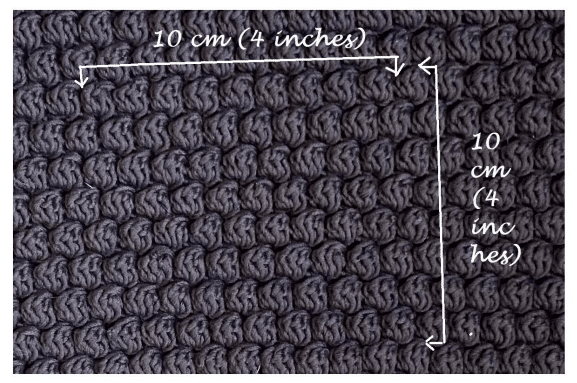
GUAGE
18 sts and 16 rows (cluster, sc) in 10 cm (4 inches)
STITCH CLOSSARY AND SYMBOLS
1. Chain

2. Single crochet USA (in UK double crochet)

3. Cluster (in UK Treble Cluster)
(YO, insert hook in stitch & draw up a loop, YO & draw through 2 loops on hook) repeat 3 times into the same stitch (you should end up with 5 loops on the hook), YO & draw through all loops on hook.
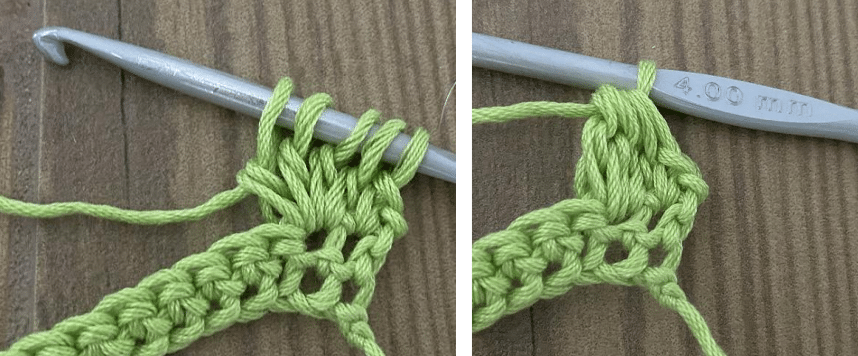
After finishing the cluster single crochet into the next stitch (in the pattern it is the sc which is done after the cluster)
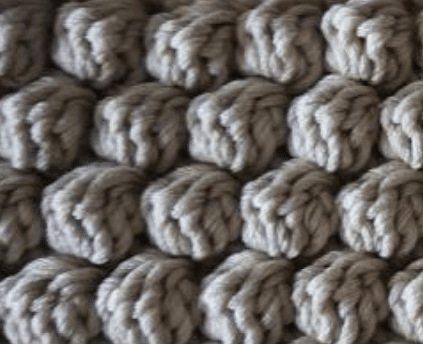
Beginning | SIZE A and SIZE B: Size B is in the ()
Make chain of 77 (83) stitches. Starting from the second chain stitch crochet by single crochet the first Row. Totally you should receive 76 (82) stitches.
Row 1: ch1 (hereandafter used to start the row), all single crochet (sc), turn –76 (82) sts
Row 2: ch1, 1sc, *1 cluster, 1sc* repeat from * to * till the last stitch,1sc. turn – 76 (82) sts
Row 3: ch1, all single crochet (sc), turn – 76 (82) sts
Row 4: ch1, 2sc, *1 cluster, 1sc* repeat from * to * till last 2 stitches, 2sc, turn – 76 (82)
Repeat rows 1-4 8 (9) more times Totally you should make 36 (40) rows
Row 37 (41): ch1, all single crochet (sc), turn – 76 (82) sts
Row 38 (42): 1sc, *1 cluster, 1sc* repeat from * to * till the last stitch,1sc – 76 (82) sts
Row 39 (43): ch1, all single crochet (sc), turn – 76 (82) sts
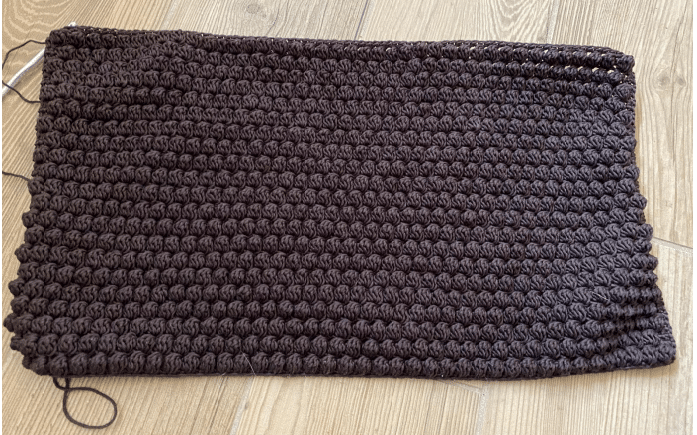
(You should achieve the height about 24 (26) cm ((9.5 (10.2) inches))
Bottom shaping
Row 1: ch1, 10sc, *1 cluster, 1sc* repeat from * to * till the last 10 stitches,1sc. turn – 67 (73) sts

Row 2: ch1, 58 (64) sc, turn
Row 3: ch1, 2sc, *1 cluster, 1sc* repeat from * to * till the last 2 stitches,2sc. turn – 58 (64) sts
Row 4: ch1, 58 (64) sc, turn
Repeat rows 3-4 3 more times
Make the second part of the bag by the same way
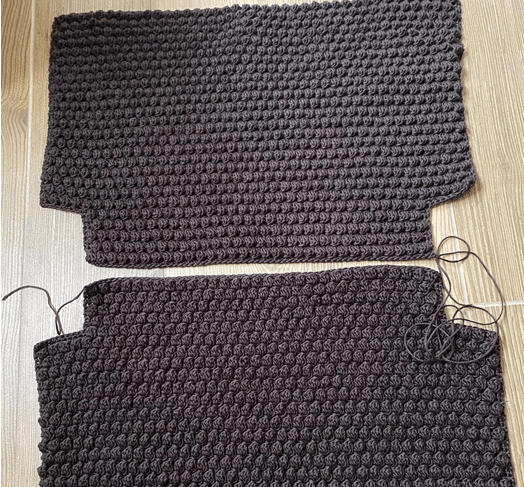
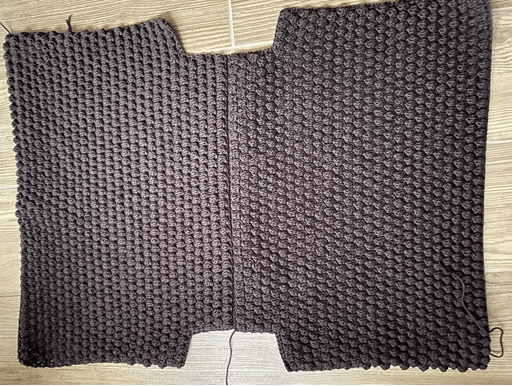
Join 2 bottom parts by slip stitch
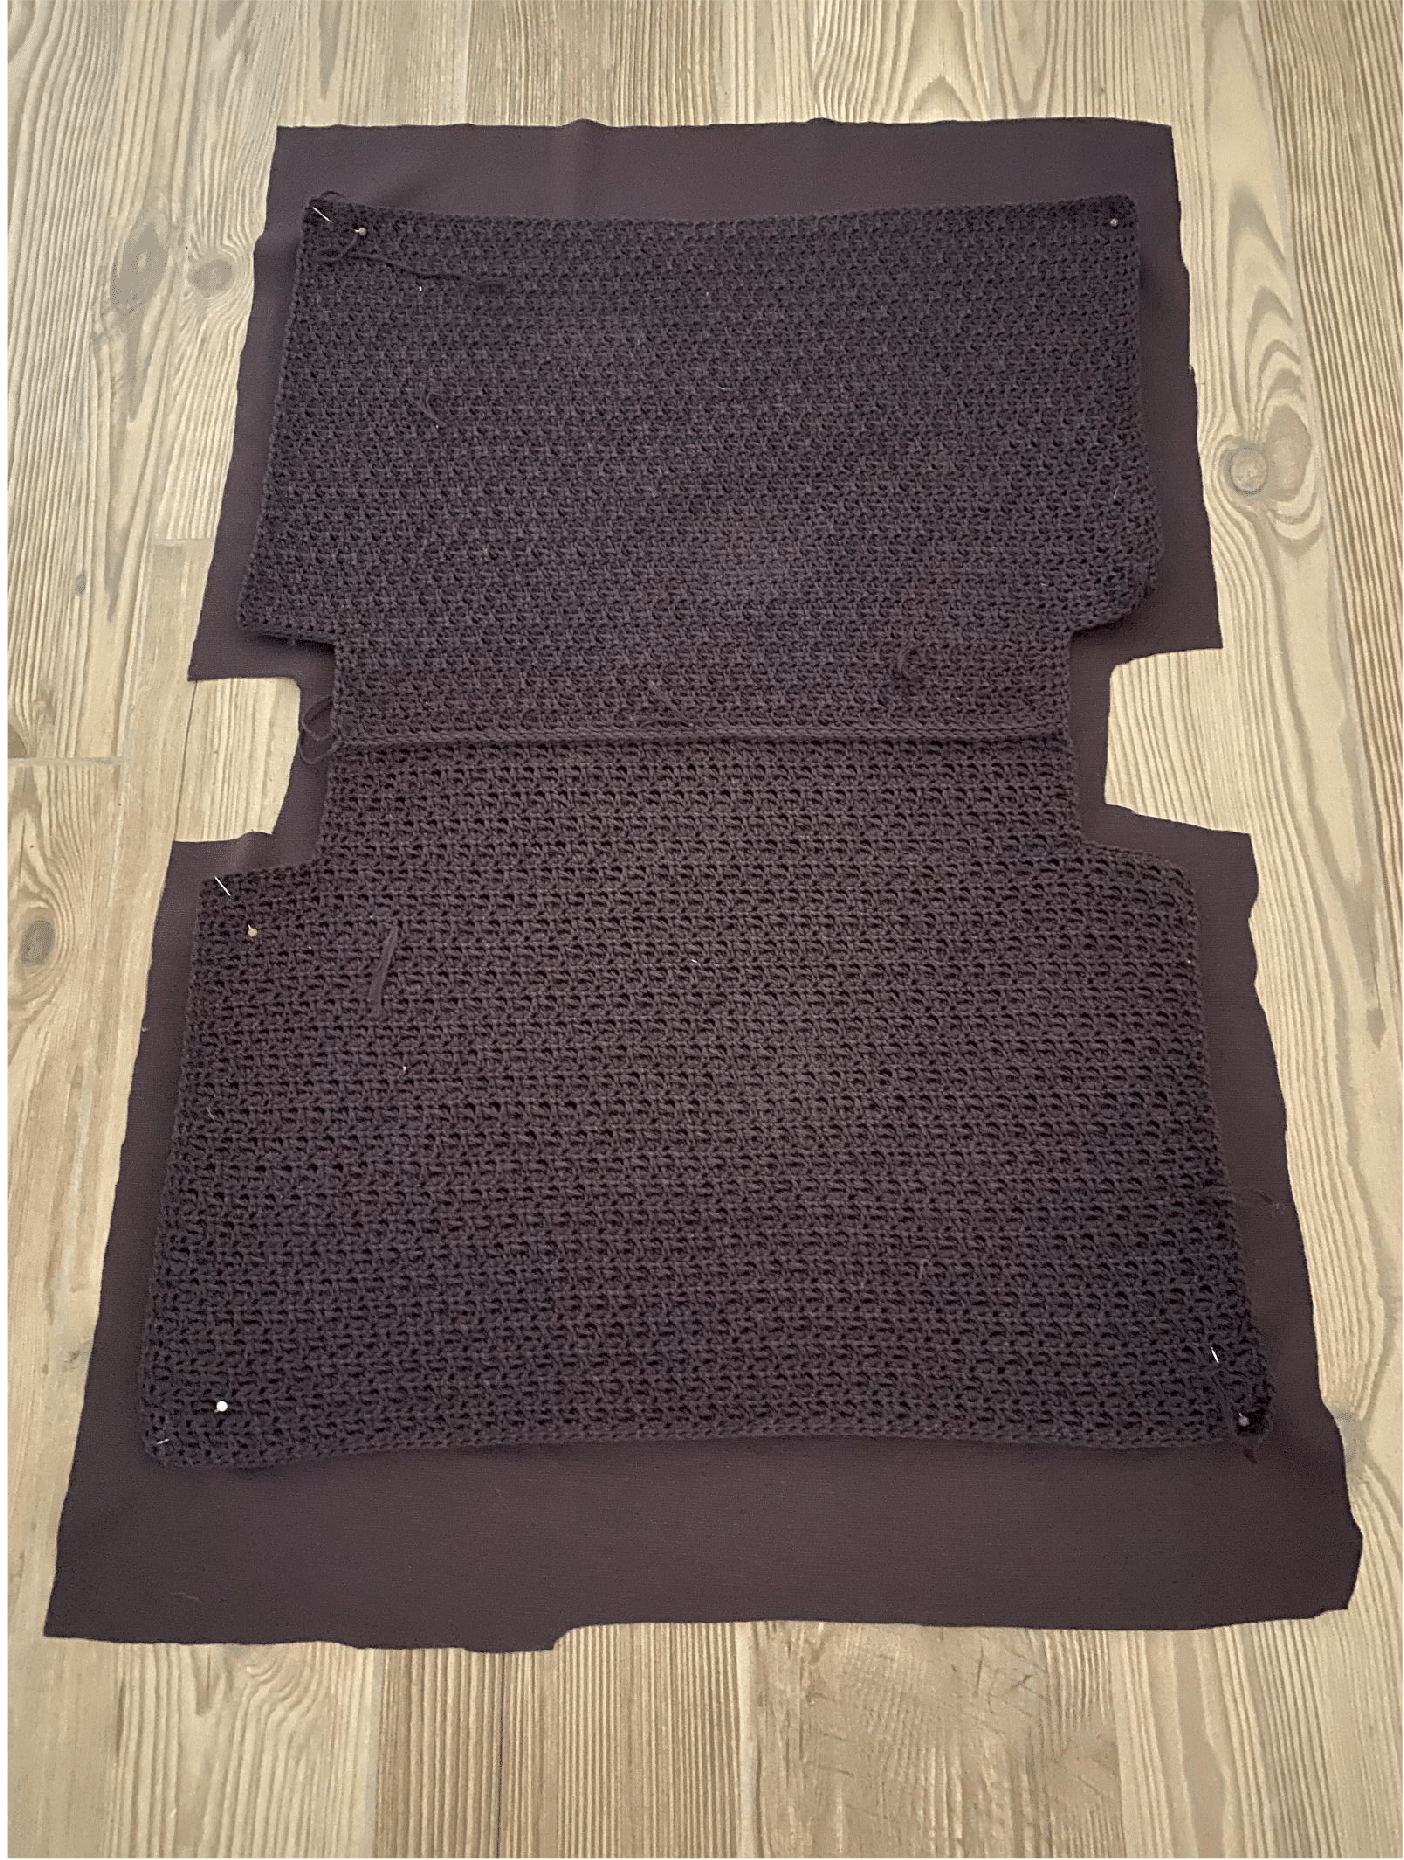
Cut the lining fabric following the work shape leaving about 2cm (0.8 inch) from all sides for seaming. Leave about 5 cm (2 inches) on the top
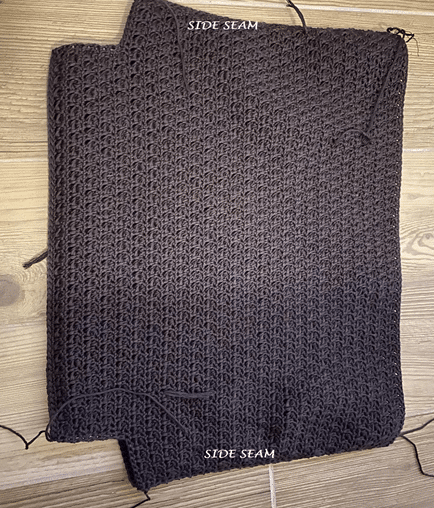
Join the sides of the crochet work by slip stitch
Finish bottom joining by slip stitch
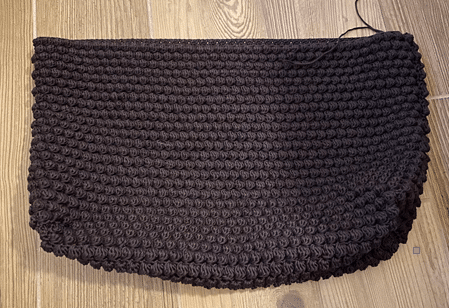
Top of the Bag
Round 1: join the yarn to the one of the side seams on the top of the bag. Start crocheting around making sc stitches into sc stitches and 1sc into each of the side seams Totally you should get 154 (166) stitches
Next rounds are crocheted in spiral. No need to make ch1 at the beginning of each round.
Round 2-11: 154 (166) sc
Finished last round make sl st into next stitch. Cut the yarn and path the yarn tail through the last stitch to close it
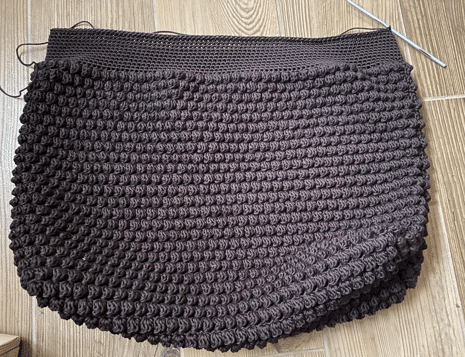
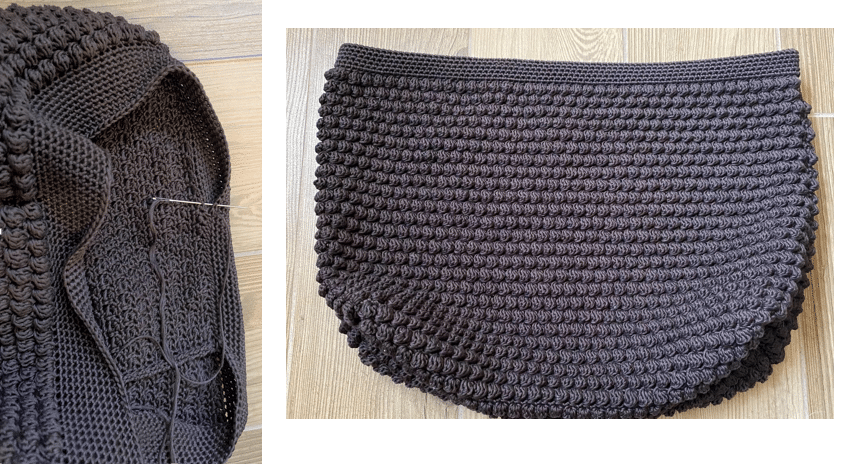
Finish the top joining last round to the first round from the wrong side by tapestry needle and yarn
Handles
Make chain of 103 stitches. Starting from the second chain stitch crochet by single crochet the first Row. Totally you should receive 102 stitches.
Row 1-7: ch1 (hereandafter used to start the row), all single crochet (sc), turn –102 sts
Finished crocheting join 2 sides of the handle by slip stitch
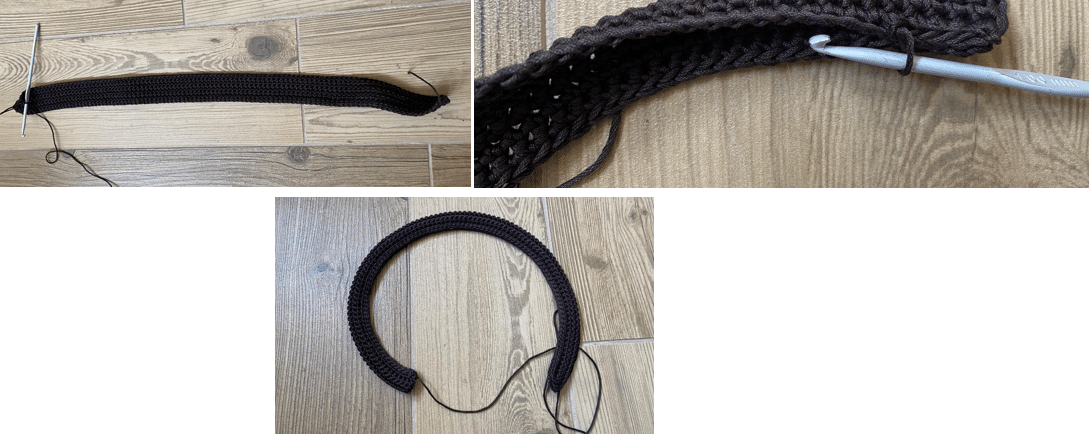
Make the second handle by the same way
Attach handles to the bag from the wrong side. Use tapestry needle and the yarn
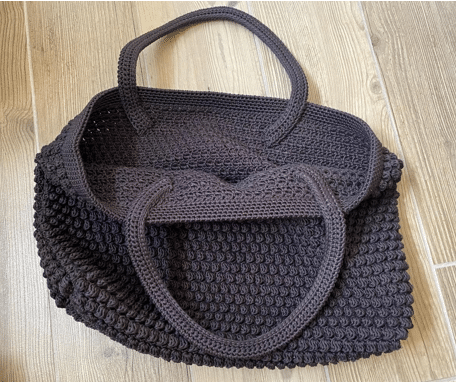
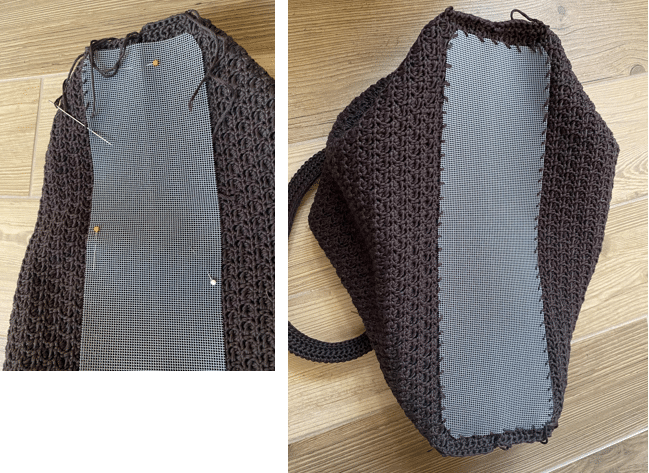
Bottom reinforcement
If you want to force the bottom of your bag you just need to cut soft plastic grid or any other material (as waterproof fabric, eco leather etc ) following the shape of the bottom. Attach it to the bottom from the wrong side using tapestry needle
Lining finishing
Make side and bottom seams to finish the lining part
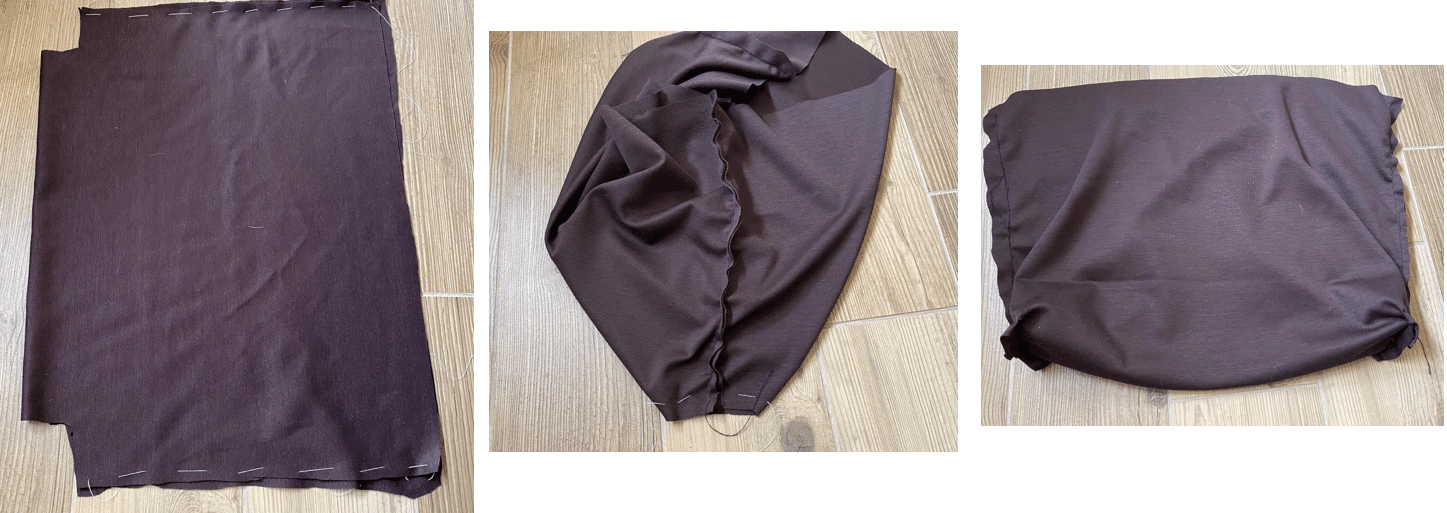
Fold the top part using iron
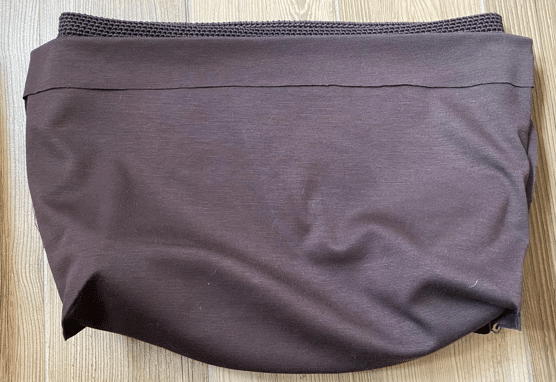
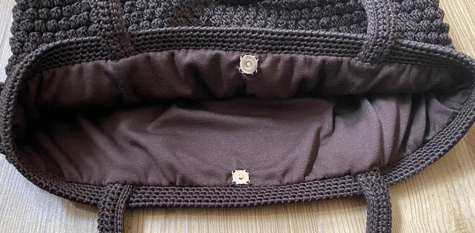
Put the lining inside of the bag and attach it using tapestry needle as shown on the photo below

Attach magnetic closure
Bag Videos
- Video1 (Main Part): https://www.youtube.com/watch?v=6PMSdR07As0
- Video 2 (Bottom Shaping): https://www.youtube.com/watch?v=KaNIcyxxgqg
- Video 3 (Assembling): https://www.youtube.com/watch?v=7dX3aALGrr8
- Video 4 (Top shaping): https://www.youtube.com/watch?v=IPkMSFejg8c
- Video 5 (Handles Lining attaching): https://www.youtube.com/watch?v=QgGAeieTVAE