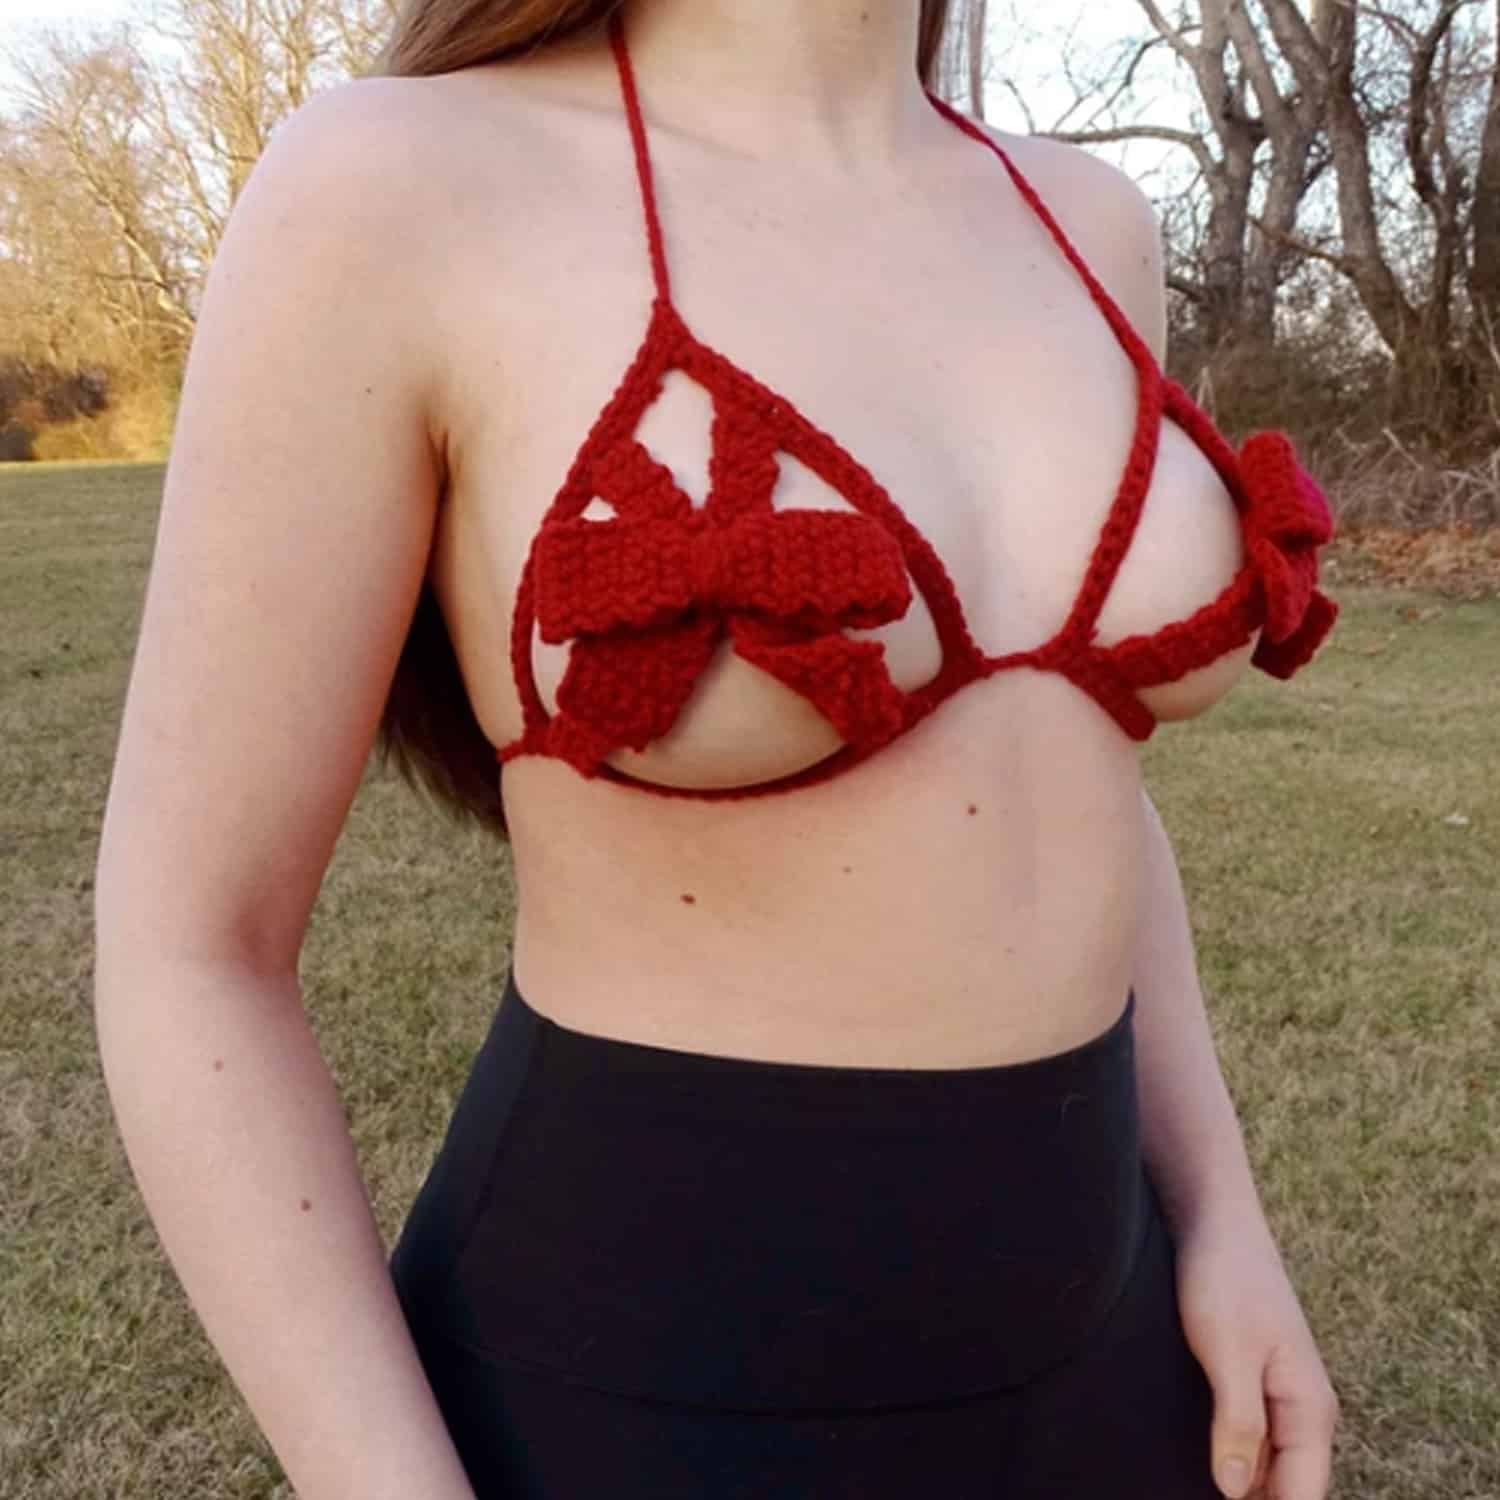
A sexy crochet bralette with bows and adjustable straps – a beginner-friendly crochet pattern that’s perfect for valentine’s day, or any day!
Materials
Red Heart Super Saver Economy Solids in
Cherry Red (100, 125, 150, 175)yds
Crochet 3.5 mm hook (E)
tapestry needle
Abbreviations
- Ch = chain
- Sl st = slip stitch
- Sc = single crochet
- Inc = increase
- Dec = decrease
- F/o = fasten off
Gauge
- 8 st ~ 3 in
- Sizing/directions denoted by (XS, S, M, L)
Size Directions
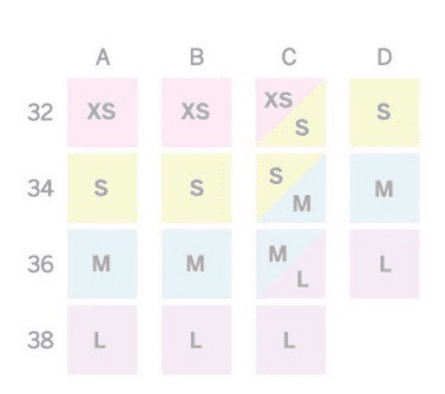
Cup Outline (make 2)
Round 1: Ch (54, 60, 66, 72). Turn, ch 1 (does
not count as st), sc in the 2nd ch from hook. Sc
in the next (16, 18, 20, 22) ch across. Sc-inc in
the next st from hook. *Sc in the next (17, 19,
21, 23) ch from hook. Sc-inc in the next ch.
Repeat from * one more time. When you reach
the end of your chain, sl st into your first st to
form a triangle shape. (57, 63, 69, 75)
Hold this piece up to your chest to make sure it
fits appropriately, and if it is too small / too large
go up or down a size to get the right fit.
If you are happy with the fit, ch 75 and f/o. This
chain of 75 will be the top strap. Weave in ends.
Inner “X” (make 4)
Round 1: Start with a long tail. Ch 5. Turn, sc in
the 2nd ch from hook and in each ch across. (4)
Round 2: Ch 1 (does not count as st), turn,
sc-inc into the SAME space as your ch 1, sc in
the next st, sc-dec. (4)
Round 3: Ch 1 (does not count as st), turn, sc
in the next st from hook and in each st across.
(4)
Rounds 4-(19, 21, 23, 25): continue to
alternate between rounds 2 and 3 until you
have a total of (19, 21, 23, 25) rounds
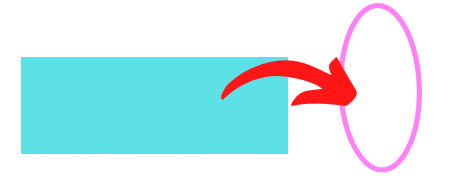
completed. You should end up with a “leaning”
rectangle shape, like the one below.

When you have your completed rectangle, f/o
and leave a long tail for sewing. Once you have
four rectangles in total, use your tapestry
needle to sew one rectangle to the below
circled-spots on one of your cup outlines. Then,
sew another rectangle to the same spot on the
other cup outline. Weave in ends.
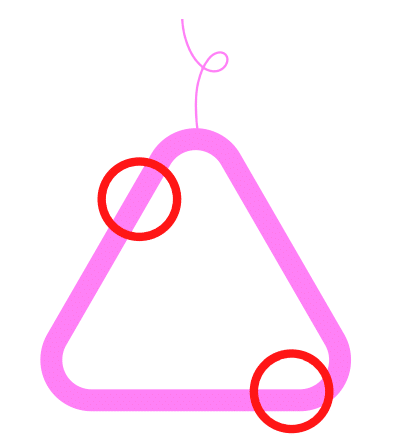
Then, sew the remaining two rectangles to the
circled spots below, putting one on each cup.
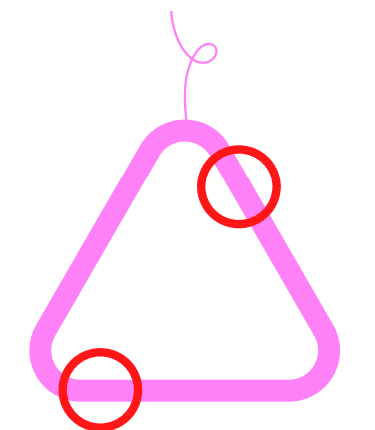
Weave in ends. You should now have both “X”
shapes on each of your cups. Hold up to your
chest to make sure that the X fits comfortably. If
too tight or too loose, add/remove rounds of 2
and 3 to get the right fit, then re-sew to cups.
Bow Base (make 2)
Round 1: Ch 8. Turn, sc in 2nd ch from hook
and in each ch across. (7)
Round 2: Ch 1 (does not count as st), turn, sc
in each st across. (7)
Rounds 3-35: repeat round 2.
By now, you should have a tall rectangle.
Round 36: line up the first and last rounds, and
sl st in each st across through BOTH to join the
shape into a big loop. F/o and weave in ends.
Bow Base (make 2)
Round 37: Flatten your big loop, and set aside for now. Ch 4, and sl st into your first ch to form a small ring. F/o and weave in ends.
Take your “big loop” and pull it through the small ring you just created, so that the ring is in the center of your big loop. This is the start of the bow.
Now, repeat round 37 two more times, and pull the big loop through these additional two rings, so you have a total of three rings in the center of your big loop.
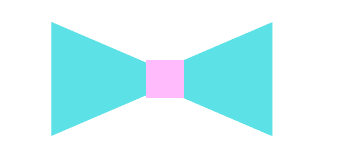
You should now have two bow bases (see graphic on next page)
Bow Ends (make 4)
Now that you have two bow bases, it’s time to make the ends that go on each of the bows.
Round 1: Ch 8. Turn, sc in 2nd ch from hook and in each ch across. (7)
Round 2: Ch 1 (does not count as st), turn, sc in each st across. (7)
Rounds 3-12: Repeat round 2. F/o and leave tail for sewing.
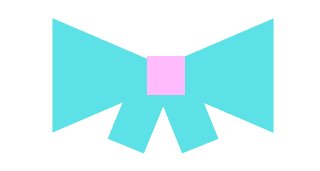
Sew two bow ends to one of the bow bases to create the final shape of the bow (see below).
You should center the bow ends so that they start behind the center of your bow, and flow outward. Sew the remaining two bow ends to your other bow base.
Now that you have both bows completed, sew the entire bow to the center of the cup (where the “X” crosses). Make sure the corner of the triangle with the long chain (your top strap) is directly above the bow. Weave in ends when finished.
Inner Strap (make 1)
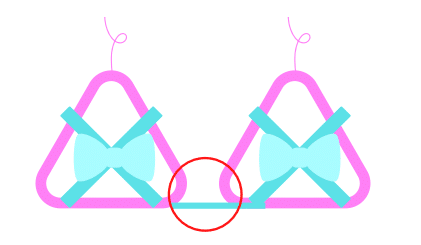
You will now make the inner strap that connects the two cups (see circled graphic). Line up your cups so that the top straps are both facing up.
Sl st into the inner corner of one of the cups, chain 3, and the sl st into the other inner corner, on the opposite cup. F/o and weave in ends.
Back Straps (make 2)
By now all thats left is to create the last straps (ties around the back). Sl st into the outer corner of one of the cups, and ch 95.
F/o and weave in ends. Repeat on the other
outer corner of the opposite cup.
To wear, tie the back straps around your waist, and the top straps around your neck. Fasten to secure.
