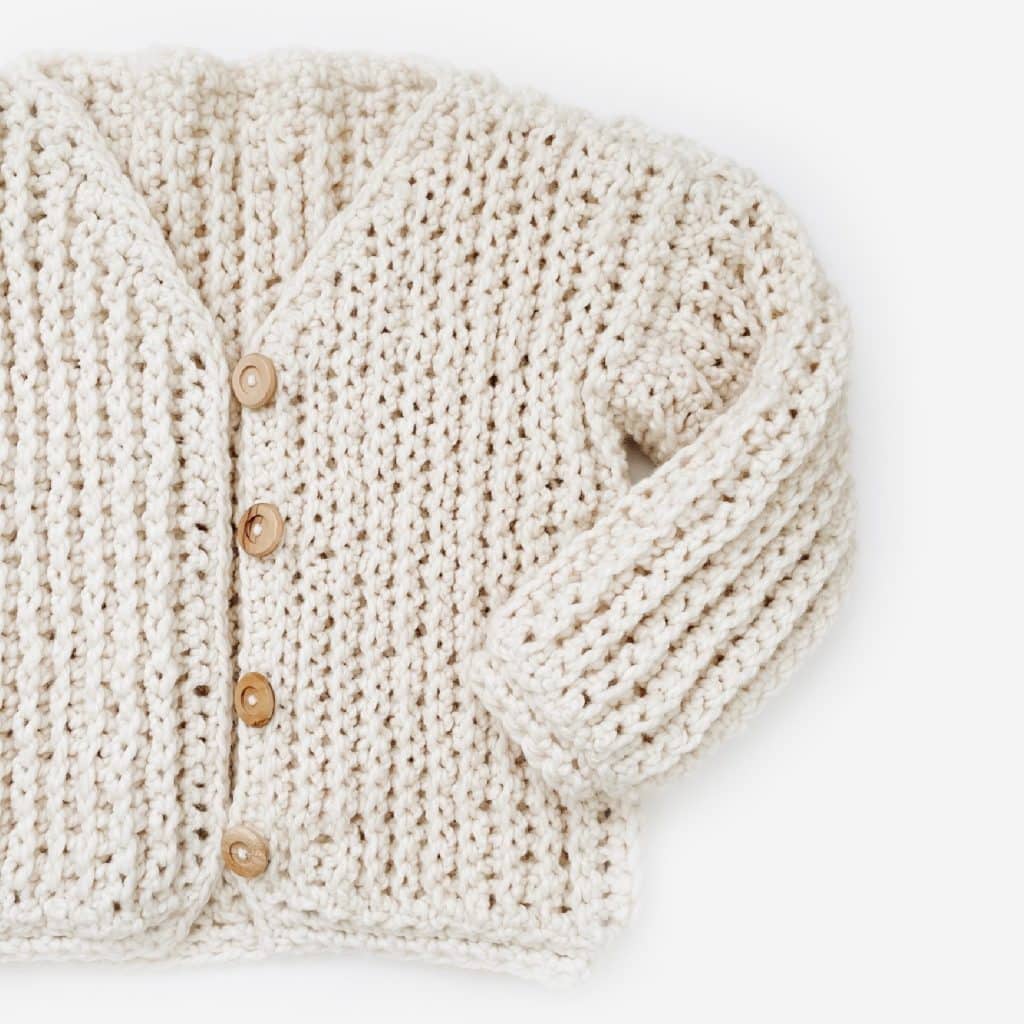
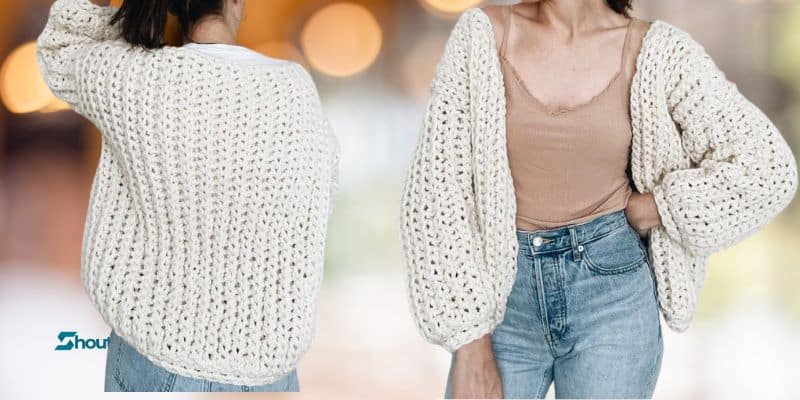
The Cardigan Chunky Knit Sweater is a large fit, chunky ribbed knit sweater. This is a basic knitwear item with simple style.
Work it with simple stitches and shaping; then, think of it as your next best layering item.
Uses weight 6 yarn and 15.0mm hook (alternatively substitute if necessary to get gauge) and 10.0mm hook.
- Method: crochet
- Skill level: easy
- Hook: 15.0 mm
- (substitute if needed to achieve gauge)10.0 mm(only for neckline finishing)
- Yarn: weight 6 super bulky designed with Lion Brand Wool-Ease Thick & Quick
- small/medium (US 0 – 10) 742 yards
- large/x-large (US 12 – 22) 954 yards
- Gauge: 4” x 4” = 6 S x 8 R single crochet back loop only
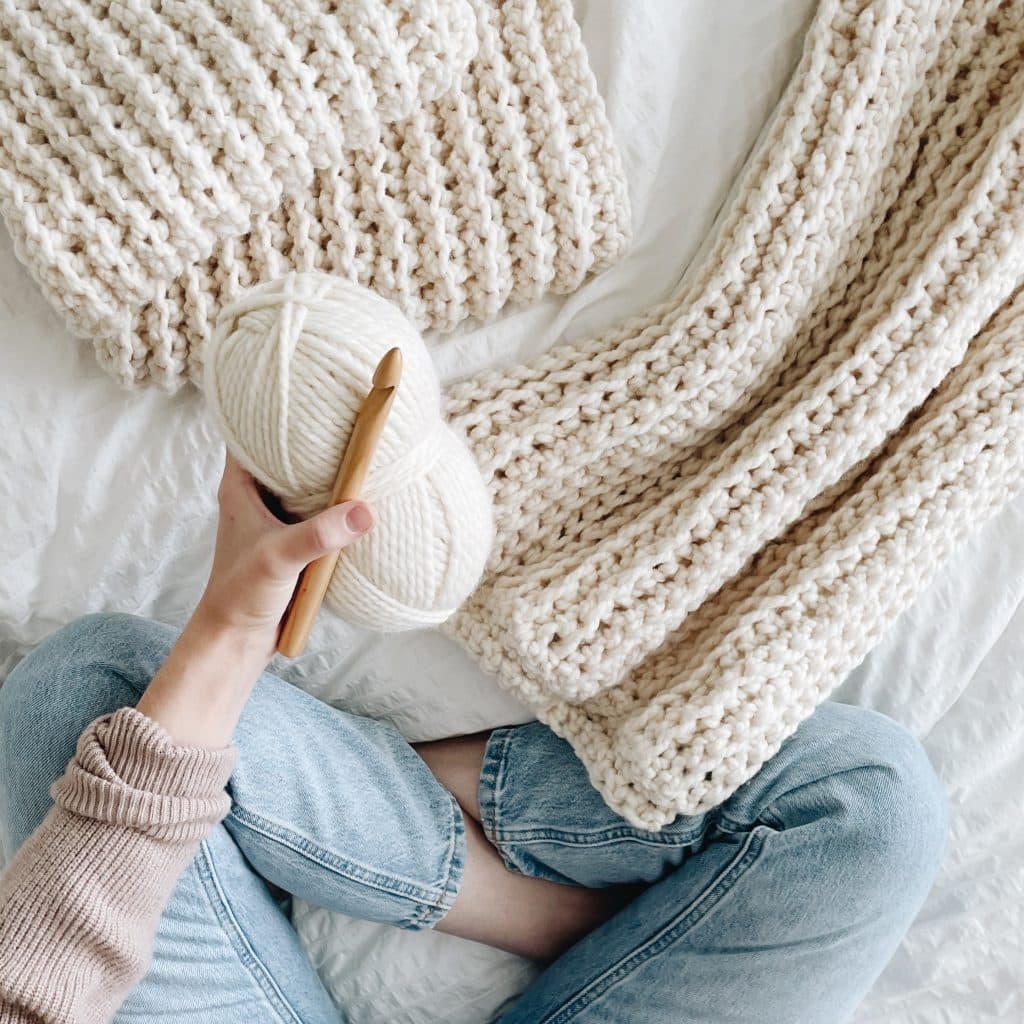
Video support: shoutmecraft.com/video
NOTES:
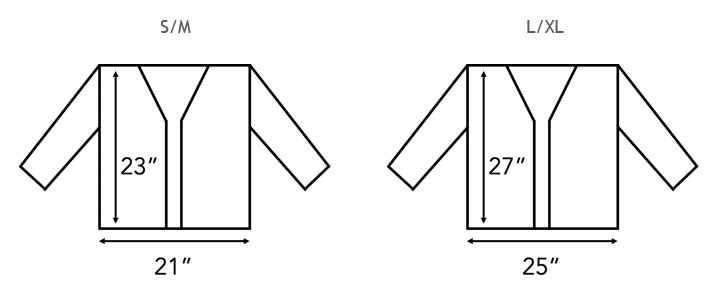
The front, back, and sleeves are worked flat and then stitched together. Sizes are shown on pattern as S/M (L/XL).
If needed, blocking your finished garment may help smooth imperfections, loosen stitches + obtain final measurements.
Abbreviations:
- ch chain
- sts stitches
- yo yarn over
- sc single crochet
- sc blo single crochet back loop only
- sc2tog single crochet two stitches together
single crochet (sc)
- insert hook in stitch yo, pull through
- yo, pull through both loops on hook
single crochet back loop only (sc blo)
- insert hook in back loop of stitch yo, pull through
- yo, pull through both loops on hook
single crochet two stitches together (sc2tog)
- insert hook in stitch yo, pull through
- insert hook in next stitch yo, pull through
- yo, pull through all three loops on hook
FRONT
Follow instructions twice to make both front pieces
ch (chain) 35 (41) piece is worked in rows
Row 01: sc into 2nd chain from hook and continue sc for row 1 (34 (40) stitches) ch 1 and turn
(continue to ch 1 and turn when beginning each row throughout project)
Rows 02 – 13 (17): sc blo
Row 14 (18): sc blo 32 (38), sc2tog (33 (39) sts)
Row 15 (19): sc2tog, sc blo 31 (37) (32 (38) sts)
Row 16 (20): sc blo 30 (36), sc2tog (31 (37) sts)
Row 17 (21): sc2tog, sc blo 29 (35) (30 (36) sts)
Row 18 (22): sc blo 28 (34), sc2tog (29 (35) sts)
Row 19 (23): sc2tog, sc blo 27 (33) (28 (34) sts)
Row 20 (24): sc blo 26 (32), sc2tog (27 (33) sts)
Row 21 (25): sc2tog, sc blo 25 (31) (26 (32) sts)
Row 22 (26): sc blo 24 (30), sc2tog (25 (31) sts)
Row 23 (27): sc2tog, sc blo 23 (29) (24 (30) sts) fasten off
Hem
After following the instructions twice to make both front pieces, place pieces down facing away from each other (see photo below). Follow instructions on the next two pages to complete the hem.
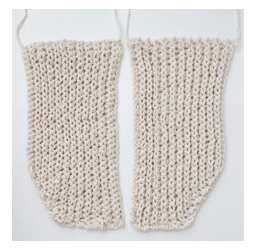
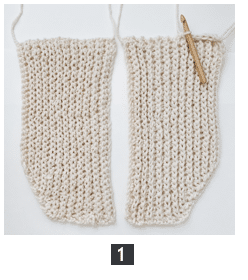
start with just the piece on the right
[sc2tog] 12 (14) times (12 (14) sts)
ch 1 and turn
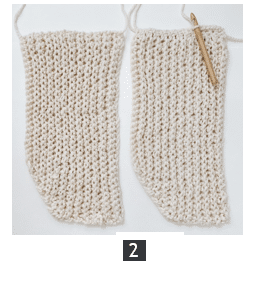
sc 12 (14)
ch 1 and turn
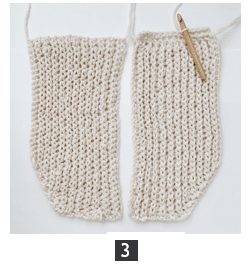
sc 12 (14)
fasten off
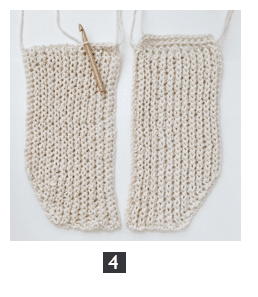
repeat with the piece on the left
[sc2tog] 12 (14) times (12 (14) sts)
ch 1 and turn
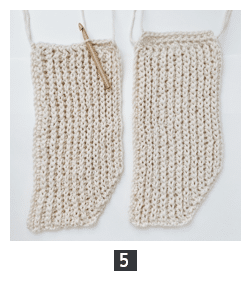
sc 12 (14)
ch 1 and turn
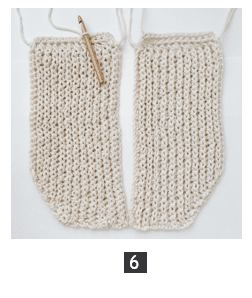
sc 12 (14)
fasten off
BACK
ch (chain) 35 (41) piece is worked in rows
Row 01: sc into 2nd chain from hook and continue sc for row 1 (34 (40) stitches) ch 1 and turn
(continue to ch 1 and turn when beginning each row throughout project)
Rows 02 – 13 (17): sc blo
Row 14 (18): sc blo 32 (38), sc 2
Row 15 (19): sc 2, sc blo 32 (38)
Note: where you are placing 2 sc will be the neckline
Rows 16 (20) – 33 (37): repeat rows 14 (18) + 15 (19)
Rows 34 (38) – 45 (53): sc blo
Hem
Leave yarn attached and follow instructions on the next page to complete the hem.
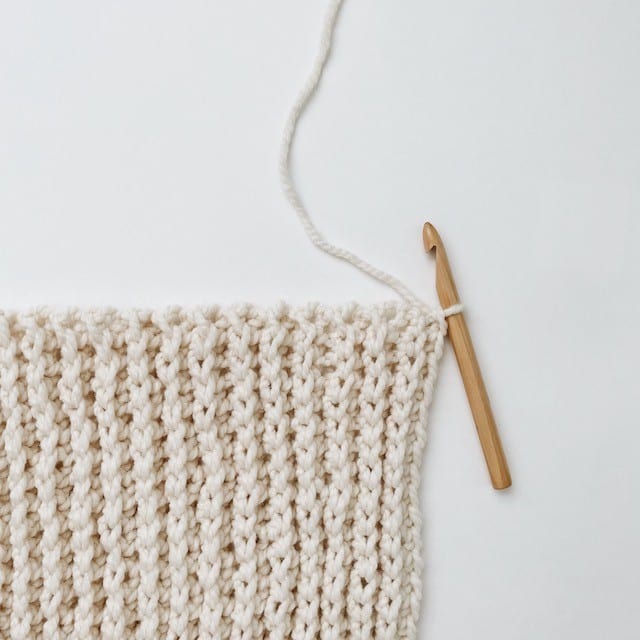
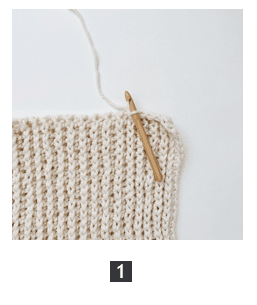
[sc2tog] 23 (27) times (23 (27) sts) ch 1 and turn
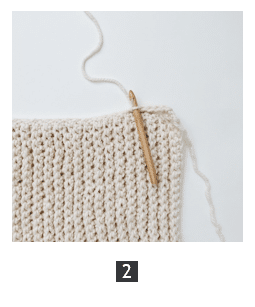
sc 23 (27)
ch 1 and turn
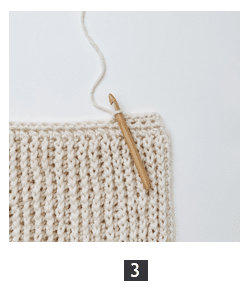
sc 23 (27)
fasten off
SLEEVES
follow instructions twice to make sleeves
ch (chain) 25 piece is worked in rows
Row 01: sc into 2nd chain from hook and continue sc for row 1 (24 stitches) ch 1 and turn
(continue to ch 1 and turn when beginning each row throughout project)
Rows 02 – 25 (27): sc blo
Cuff
Leave yarn attached and follow instructions on the next page to complete the cuff.
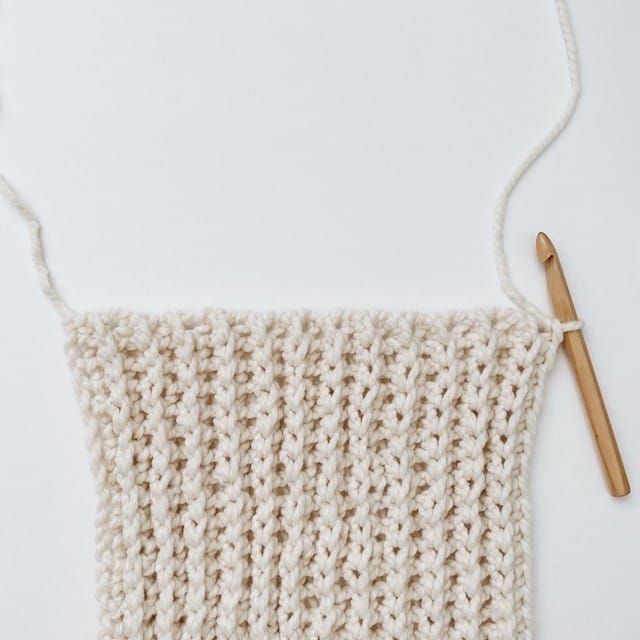
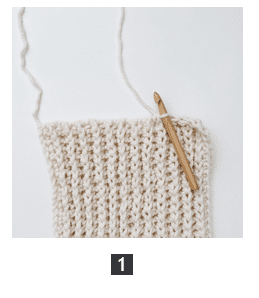
[sc2tog] 13 (14) times (13 (14) sts) ch 1 and turn
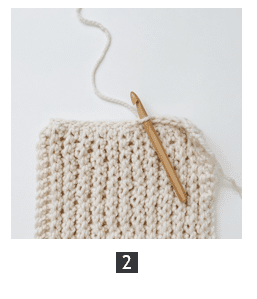
sc2tog, sc 9 (10), sc2tog (11 (12) sts) ch 1 and turn
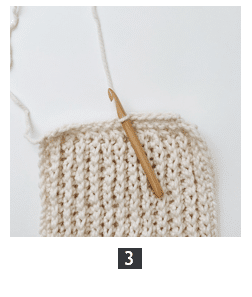
sc 11 (12)
fasten off
FINISH
Using a 10.0 mm hook, single crochet around the neckline for a clean + sturdy edge.
Weave in ends.
Leave cardigan as is or sew on your choice of buttons for an added detail.

BUTTONS
There are no specific button holes added into the Elaine cardigan. After sewing on your choice of buttons, you should be able to button up the sweater by pushing them through the sweater itself because the gauge offers natural button holes.
This allows you to decide what kind of button and how many buttons you would like on your sweater. Button alignment will be different for each person, size, and button type. The sweater in the photo below is a size small/medium and four buttons were sewn on the front (right side) about 4″ apart. No button holes needed, just push through the sweater to close
