Patten includes all necessary information for bag making. It is very detailed and has a lot of step by step photos.
FINISHED MEASUREMENTS
- Width: 19,5 in (50 cm)
- Depth: 3,5 in (9 cm)
- Height: 9 in (23 cm)
- Handle Length: 9 in (23 cm)
MATERIALS
- Crochet hook: 5 mm (US H-8)
- USED Yarn Weight: 100% Raffia Paper
- Name: Hobbii Rafaella
- Colour: Beige
- Quantity: 2,5-3 balls, each ball 100 grams (130-135 meter / 109-142 yards). Totally for 1 bag – about 340meters/360 yards
Gauge: 11 single crochet spike stitches and 8 rows in 10cm (4inch) – guage is measured after steaming!
STITCH CLOSSARY AND SYMBOLS
- Chain (ch)

- Single crochet USA (in UK double crochet) (sc)

- Slip Stitch (sl st)
Slip stitch is the shortest crochet stitch used for joining, shaping & taking yarn to another part of motif or work (buttonhole for example)
- Single crochet Spike stitch (scs)
While making normal single crochet you work it into the top of the next stitch. To make the spike stitch you must work it into the stitch in the row below
- Double crochet (in UK treble) (dc)

YO & insert hook into next st, YO & draw up a loop (3 loops on hook), (YO & draw through 2 loops) twice.
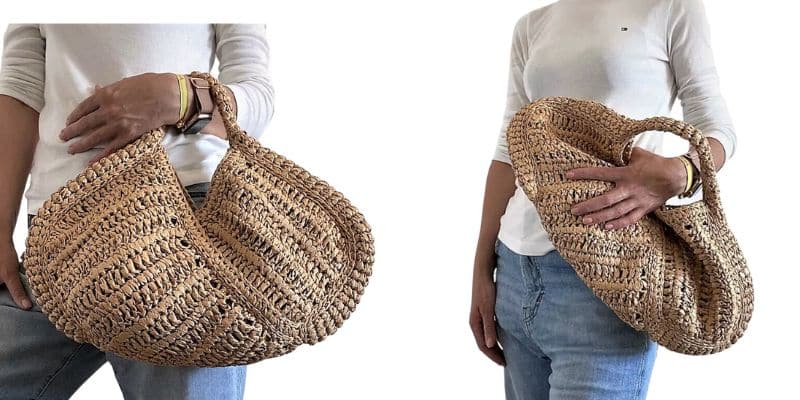
PART 1
Row 1: make chain of 21 sts, starting from the second stitch make 20 sc, turn.
Row 2: ch1, scs20, turn.
Row 3: ch3 (hereinafter counted as first dc), dc19, turn.
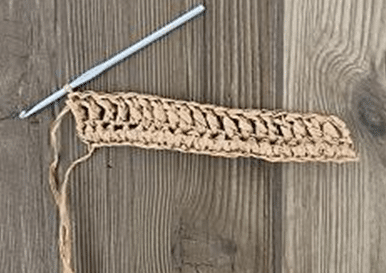
Row 4: ch1, cs20, turn.
Row 5: ch1, scs20, turn.
Repeat rows 3-5 28 more times. Totally you should make 86 rows. To check yourself be sure to have 29 dc rows and the last row should be scs row
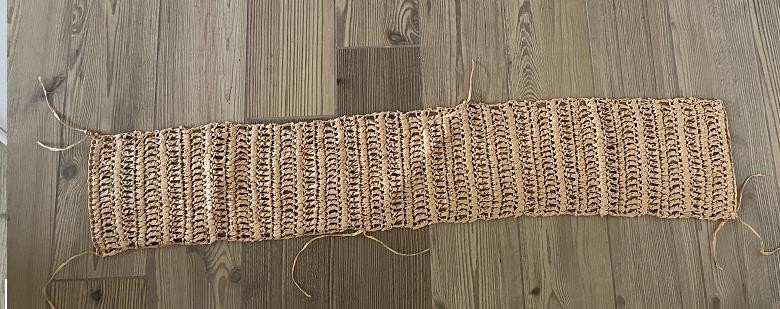
Steam your work, The final measurements you should receive after steaming are about 110 cm (43,5 inch) length and 19 cm (7,5 inch) width
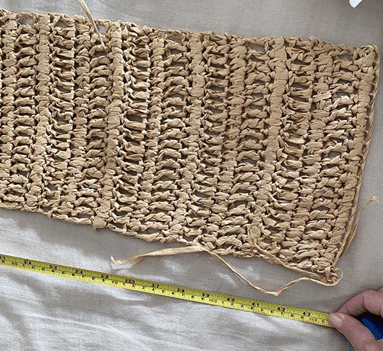
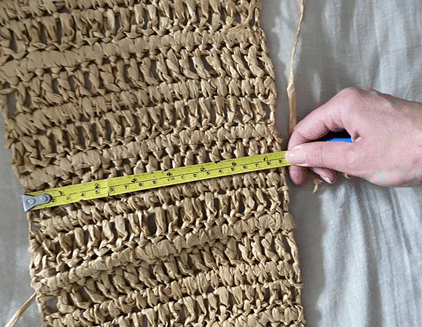
PART 1 FINISHING
Side A
Count 17 dc rows from the beginning and attach the yarn from the wrong side to the scs (it will be 18th scs row) row next to 17th dc row. See the photo below
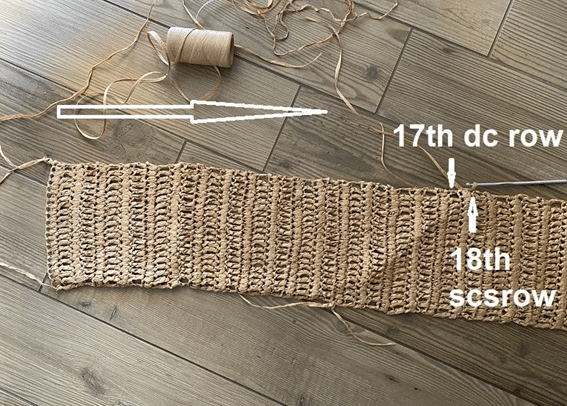
Row 1(RIGHT SIDE): making 1 sl st into each scs row and 2 sl st to each dc row (1 into post and 1 into the base of dc). Totally make 51 sl sts, turn.
Row 2(WRONG SIDE): ch1, 51 sc (make sc sts around both loops of sl st of the previous row), turn.
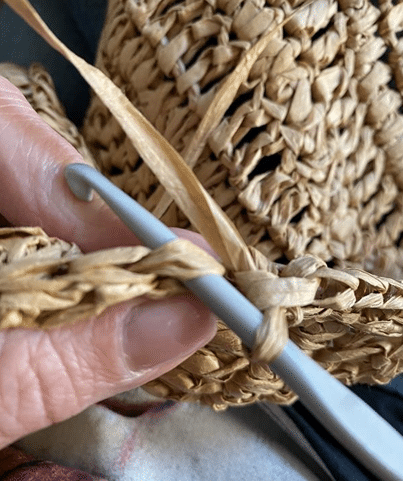
Row 3(RIGHT SIDE): ch1, 51 sc, turn.
Row 4(WRONG SIDE): ch1, 51 scs, turn
Row 5(RIGHT SIDE): ch1, 51 sl st, close last stitch pathing the yarn tail through it-.
Side B
MAKE THE SIDE B BY THE SAME WAY AS SIDE A
IMPORTANT! RIGHT SIDE FOR SIDE A AND SIDE B IS THE SAME !!!
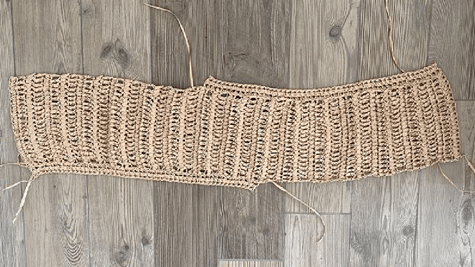
STEAM YOUR WORK FROM BOTH SIDES!!!
PART 2
Row1: make chain of 7 sts, starting from the second stitch make 6 sc, turn.
Row 2: ch1, scs6, turn.
Row 3: ch1, sc6, turn.
Row 4: ch1, scs6, turn.
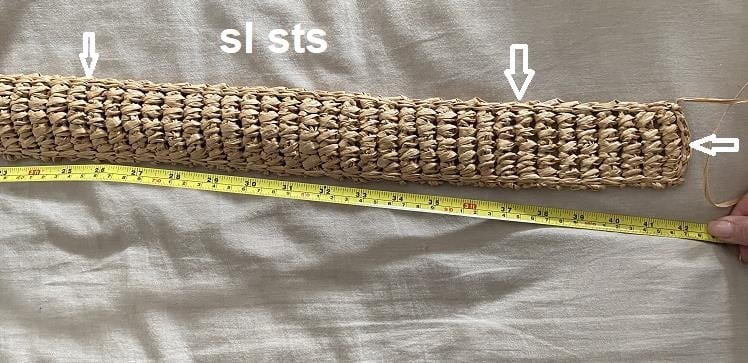
Repeating rows 3-4 36 times. Totally make 76 rows
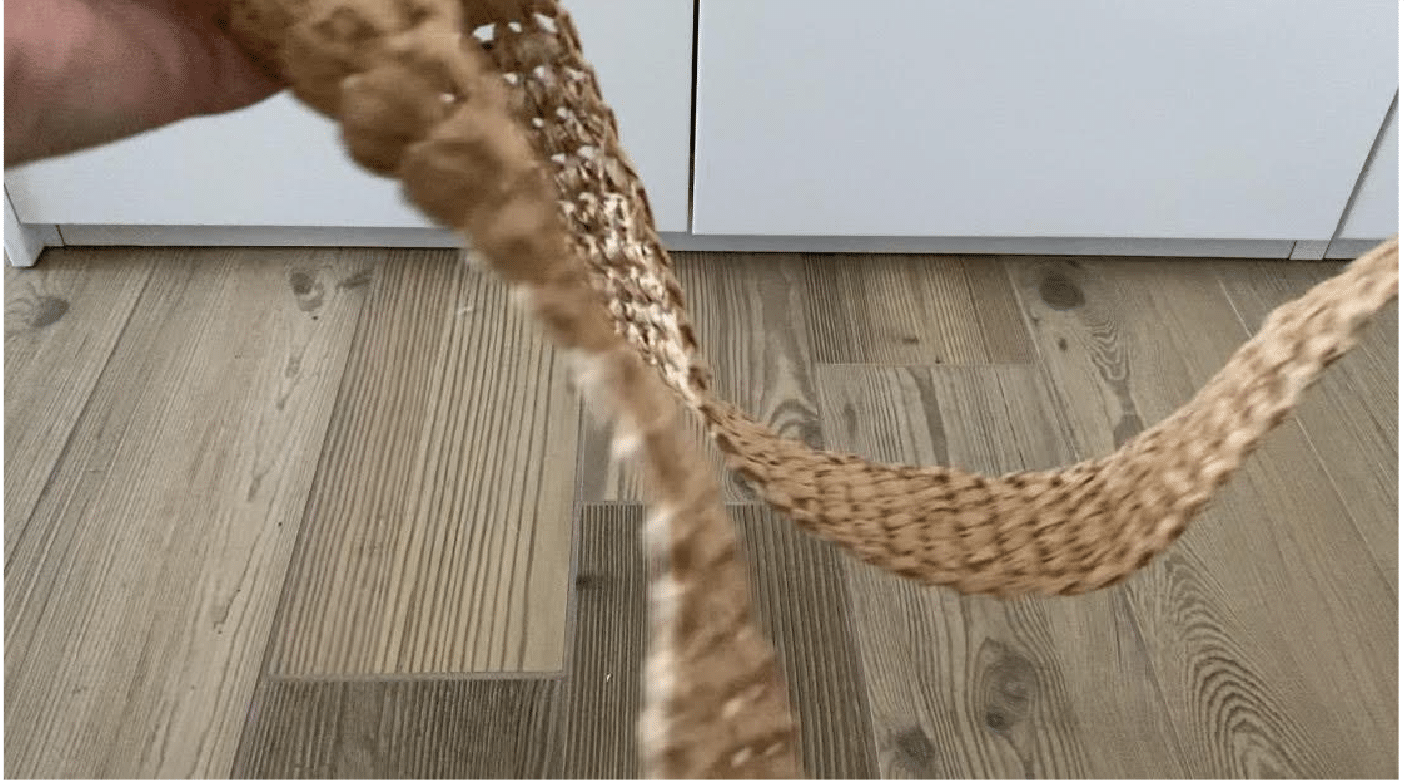
FINISH PART 2 MAKING SL ST ALON THE 4 EDGES CROCHETING
FROM THE RIGHT SIDE (1 sl st into each scs row from 2 sides and 1 sl st into each stitch from other 2 sides)
STEAM THE PART 2 to stretch it good specially on the edges where you made sl sts.
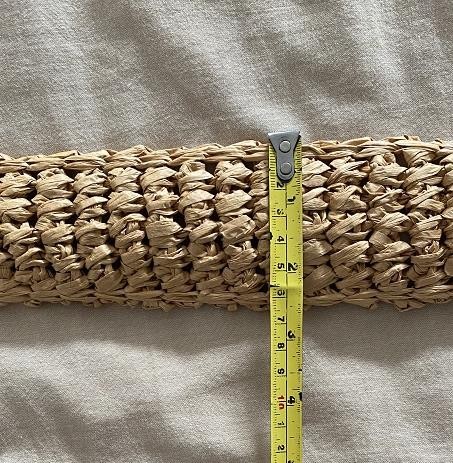
The measurements of the part 2 after steaming should be about 107 cm (42inch) length and 6,5 cm (2,5 inch) width
ASSEMBLING SHAPE
THE PART 1
Put the part 1 facing wrong side to you. Fold it by the way showed on the photo below.
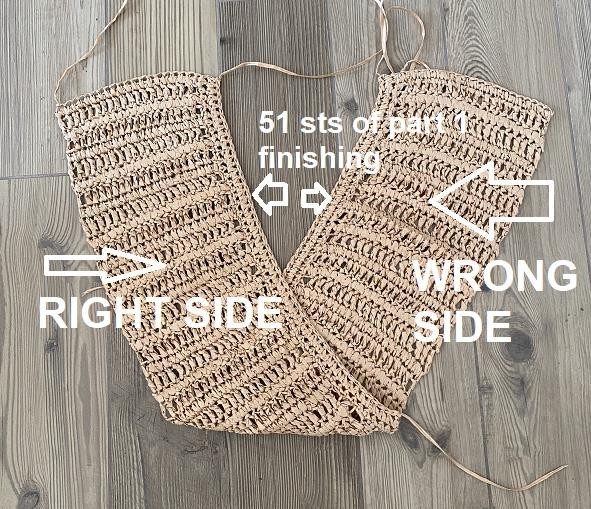
Fold the right-side part in the direction to you as shown on the photo below.
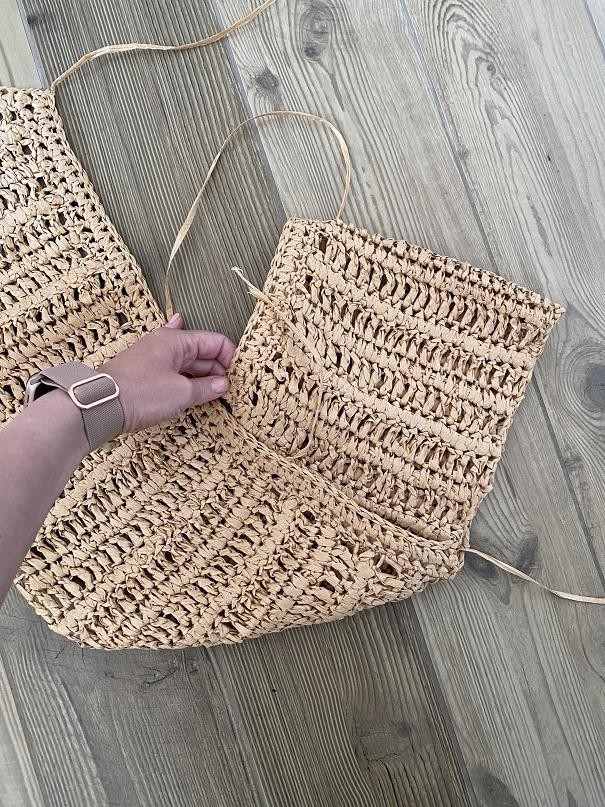
Join it by sl st (stitsh to stitch) from the right side.
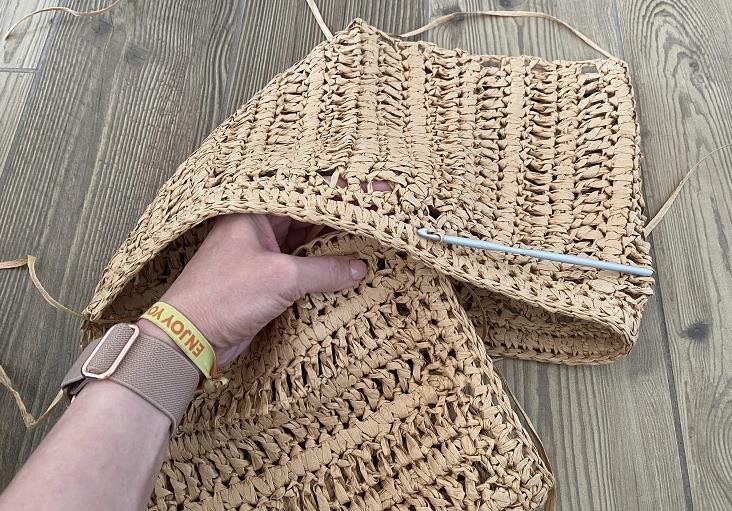
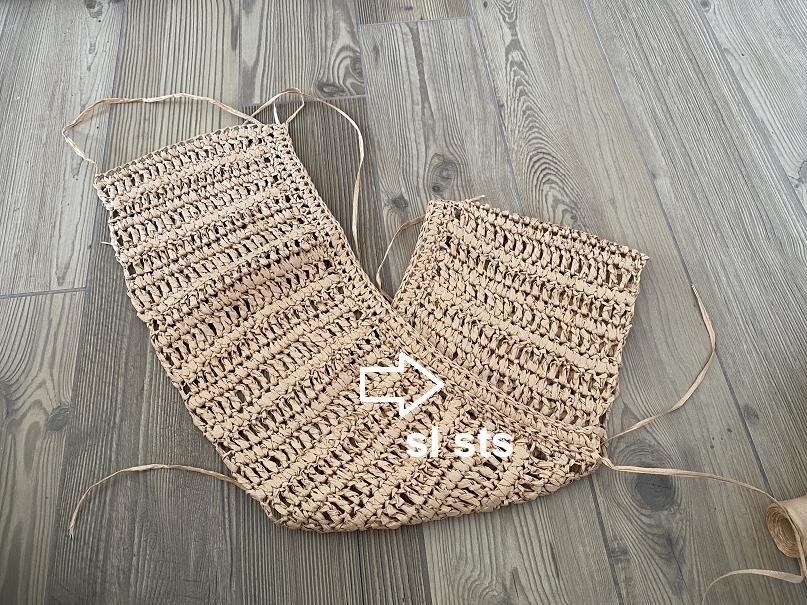
Turn your work and make by the same way from the other side.
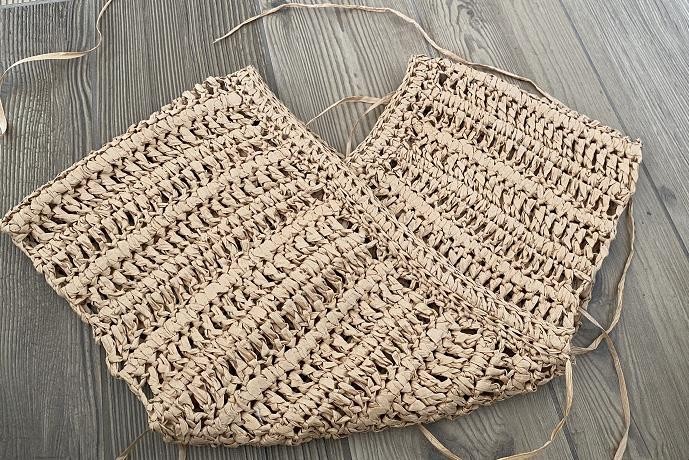
STEAM THE SEAMS!!!
PREPARE PART 1 TO ATTACH PART 2
Attach the yarn, path the loop and make 13 sl st making 1 into each scs row and 2 into each dc row. The last should be done into the 5th scs row.
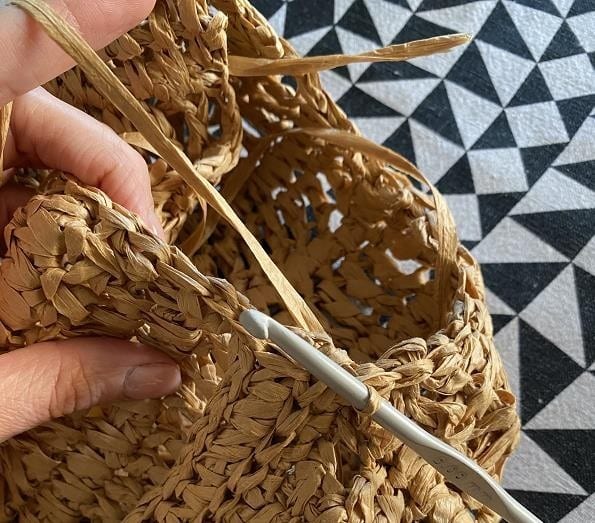
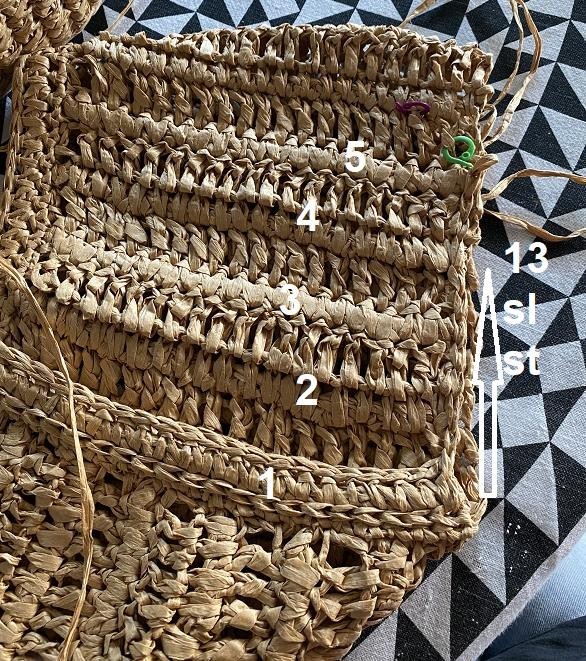
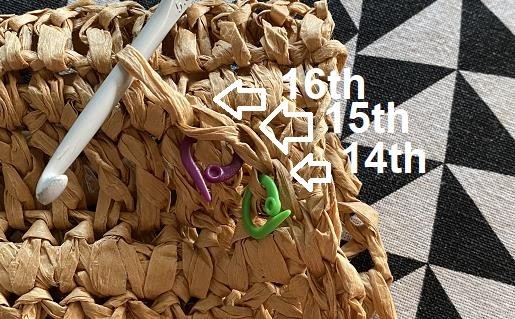
Make next sl st (14th) into post of second dc post (counting from the edge) of the next dc row, next sl st (15th) into the third scs stitch of the next scs row, make next sl sts into each next scs of this scs row plus last 2 sts into 2 rows of part 1 finishing. (totally 13+21 = 34 sts)
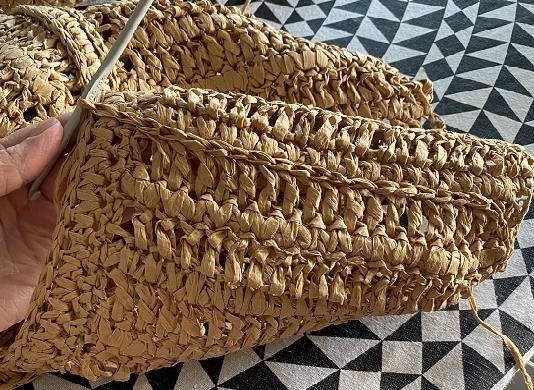
Make 4 sl st along the edge to path to the other side!
Make sl st into the correspondent sts of the base of scs row from the other side!
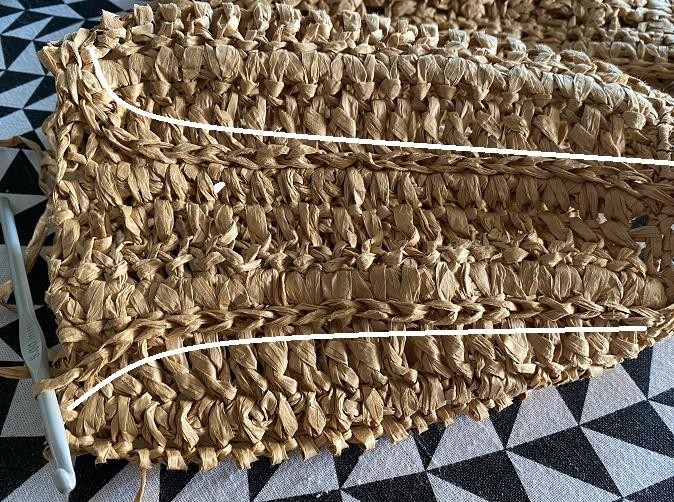
Crochet by sl st along the edge as you did before making 1 sl st into each scs row and 2 into each dc row
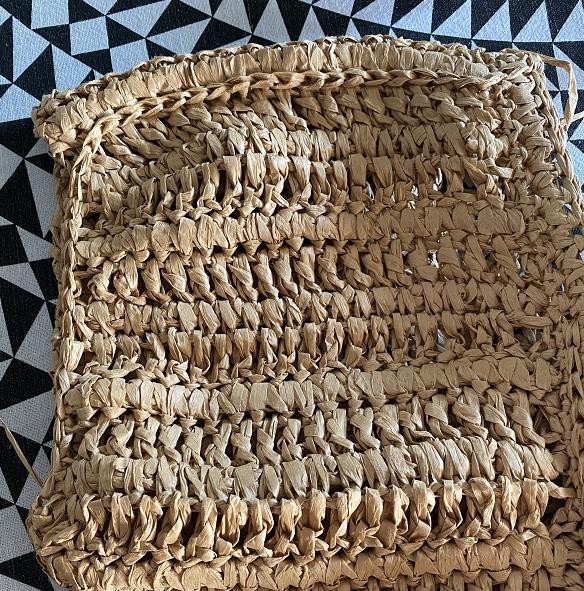
PREPARE THE OTHER SIDE OF PART 1 BY THE SAME WAY!!!
Attach part 2 to part 1 using tapestry needle. Join each inside loop of correspondent sl st of each part!
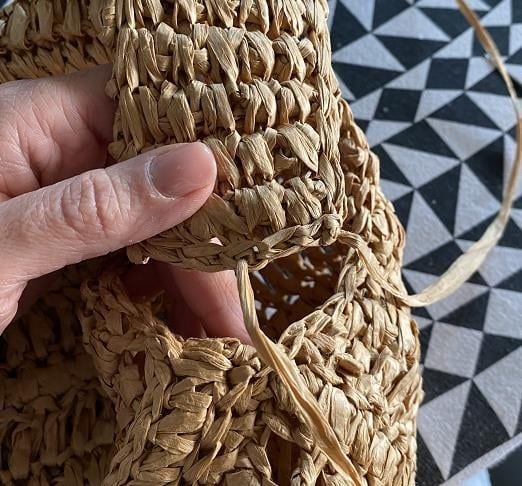
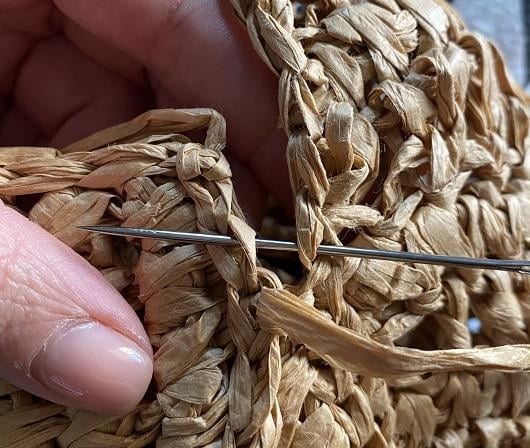
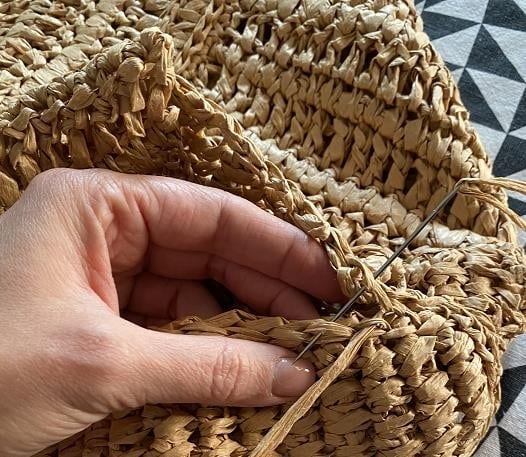
Arriving to the last stitch path the needle to the other side making 2-3 sts on the edge and start attaching second side of part 2 to the other side of part 1
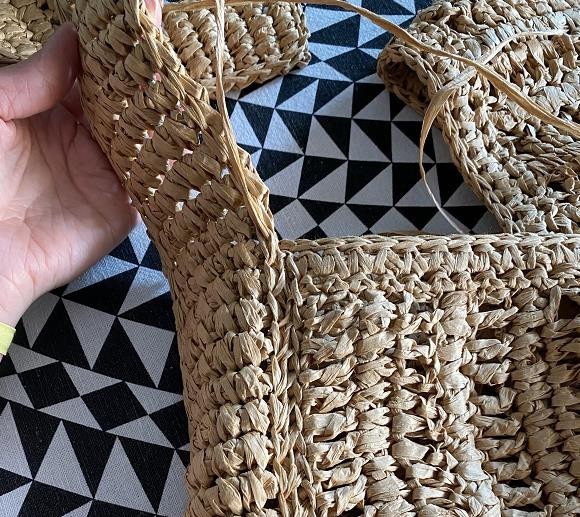
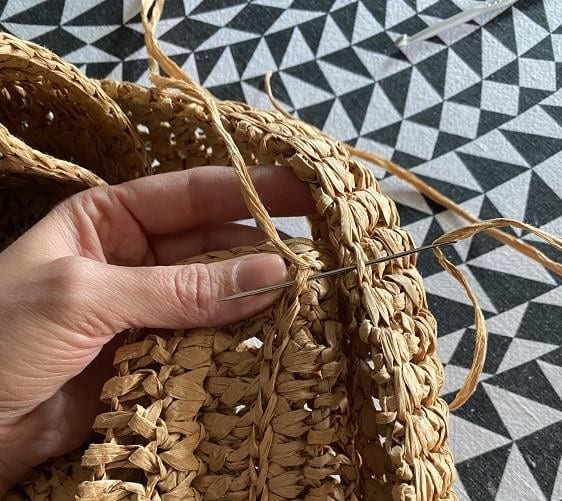
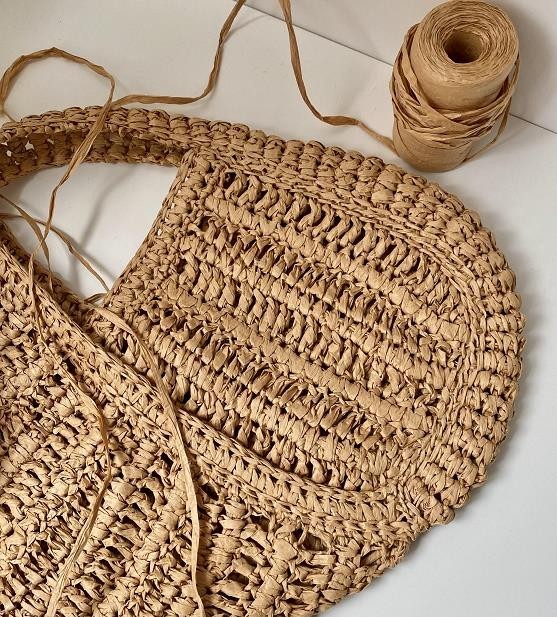
Attach the part 2 to part 1 from the other side by the same way!
FINISH HANDLE JOINING inside loops of correspondent sl sts of 2 SIDES USING TAPESTRY NEEDLE.
STEAM ALL SEAMS!!! VIDEO LINKS
LINING